The Olympia Cremina is a masterpiece of espresso engineering, revered for its simplicity, durability, and the exceptional shots it can produce. However, taming this manual lever machine requires a deep understanding of its thermal behavior. The direct connection between the boiler and the group head means temperature can be volatile, leading to frustrating inconsistency. One shot might be a perfectly balanced god-shot, while the next is a bitter disappointment. The key to unlocking repeatable excellence lies in managing that temperature precisely. This article will guide you through the process of using a group head thermometer, an essential upgrade that transforms guesswork into a data-driven workflow, allowing you to stabilize your Cremina shots for consistently delicious results every single time.
Why temperature is the Cremina’s biggest challenge
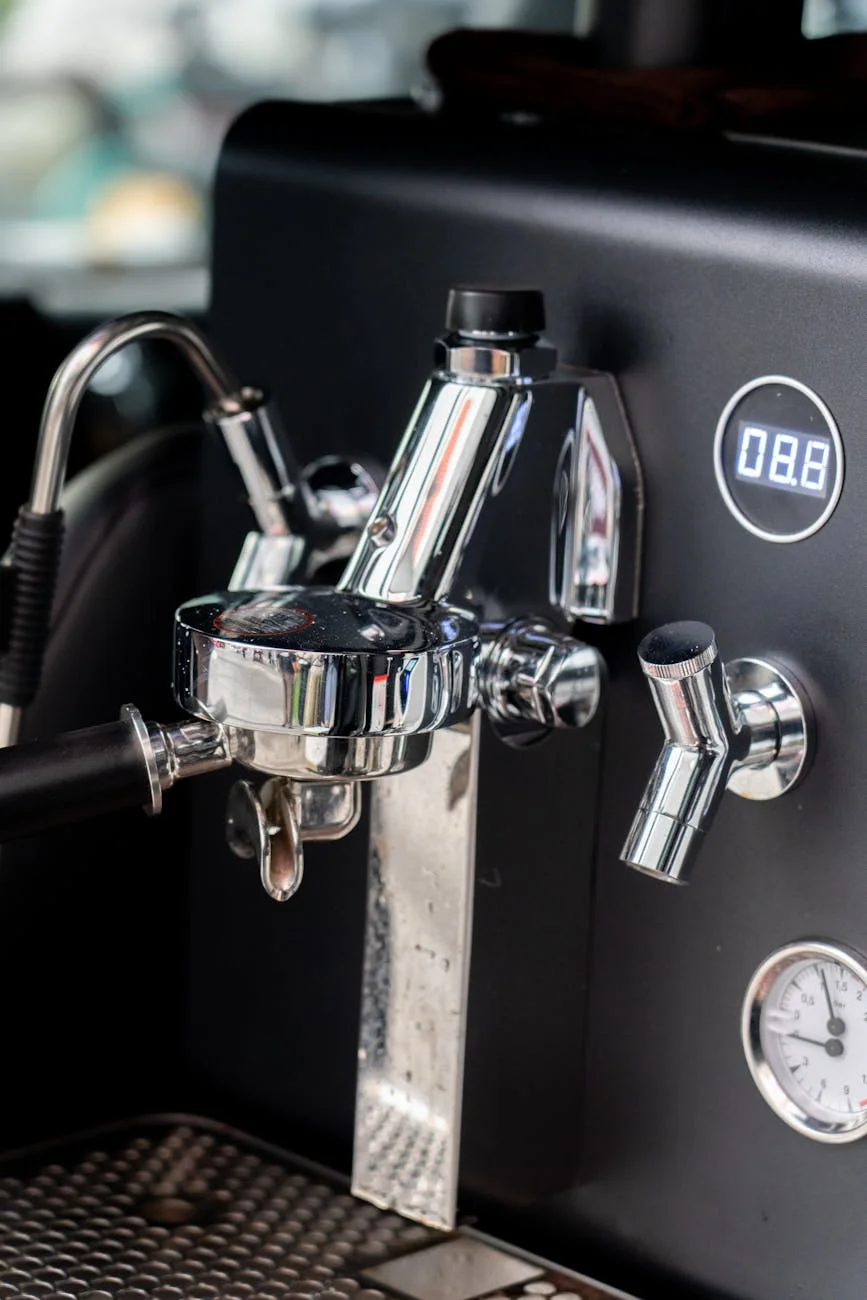
Unlike modern pump machines with their PID controllers and intricate thermal blocks, the Cremina’s temperature management is beautifully, and sometimes maddeningly, simple. It’s a classic dipper-style lever machine where the group head is bolted directly to the boiler. This design means the group head acts as a large brass heat sink, constantly absorbing heat. When the machine is idle, the group’s temperature will continue to climb, far exceeding the ideal range for brewing espresso. Pulling a shot when the group is too hot will scald the coffee grounds, resulting in bitter, ashy, and unpleasant flavors.
Conversely, if the group is too cool, the water won’t have enough thermal energy to properly extract the soluble compounds from the coffee, leading to a sour, weak, and underdeveloped shot. The challenge, therefore, is not just to get the group head to the right temperature, but to do so at the right time, for every single shot. This is where a group head thermometer becomes indispensable. It gives you a window into the machine’s thermal state, providing the crucial data point you need to take control.
Installing and interpreting your thermometer
Adding a thermometer to your Cremina’s group head is a straightforward modification that yields significant returns. Most available kits are designed to replace the M6 screw on the front of the group, allowing a digital sensor to sit directly against the brass. Once installed, it’s vital to understand what you’re measuring. The thermometer displays the surface temperature of the group head metal, not the exact temperature of the water as it hits the coffee puck.
Think of it as a highly accurate proxy. There will always be a temperature differential between the group head reading and the actual brew water, but this relationship is consistent. Your goal isn’t to chase an “exact” brew temperature of 93°C on the display. Instead, your goal is to find the group head reading that produces the best-tasting espresso for a particular coffee and then use that reading as a repeatable target. For example, you might find that a medium roast tastes best when you start your pre-infusion as the thermometer reads 89°C. This number is now your reliable benchmark for that bag of beans.
Developing a temperature management workflow
With your thermometer installed, you can now build a repeatable routine. This workflow turns temperature from a variable into a constant you control.
- Consistent warm-up: Turn on your Cremina and let it warm up for at least 15-20 minutes. The group head temperature will rise and eventually stabilize. This idle temperature will likely be too high for brewing (e.g., 98-102°C). This is your starting point.
- Prepare your shot: While the machine is stabilizing, grind your beans, prep your puck, and have everything ready to go.
- Cooling the group: This is the most active part of the process. Your goal is to lower the group head temperature to your desired target. You can do this by locking in a cold, empty portafilter for a few seconds or, more effectively, by draping a cool, damp cloth over the group head. Watch the thermometer closely as the temperature begins to fall.
- Pulling the shot at the target: Remove your cooling source (the cloth or cold portafilter) just before you reach your target temperature. Lock in your prepared portafilter and lift the lever to begin pre-infusion exactly as the display hits your target number. The act of introducing water will stabilize the temperature during the shot, but hitting that initial target is crucial for consistency.
By following this cycle for every shot, you eliminate the single biggest variable in lever machine espresso, ensuring the water hitting your puck is the same temperature every time.
Using temperature data to dial in your coffee
The group head thermometer is more than just a tool for consistency; it’s a powerful instrument for dialing in your espresso. Different coffees, particularly at different roast levels, shine at different temperatures. By logging your shots and tasting the results, you can quickly find the sweet spot for any bean.
If your shot tastes sour and thin, it’s a sign of under-extraction. For your next attempt, increase your target temperature by a degree or two. If your shot is bitter and harsh, it’s likely over-extracted. Cool the group head a little longer and aim for a lower target temperature. This data-driven approach allows you to make intentional, precise adjustments instead of just guessing.
Here is a general guide to help you get started:
| Roast Level | Suggested Group Head Temp Range (°C) | Potential Taste Notes (if temp is too high) | Potential Taste Notes (if temp is too low) |
|---|---|---|---|
| Dark Roast | 86°C – 89°C | Very bitter, roasty, smoky, thin body | Dull, flat, slightly sour |
| Medium Roast | 88°C – 92°C | Bitter, loss of sweetness and complexity | Sour, grassy, lacking body |
| Light Roast | 91°C – 94°C | Astringent, bitter, muted fruit notes | Aggressively sour, vegetal, weak |
*These are starting points. Always let your palate be the final judge.
Mastering the Olympia Cremina is a journey of tactile feedback and sensory skill, but it shouldn’t be a journey of guesswork. By installing and learning to use a group head thermometer, you are adding a critical instrument to your dashboard. It provides the one piece of data—temperature—that is otherwise invisible, yet has the greatest impact on the final taste in your cup. Summarizing the workflow, you simply need to warm the machine, cool the group to a specific target, and pull the shot. This simple, repeatable process takes the frustrating inconsistency out of the equation. It empowers you to diagnose flavor issues accurately and dial in new coffees with speed and precision, ultimately unlocking the true, consistent potential of this legendary machine.


 No products in the cart.