How to measure milk for a latte: Using grams for better consistency
For any home barista, the journey to a perfect latte is one of passion and precision. You’ve dialed in your espresso shot, perfected your grind, but does your final drink sometimes feel like a game of chance? One day it’s perfectly balanced, the next it’s too milky or overwhelmingly strong. This inconsistency often stems from a single, overlooked variable: the milk. While measuring by volume using ounces or milliliters seems intuitive, it’s the primary culprit behind unpredictable results. This article will explore why abandoning the measuring cup in favor of a digital scale and measuring your milk in grams is the single most effective change you can make to achieve café-quality consistency in every single latte you craft at home.
Why volume is a poor judge of milk
When we reach for a measuring cup, we assume that 200ml of milk is always the same amount of milk. Unfortunately, this isn’t true. Measuring by volume is inherently imprecise because it’s affected by density, which changes with temperature. Cold milk, fresh from the refrigerator, is denser and takes up less space than warmer milk. While the difference might seem minor, it adds up, especially when you’re aiming for a specific milk-to-espresso ratio.
Furthermore, the “eyeballing” method, where you simply fill your pitcher to a certain line, is even less reliable. Are you holding the pitcher perfectly level? Is the lighting affecting your perception? These small inconsistencies introduce variables that prevent you from recreating that one “perfect” latte you made last Tuesday. In contrast, mass is a constant. A gram is always a gram, regardless of whether the milk is icy cold or approaching room temperature. This fundamental principle is why precision in baking and coffee relies on weight, not volume.
The power of grams for precision and repeatability
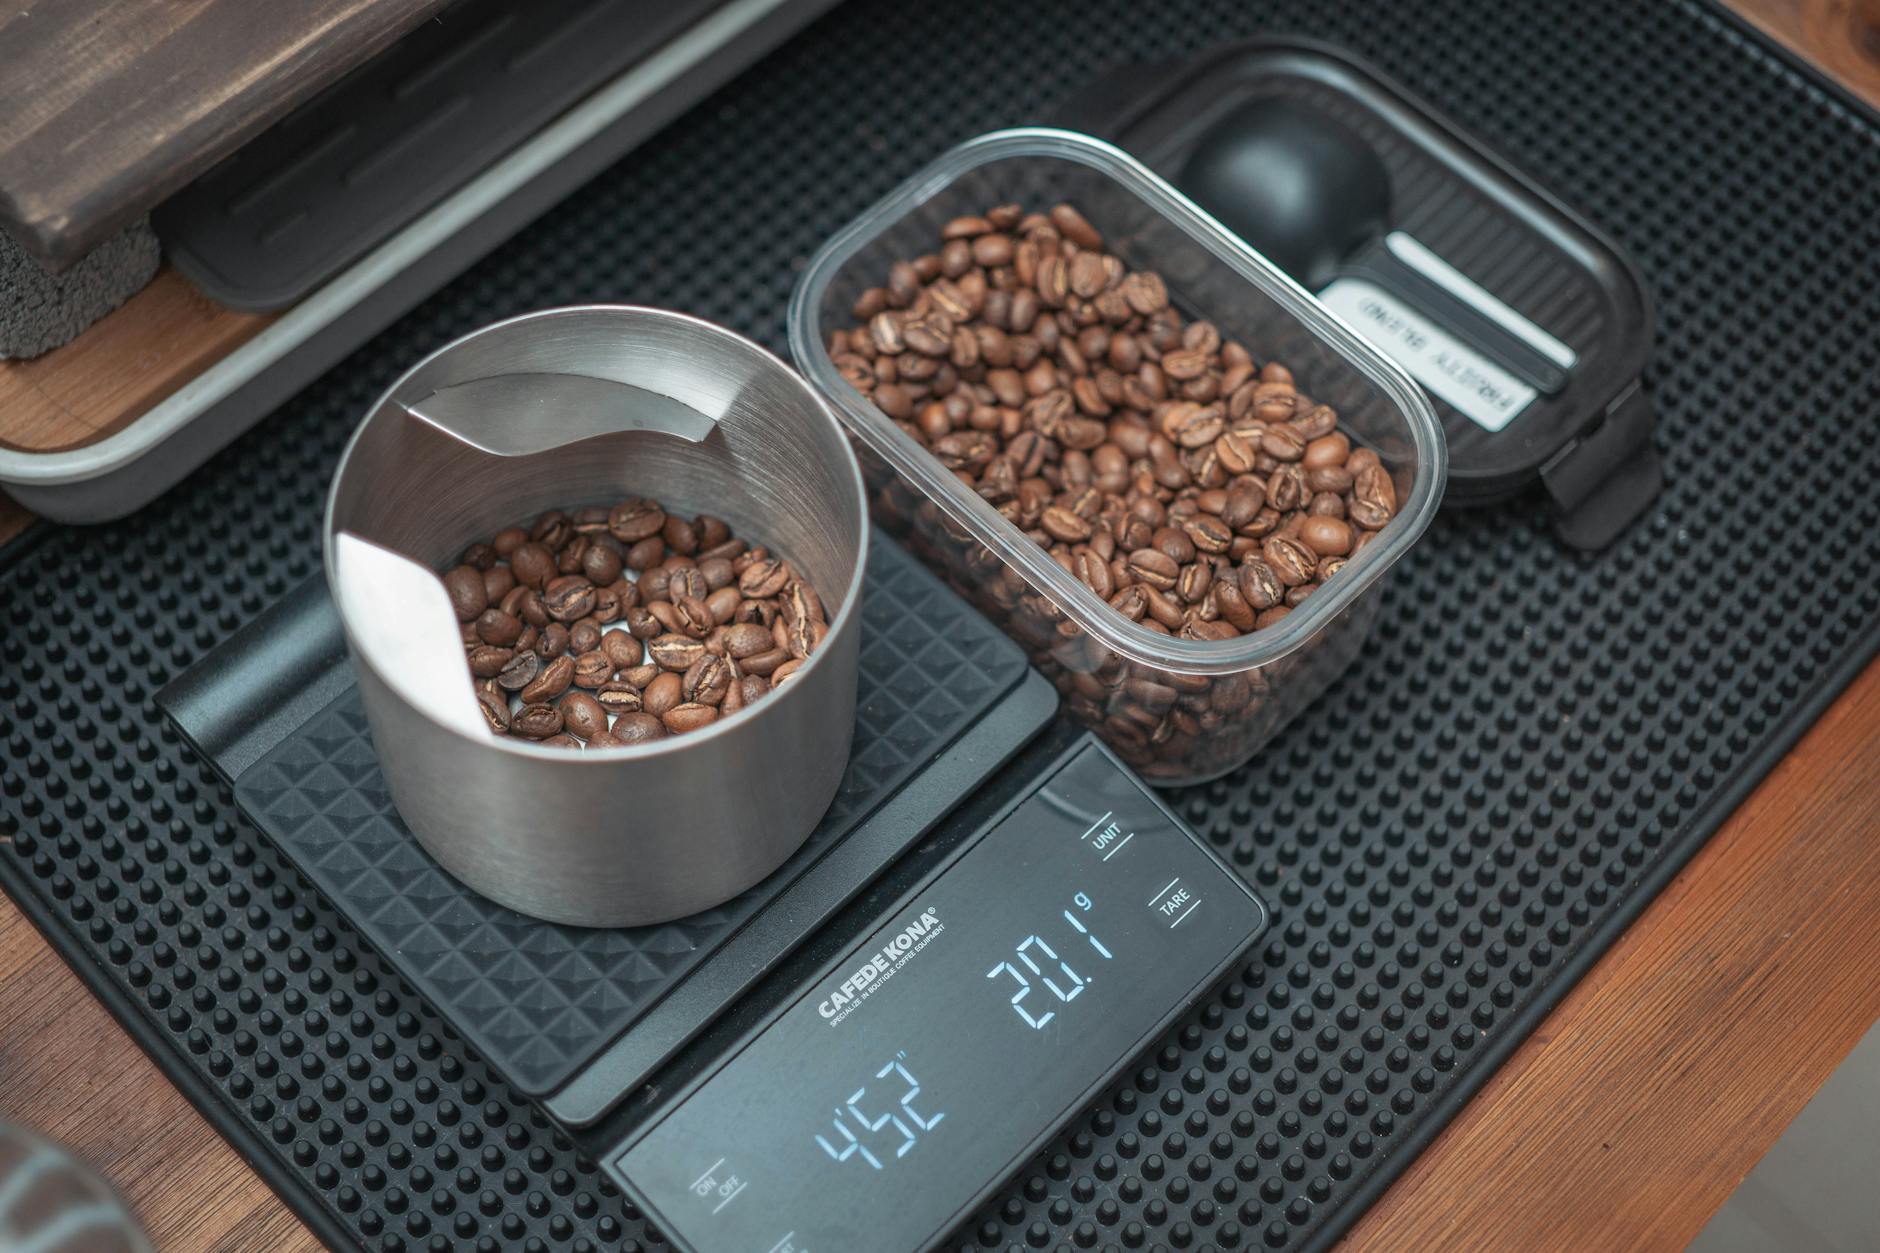
Switching from milliliters to grams is about embracing control over your recipe. When you weigh your ingredients, you create a repeatable formula. Think about your espresso: you likely weigh your coffee beans to the tenth of a gram to ensure a consistent shot. Why should your milk, which makes up the majority of the drink, be treated with less precision?
By measuring your milk in grams, you lock in one of the most significant variables in your latte build. This allows you to:
- Achieve true consistency: If you discover that 180g of milk with your 40g double espresso shot creates your ideal taste and texture, you can replicate that exact drink every single day.
- Fine-tune your ratios: You can make small, deliberate adjustments to your recipe. Want it a little stronger? Try 170g of milk next time. A little creamier? Go up to 190g. This level of control is impossible with volumetric measurements.
- Reduce waste: Weighing your milk means you only pour what you need for steaming and pouring. This leads to less wasted milk down the drain, saving you money over time.
This method transforms your latte from a happy accident into a deliberate, crafted beverage.
A practical guide to weighing your milk
Making the switch to grams is incredibly simple and requires only one essential tool: a digital coffee scale. These scales are affordable and invaluable for any coffee enthusiast. Most have a “tare” function, which is crucial for this process. Here is the step-by-step method to get a perfect measurement every time:
Step 1: Place your empty, clean milk steaming pitcher on your digital scale.
Step 2: Press the ‘TARE’ or ‘ZERO’ button on your scale. The display should now read 0g, effectively ignoring the weight of the pitcher.
Step 3: Slowly pour your cold milk directly into the pitcher. Watch the numbers on the scale climb until you reach your target weight.
Step 4: That’s it! You now have the exact amount of milk needed for your recipe. Proceed to steam your milk and pour your latte art as usual.
This entire process adds less than 10 seconds to your workflow but provides a massive return in quality and consistency. It’s a small step that elevates your routine from amateur to professional.
Finding your perfect milk-to-espresso ratio
Now that you know how to weigh your milk, the next step is finding the right amount for your taste and your favorite mug. A latte is not a rigidly defined recipe; it’s a balance of espresso and steamed milk that you can customize. A great starting point for a standard latte is a 1:5 ratio of espresso to milk by weight. For a typical 18g dose of coffee beans yielding a 36-40g espresso shot, this would mean starting with around 180-200g of milk.
Use the table below as a guideline, but don’t be afraid to experiment. Keep a small notebook and jot down the weights you use and how you liked the final result. This is the key to perfecting your signature latte.
| Cup size (oz/ml) | Espresso shot weight | Suggested starting milk weight | Resulting taste profile |
|---|---|---|---|
| 6 oz / ~180 ml | 36g – 40g | 120g – 140g | Strong, espresso-forward (Cortado/Flat White style) |
| 8 oz / ~240 ml | 36g – 40g | 160g – 180g | Classic, balanced latte |
| 10 oz / ~300 ml | 36g – 40g | 200g – 220g | Milder, milk-forward latte |
| 12 oz / ~350 ml | 36g – 40g | 240g – 260g | Very creamy and milk-dominant |
Conclusion
The quest for the perfect latte at home ends with consistency, and consistency is born from precision. Moving away from unreliable volume measurements like milliliters or ounces and embracing the accuracy of grams is a transformative step for any coffee lover. As we’ve seen, volume can be misleading due to changes in density, but mass remains constant. By simply using a digital scale to weigh your milk, you eliminate guesswork, enable precise recipe adjustments, and guarantee you can replicate that perfect cup every time. This small change in your workflow requires minimal effort but provides maximum impact, turning your kitchen counter into a true specialty coffee bar and ensuring your daily latte is no longer a matter of luck, but a delicious, repeatable science.


 No products in the cart.