
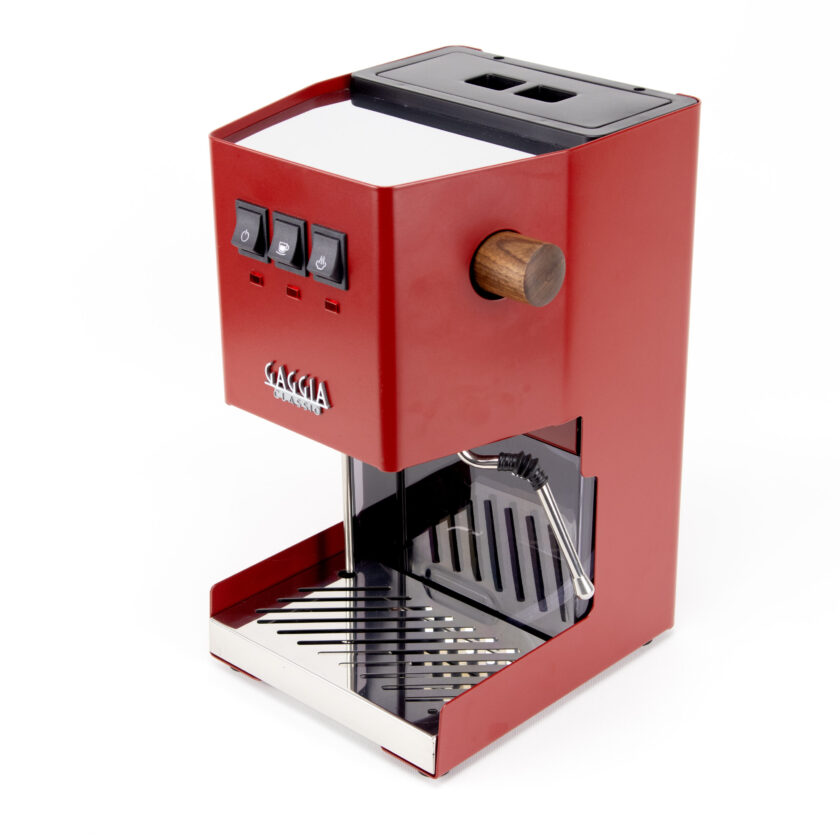
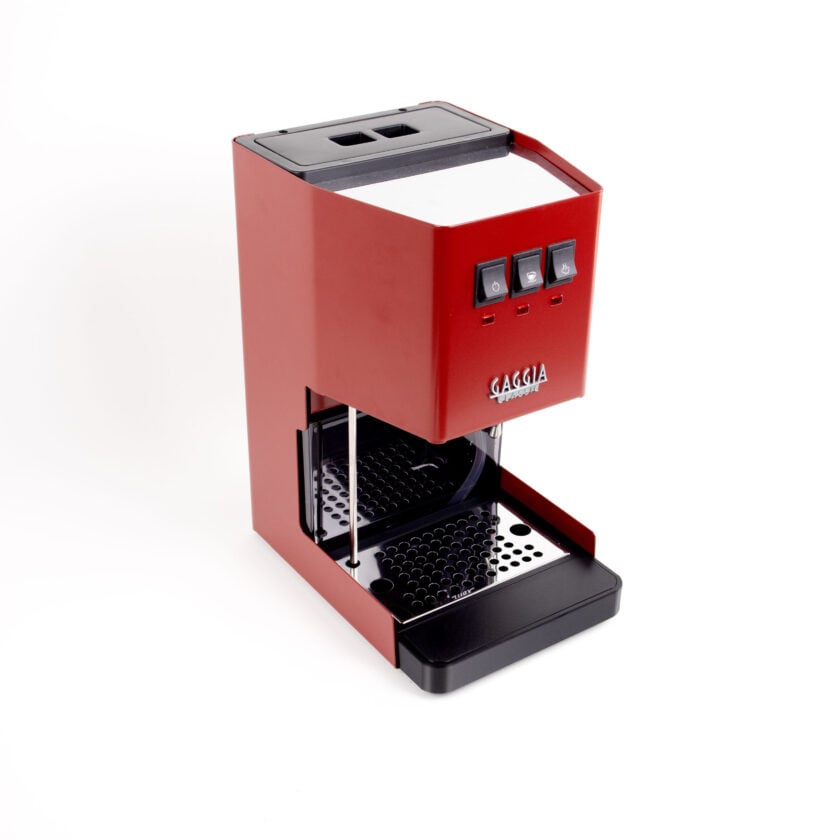



The Gaggia Classic is a legendary entry-level espresso machine, celebrated for its robust build and potential to produce cafe-quality shots. However, many new owners quickly discover a frustrating challenge: taming light roast espresso. These beans, known for their bright, acidic, and complex flavor profiles, often result in sour, under-extracted shots on a stock Classic. It’s a common hurdle that can make you question your skills or your equipment. This article will serve as your guide to overcoming these obstacles. We’ll delve into the specific reasons why the Gaggia Classic struggles with light roasts out of the box and provide a clear, step-by-step roadmap of techniques and modifications to unlock its full potential, transforming your frustrating attempts into delicious, well-balanced espresso.
The light roast challenge on a Gaggia ClassicTo understand the solution, we must first diagnose the problem. Why do light roasts and a stock Gaggia Classic often fail to get along? The difficulty lies in a combination of the bean’s characteristics and the machine’s factory settings. Lightly roasted coffee beans are denser and less soluble than their darker counterparts. To properly extract their delicate and complex flavors, they demand two things: higher brew temperatures and stable extraction pressure. A shot that’s too cool will taste overwhelmingly sour, a sign of under-extraction.
This is where the stock Gaggia Classic falls short. Firstly, its temperature is managed by a simple bimetallic thermostat with a wide temperature swing, often fluctuating by 10°C or more. This inconsistency makes it nearly impossible to hit the precise, elevated temperature required for a light roast. Secondly, the machine ships with its Over-Pressure Valve (OPV) set to a very high pressure, typically between 12 and 15 bars. While this high pressure can work for dark roasts, it’s brutal on a finely ground light roast puck, often causing channeling and leading to a harsh, bitter, and astringent taste that masks the coffee’s true character. These two core issues create an unpredictable brewing environment that is the enemy of good light roast espresso.
Taming the temperature beastControlling brew temperature is the single most important step toward mastering light roasts on your Gaggia. An unstable temperature will yield inconsistent results, making it impossible to dial in your shot properly. Fortunately, there are ways to manage and perfect the Gaggia’s thermal performance.
The most accessible method is called temperature surfing. This is a manual technique to try and “catch” the machine at a more desirable point in its heating cycle. The process involves:
- Letting the machine fully heat up for at least 15-20 minutes.
- Purging a few ounces of hot water through the group head until the “ready” light turns off, indicating the boiler is now heating.
- Once the light turns on again, the boiler is at its hottest. You then start a timer and pull your shot after a specific interval (e.g., 10 seconds).
For those seeking true precision and repeatability, the ultimate solution is installing a PID (Proportional-Integral-Derivative) controller. A PID is a small digital thermostat that bypasses the Gaggia’s inaccurate stock thermostat. It constantly monitors the boiler temperature and makes tiny, rapid adjustments to the heating element to hold it rock-steady, typically within 1°C of your target. This modification transforms the Gaggia Classic, giving you complete control to set the exact temperature needed (e.g., 94-96°C) for beautiful light roast extraction. It turns the machine from a guessing game into a precise brewing instrument.
Mastering pressure and flowOnce you have a stable temperature, the next frontier is managing water pressure. As mentioned, the factory-set 12-15 bars of pressure is too high for specialty coffee. The industry standard for espresso is around 9 bars, which provides a gentler, more even extraction, significantly reducing the risk of channeling and bitterness.
The solution is the famous OPV mod. This involves adjusting or replacing the spring inside the machine’s Over-Pressure Valve to lower the maximum pressure. You can easily find pre-cut spring kits online that allow you to set the pressure to 9, 6.5, or even 5 bars. Lowering the pressure to 9 bars is a game-changer. It forces you to grind finer, which increases the contact time between water and coffee, helping to properly extract the less soluble compounds in light roasts.
Beyond static pressure, controlling the flow of water can further enhance your shots. Light roast pucks benefit from a gentle pre-infusion, which is a short period of low-pressure water flow to saturate the coffee grounds before the full 9 bars of pressure is applied. This helps prevent channeling and promotes a more uniform extraction. While a stock Gaggia has no pre-infusion, you can add this capability by installing a dimmer switch on the pump’s power line. This “flow control” mod allows you to manually ramp up the pressure, mimicking the functionality of far more expensive machines and giving you the ultimate tool for perfecting your light roast recipe.
The dialing-in workflowWith a modified (or skillfully surfed) Gaggia, you’re ready to dial in. This is the process of finding the right recipe of dose, yield, and grind size for a specific bean. Forget the old rule of a 1:2 ratio in 25 seconds; light roasts play by different rules. They often require longer ratios and shot times to balance their bright acidity and develop sweetness.
Start with your grinder. You’ll need a quality burr grinder capable of making fine adjustments. For light roasts, you will be grinding significantly finer than you would for a medium or dark roast. The goal is to create enough resistance for the water to extract properly at the lower 9-bar pressure. Next, focus on your ratio. A great starting point for many light roasts is a 1:2.5 ratio. This means for every 18 grams of coffee you put in your portafilter (your dose), you’re aiming for about 45 grams of liquid espresso in the cup (your yield).
Finally, let time be your guide, not your target. With a finer grind and a longer ratio, your shot might take 35, 40, or even 45 seconds to complete. This is perfectly normal and often necessary for a balanced extraction. Taste is the final arbiter.
- Sour or grassy? The shot is under-extracted. Grind finer to slow the shot down and increase extraction.
- Bitter or dry? The shot is over-extracted. Grind coarser to speed the shot up and decrease extraction.
| Variable | Starting Point Recommendation | Notes |
|---|---|---|
| Brew Temperature | 94-96°C (201-205°F) | Requires a PID for accuracy. Higher temps help extract bright, fruity notes. |
| Pressure | 9 bars | Requires an OPV mod. This is the industry standard for balanced extraction. |
| Dose | 17-19g | Dependent on your basket size. Keep it consistent while dialing in. |
| Yield (Ratio) | 1:2.5 to 1:3 (e.g., 18g in, 45-54g out) | Longer ratios help balance acidity and increase sweetness in light roasts. |
| Time | 35-45 seconds | This is an output, not an input. Let it run longer to achieve your target yield. |
Pulling exceptional light roast espresso on a Gaggia Classic is not just possible; it’s an incredibly rewarding journey. While the machine’s stock configuration presents significant challenges with its unstable temperature and excessively high pressure, these are not insurmountable. By understanding the core principles of extraction, you can begin to tame the machine even without modifications through techniques like temperature surfing. For those willing to make a few key upgrades, installing a PID controller for temperature stability and performing the OPV mod to lower the pressure to 9 bars will completely transform the Gaggia Classic. It evolves from a capable but fickle appliance into a precise and powerful espresso tool, fully equipped to unlock the delicate, vibrant, and sweet flavors hidden within light roast coffee beans.
The Gaggia’s temperature instability
The core of the problem lies in the Gaggia Classic’s simple bimetallic thermostat. It operates like a basic thermostat in a home oven: it turns the heating element on until the water in the small boiler reaches a set temperature, then it turns off. The water then begins to cool until it drops below a certain threshold, at which point the thermostat kicks the heater back on. This creates a significant temperature swing.
While the machine is “idle,” the boiler water temperature can fluctuate by as much as 10-15°C (20-30°F). This is a huge variable when trying to dial in espresso. A shot started at the peak of the heating cycle will taste completely different from one started at the bottom. For a light roast that needs a precise, high temperature, this inconsistency makes achieving a repeatable, delicious shot feel like a game of chance. You might pull one great shot, but the next three are sour and disappointing, even with the exact same grind size and dose. This is where active temperature management becomes essential.
The ultimate upgrade: Installing a PID controller
While temperature surfing is a fantastic skill, it is ultimately a workaround. The definitive solution to the Gaggia Classic’s temperature problem is installing a PID (Proportional-Integral-Derivative) controller. This small electronic device replaces the machine’s crude thermostat with a smart microprocessor and a precise temperature sensor. The PID constantly monitors the boiler temperature and makes tiny, rapid adjustments to the heating element to hold the water at a precise temperature you set, often with a stability of less than one degree.
For light roast espresso, a PID is a complete game-changer. It eliminates the temperature swing entirely. You can confidently set your machine to 95°C and know that every single shot will be pulled at that exact temperature. This removes the biggest variable from the equation, allowing you to focus purely on grind size, dose, and puck prep to dial in those delicate flavors. While it requires a bit of an investment and some DIY spirit to install, adding a PID elevates the Gaggia Classic from a capable entry-level machine to a specialty coffee powerhouse.
In conclusion, while the Gaggia Classic’s stock thermostat presents a significant hurdle for light roast espresso lovers, it is not an insurmountable one. Understanding the bean’s need for higher, stable temperatures is the first step. By mastering the manual technique of temperature surfing, you can introduce a level of consistency that makes pulling delicious, bright, and sweet shots possible. This method requires diligence and a repeatable workflow but rewards the user with a much better cup. For those who are truly dedicated to exploring the nuances of specialty light roasts, however, the installation of a PID controller is the ultimate upgrade. It transforms the machine, providing the unwavering stability needed to consistently unlock the complex and beautiful flavors hidden within those dense beans.
Mastering temperature stability
The Gaggia Classic’s single boiler and basic thermostat create a heating cycle with significant temperature fluctuations. For light roasts, which extract best at higher, stable temperatures (typically 94-96°C or 201-205°F), managing this cycle is paramount. The technique known as temperature surfing allows you to initiate the brew process at a more consistent and predictable point in the heating cycle.
A common method involves these steps:
- Turn on the machine and allow it to fully heat up for at least 20 minutes with the portafilter locked in.
- Purge a few ounces of water through the group head until the brew light turns off. This indicates the boiler is now heating.
- Wait for the brew light to turn back on, signaling the boiler has reached the top of its heating cycle.
- Start your shot at a specific, repeatable time after the light turns on. This time—often between 5 and 15 seconds—is your variable. Shorter waits result in higher brew temperatures. By keeping this interval consistent, you can achieve more stable shot-to-shot temperatures.
Logging your wait time and tasting the results will help you find the optimal point for your specific coffee.
A practical dialing-in workflow
When dialing in a new light roast, a systematic approach is essential. Instead of changing multiple variables at once, adjust one at a time and taste the result. Below is a sample starting point and workflow.
| Parameter | Starting Point | Objective |
|---|---|---|
| Dose | 17g in a 17g precision basket | Keep this constant initially. |
| Yield | 34g (1:2 ratio) | Your primary variable for taste adjustment. |
| Time | 25-35 seconds | An outcome of grind size, not a target itself. |
| Temperature | Consistent surfing technique | Eliminate temperature as a variable. |
Start by pulling a shot with these parameters. If the shot tastes sour and thin (under-extracted), your first adjustment should be to grind finer. This will slow the shot down and increase extraction. If it tastes bitter or astringent (over-extracted), grind coarser. Only after you’ve found a balanced grind setting should you begin experimenting with yield. Pulling a longer shot (e.g., 1:2.5 ratio, or 42.5g out) can highlight acidity and delicate notes, while a shorter shot may increase body and sweetness. Keep detailed notes on each shot to track your progress.
Successfully extracting light roasts on a Gaggia Classic is a measure of a barista’s understanding of espresso fundamentals. It requires moving beyond factory settings and actively managing the variables of temperature and pressure. By focusing on a consistent grind, meticulous puck preparation, and manual control over the machine’s inherent quirks, you can produce espresso that is both technically sound and delicious. This process rewards precision and patience, turning a challenging task into a deeply satisfying aspect of the home espresso ritual. For those looking to refine their process, quality accessories and tools that support consistency are available from retailers like papelespresso.com.