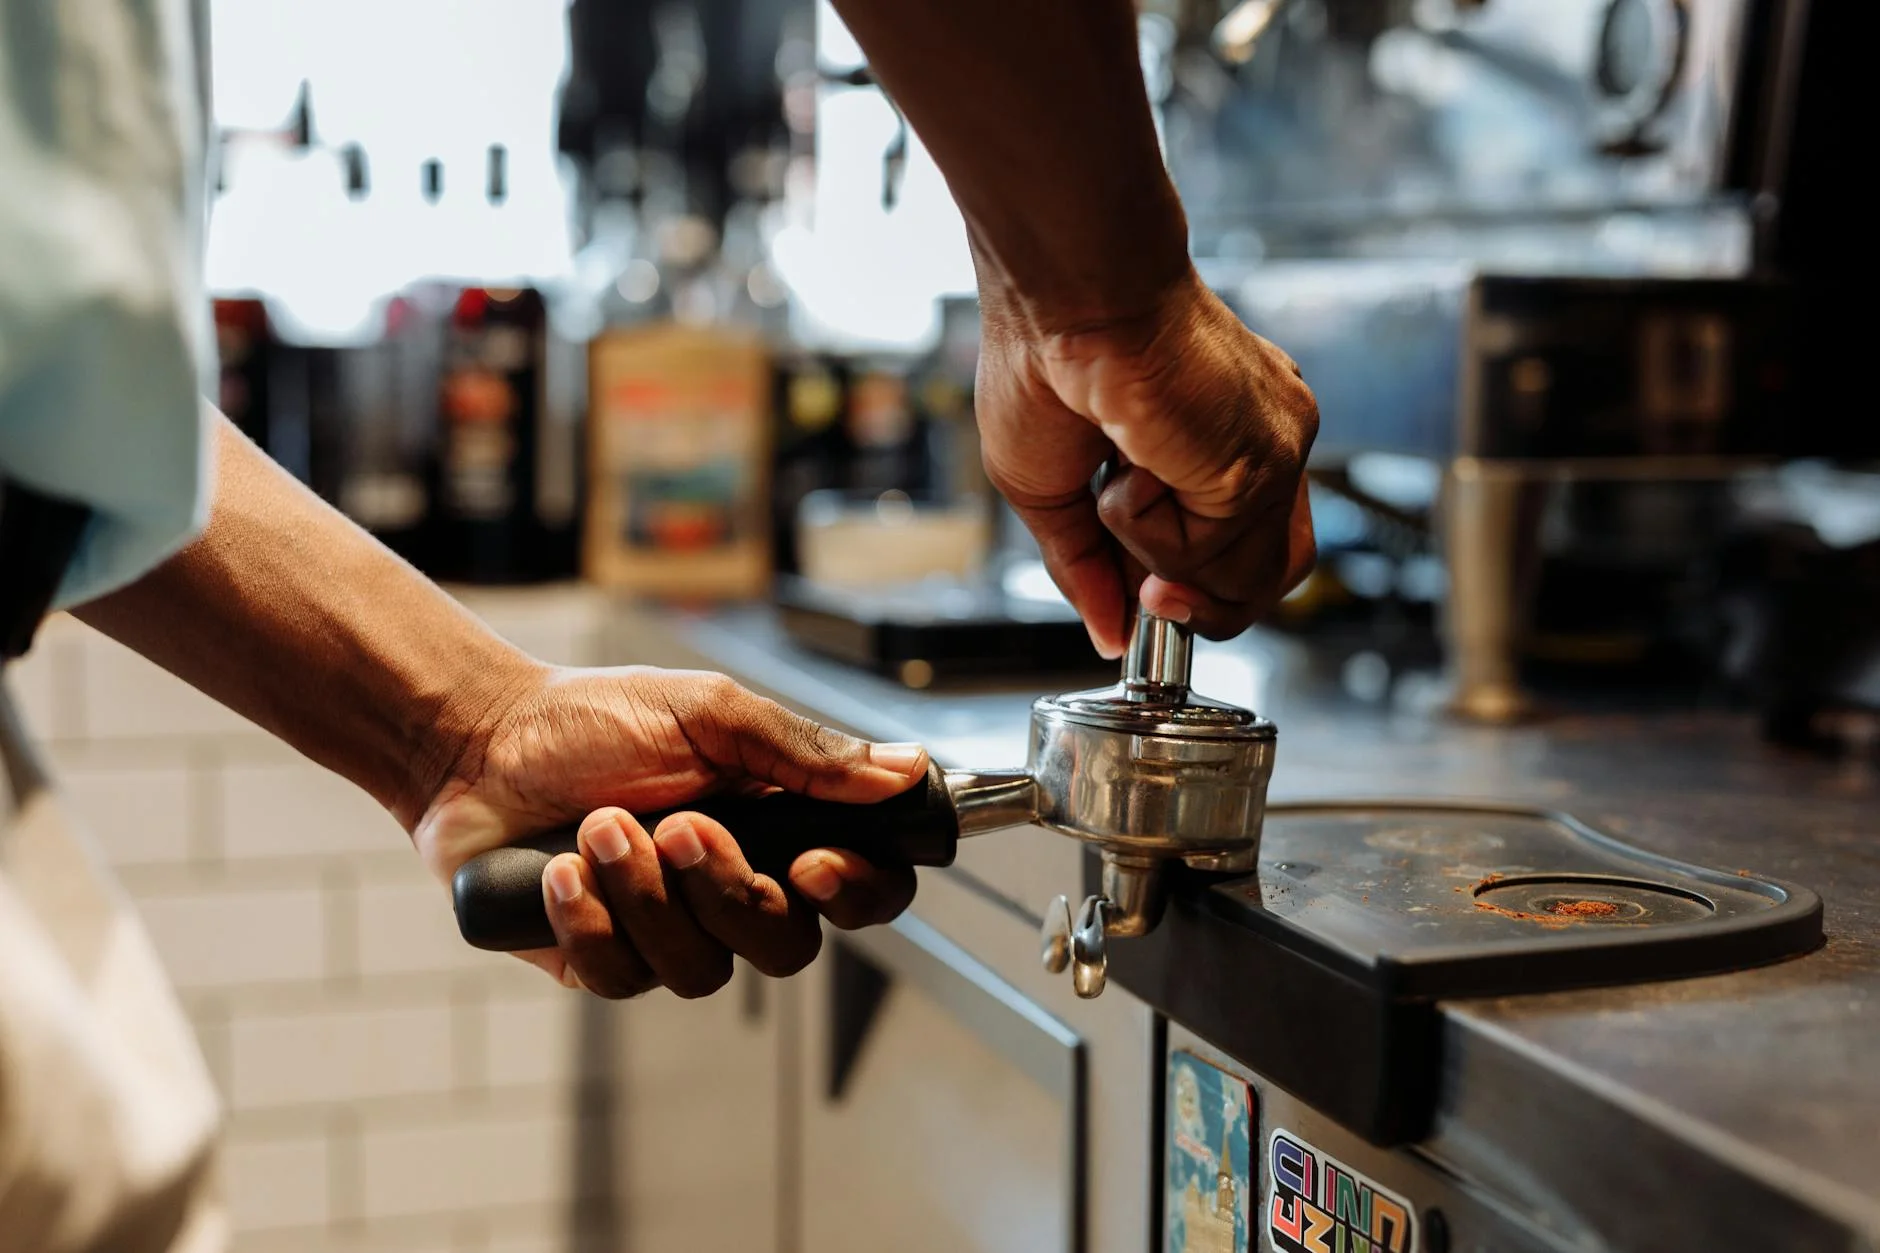
The Gaggia Classic is a legendary machine in the world of home espresso, celebrated for its robust build and its ability to produce cafe-quality coffee. A key feature that sets it apart from many entry-level machines is its commercial-grade 58mm portafilter. This professional-sized component is your direct interface with the coffee, and how you prepare the coffee puck inside it is paramount. While grinding and bean choice get a lot of attention, the simple act of tamping is a fundamental skill that is often misunderstood. Mastering the proper tamping technique for your Gaggia Classic is the bridge between a good shot and a great one. This guide will delve into the best practices for tamping, ensuring you can eliminate inconsistencies and pull a balanced, delicious espresso every time.
Why tamping matters for your Gaggia
Before we grab a tamper, it’s crucial to understand why we do it. Tamping isn’t about packing the coffee down as hard as possible. Its primary purpose is to create a dense and level coffee puck that provides uniform resistance to the high-pressure water from the Gaggia Classic’s pump. When you lock in your portafilter and start the brew, water is forced through the grounds at around 9 bars of pressure. If the coffee bed is uneven or has cracks, the water will exploit these weaknesses.
This creates a phenomenon called channeling. Water, being lazy, will always follow the path of least resistance. Instead of saturating the entire coffee puck evenly, it will rush through the weaker spots, over-extracting coffee in its path (creating bitter flavors) while completely ignoring other parts of the puck (leaving sour, undeveloped flavors). The result is a messy, unbalanced shot that fails to capture the true potential of your beans. A proper, even tamp ensures that the water has no choice but to flow uniformly through the entire puck, leading to a complete and balanced extraction.
Choosing the right tools for consistency
The tools you use have a significant impact on your ability to tamp correctly. Unfortunately, the plastic tamper included with many Gaggia Classic models is simply not up to the task. It’s too light and often slightly smaller than 58mm, making a level and effective tamp nearly impossible. Investing in a couple of key tools will revolutionize your workflow.
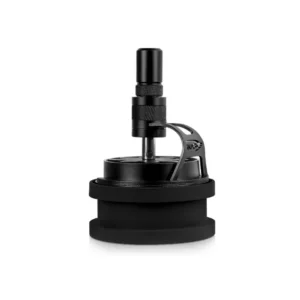
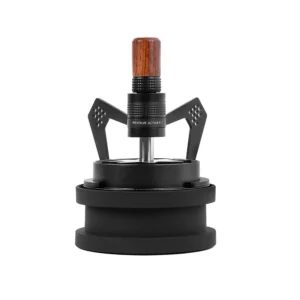
- A precision tamper: This is your most important upgrade. Look for a tamper that is specifically 58mm or, even better, a precision size like 58.4mm or 58.5mm. This snugger fit minimizes the amount of untamped coffee around the edge of the basket, reducing the chance of side-channeling. A heavy, solid stainless steel tamper feels better in the hand and does some of the work for you, allowing for more consistent pressure application. Whether you choose a flat or convex base is a matter of preference, but a flat base is the industry standard and recommended for achieving a uniformly level bed.
- Distribution tools: What happens before you tamp is just as important. Coffee grounds often come out of the grinder clumpy and unevenly distributed in the portafilter. A Weiss Distribution Technique (WDT) tool, which looks like a handle with several fine needles, is used to break up these clumps and evenly rake the grounds. Following this with a leveling tool, which rests on the rim of the portafilter and grooms the surface of the grounds to a perfectly flat level, creates the ideal canvas for a perfect tamp.
The definitive tamping workflow
With the right tools in hand, you can focus on building a repeatable and effective technique. Follow these steps for a perfect puck every time.
- Dose and distribute: Start by grinding your coffee into the portafilter. Use a scale to ensure you have a consistent dose. Then, use your WDT tool to break up any clumps, using circular and raking motions to distribute the grounds evenly throughout the basket.
- Settle and level: Gently tap the side of the portafilter with your hand to settle the grounds into a more compact bed. If you have a leveling tool, use it now to create a perfectly flat surface. If not, you can use a careful finger sweep, but a dedicated tool is far more consistent.
- Position for the tamp: Place your portafilter on a flat, sturdy surface. A tamping mat is ideal as it protects your counter and prevents the portafilter from slipping. Stand with your wrist straight, creating a direct line from your shoulder through your elbow and into the tamper. This ergonomic position helps you apply pressure evenly and without straining your wrist.
- Apply even pressure: Place the tamper on the coffee bed, ensuring it is perfectly level before you apply any force. Press straight down with firm, consistent pressure. The old advice of “30 pounds of pressure” is arbitrary; what matters most is consistency. Press until you feel the coffee puck stop compressing. Once you’ve reached this point, applying more pressure won’t help.
- Release and inspect: Release the pressure and lift the tamper straight up. Avoid the temptation to twist or “polish” the puck, as this can break the seal at the edges and fracture the surface, inviting channeling. Your final coffee puck should be perfectly flat, level, and smooth.
Troubleshooting common tamping-related issues
How your espresso shot pulls is direct feedback on your puck preparation. If you’re experiencing issues, there’s a good chance that an inconsistent tamp is a contributing factor. Here’s a quick guide to diagnosing and fixing common problems.
| Problem | Likely Tamping Cause | Solution |
|---|---|---|
| Shot pulls too fast (under-extracted, sour taste) | Tamp was not firm enough, or the tamp was uneven, leading to channeling. | Ensure your tamp is consistently firm. Focus on keeping the tamper perfectly level during compression. Also, verify your coffee dose is correct. |
| Shot pulls too slow or chokes the machine (over-extracted, bitter) | Tamp was excessively hard. (Note: This is more often a grind size issue). | First, try grinding slightly coarser. If the grind is correct, ease up on your tamping pressure. Remember, consistency is more important than sheer force. |
| Espresso spurts from the spouts (visible channeling) | The coffee bed was not level before tamping, or the tamp itself was applied at an angle. | Focus on distribution (WDT and leveling). During the tamp, use your fingers to feel the rim of the portafilter to ensure the tamper’s base is parallel to it. |
| The puck is wet and soupy after brewing | While often related to under-dosing, a poorly compacted puck can contribute. | Ensure your dose is correct for your basket size and that your tamp is firm and solid, which helps the three-way solenoid drain water more effectively. |
Mastering the art of tamping is not about brute force but about precision, technique, and consistency. For Gaggia Classic owners, taking the time to perfect this skill is one of the most impactful changes you can make to your espresso routine. By understanding the purpose of tamping—to create a level puck for even water flow—you can diagnose and solve extraction problems effectively. Investing in proper tools like a well-fitting tamper and a distribution tool will make achieving consistency significantly easier. By combining these tools with a repeatable workflow of distributing, leveling, and applying even pressure, you transform a variable art into a reliable science. This attention to detail is what separates mediocre home espresso from the rich, syrupy, and delicious shots your Gaggia Classic is capable of producing.

 No products in the cart.