Mastering the Dragon: The Best Warm-up Routine for Your La Pavoni
The La Pavoni lever espresso machine is an icon of Italian design and a rewarding tool for any home barista. Its manual operation offers unparalleled control over the espresso-making process, but it also comes with a steep learning curve. Often affectionately nicknamed “The Dragon” for its tendency to overheat, the machine’s biggest challenge is temperature management. An inconsistent warm-up can lead to shots that are sour, bitter, or simply disappointing. This article will demystify the process, providing a comprehensive, step-by-step warm-up routine specifically for your La Pavoni home setup. By mastering this crucial first step, you will tame the dragon and lay the foundation for pulling consistently delicious, café-quality espresso shots every single time.
Why a consistent warm-up matters
Before diving into the steps, it’s essential to understand why a dedicated warm-up routine is non-negotiable for a La Pavoni. Unlike modern semi-automatic machines with electronically controlled temperatures, the La Pavoni relies on a simple boiler and a group head that is directly attached to it. This design means the group head’s temperature is entirely dependent on the heat transferred from the boiler and the water flowing through it. This concept is known as thermal stability, and it’s the secret to repeatable, delicious espresso.
An improperly heated group head will ruin your shot before you even begin. Here’s how:
- A group head that is too cold: When hot water from the boiler hits a cold group head, its temperature plummets. This results in an under-extracted shot of espresso, which will taste sour, thin, and underdeveloped.
- A group head that is too hot: Conversely, if the group head has become superheated from the boiler being on too long, it will scorch the coffee grounds. This leads to an over-extracted shot that is bitter, ashy, and lacks any of the coffee’s delicate nuances.
The goal of the warm-up is to bring the group head to the ideal brewing temperature—somewhere between 90-95°C (195-205°F)—and keep it there. This routine ensures the water hitting your coffee is at the perfect temperature to extract a balanced, rich, and flavorful shot.
The pre-flight checklist: Tools for success
To execute the perfect warm-up, you need just a few basic items. Having them ready will make the process smooth and repeatable. Think of this as your pre-shot ritual.
- Filtered Water: Always start with good quality, filtered water. This not only improves the taste of your espresso but also prevents scale buildup inside your machine’s boiler, extending its life.
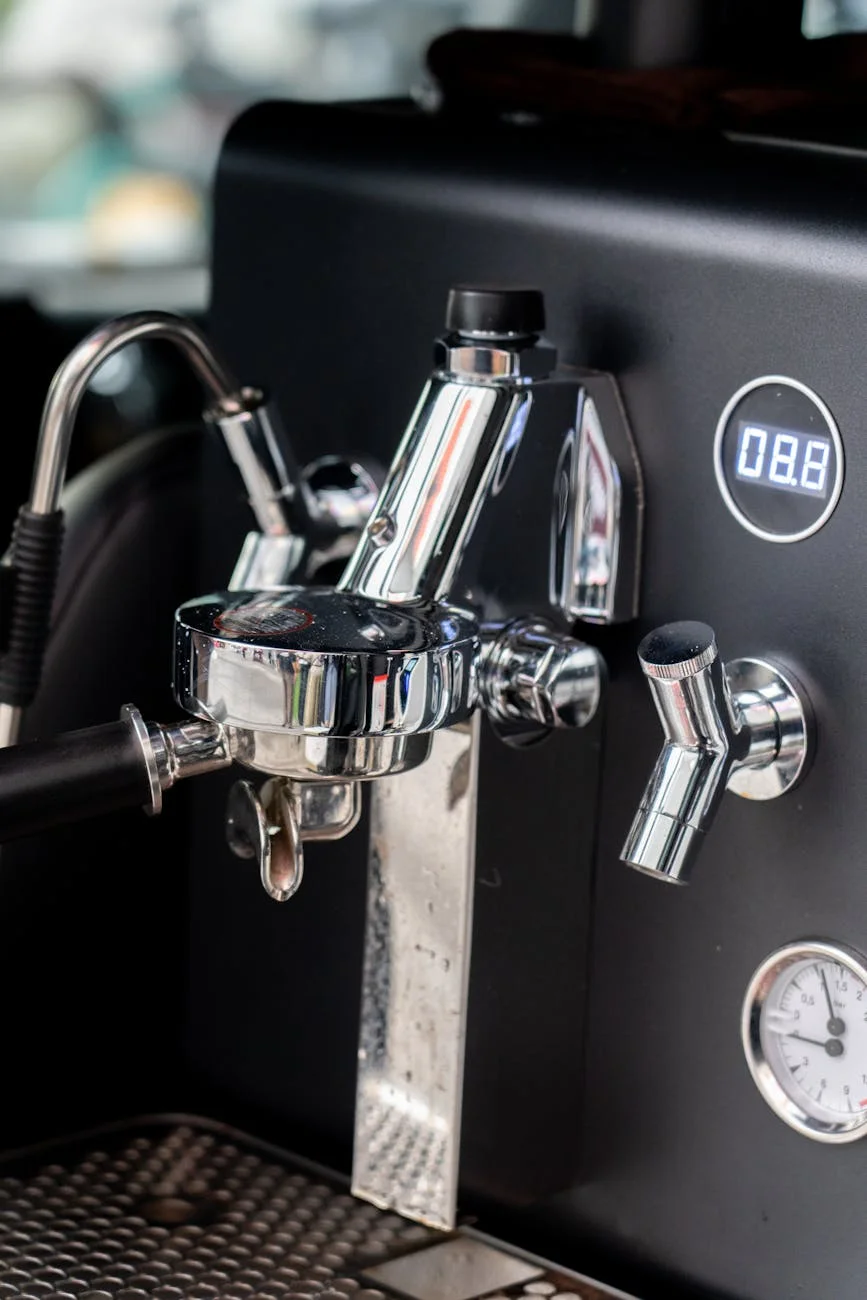
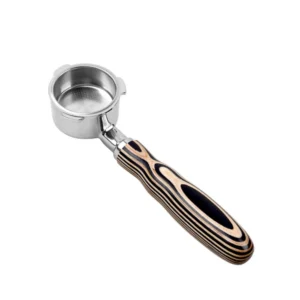
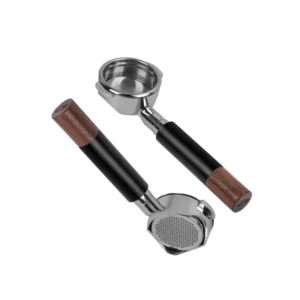
- Portafilter: Your portafilter (with the basket in, but empty of coffee) should be locked into the group head during the entire warm-up. This ensures it heats up to the same temperature as the group, preventing it from acting as a heat sink and cooling down your brew water.
- A Cup or Small Pitcher: You’ll need a vessel to catch the water you flush through the group head during the warm-up phase.
- Optional but Highly Recommended: Group Head Thermometer Strip. This is a game-changer for La Pavoni users. These are simple, adhesive liquid crystal thermometers that you stick onto the side of the group head. They provide a real-time visual reading of the group’s temperature, taking all the guesswork out of the process.
With these items ready, you are prepared to begin the core routine.
The step-by-step La Pavoni warm-up routine
This routine is designed to be consistent and effective for most pre-millennium and millennium La Pavoni Europiccola and Professional models. Follow these steps in order every time for predictable results.
Step 1: Fill the boiler
Unscrew the boiler cap and fill the boiler with cold, filtered water. Use the sight glass on the side to monitor the level, filling it to about the three-quarters mark. Do not overfill, as you need to leave room for a pocket of steam to build pressure. Screw the cap back on, but not too tightly yet.
Step 2: Power on and heat up
Ensure your empty portafilter is locked firmly into the group head. Flip the power switch on. For models with two switches, turn on both (I for power, II for heating element). Now, you wait. It typically takes 8-10 minutes for the boiler to reach pressure.
Step 3: Bleed “false pressure”
As the water heats, it creates a mixture of steam and hot air. This “false pressure” can give a misleadingly high reading on the pressure gauge and doesn’t have the same thermal properties as pure steam. Once you hear a steady hiss from the pressure release valve (or the gauge reaches about 0.8 bar), open the steam wand for a few seconds until you see a strong jet of pure steam. You will hear the boiler kick back on. This purges the air and ensures the boiler is filled with pure, hot steam.
Step 4: Heat the group head
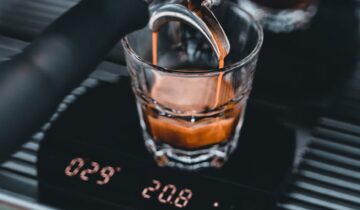
This is the most critical step. With your cup underneath the group head, gently raise the lever all the way to the top. This allows hot water from the boiler to enter the group head piston. Hold it there for a few seconds. You might hear some sputtering as the first bit of superheated water and steam comes through. Slowly lower the lever about halfway to push a small amount of water through. Raise it again and repeat two or three times until you have a steady, non-sputtering stream of water. This process actively heats the group to brew temperature. If you are using a thermometer strip, you are aiming for a reading in the 90-95°C (195-205°F) range.
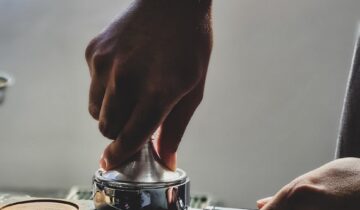
Once you’ve hit your target temperature, your machine is ready. You can now remove the portafilter, dry it, fill it with your prepared coffee grounds, and pull your first perfect shot.
Managing temperature for multiple shots
The La Pavoni is notorious for overheating after the first shot, as the group head continues to absorb heat from the boiler. If you plan to make a second or third coffee, you will likely need to cool the group head down to avoid a bitter, over-extracted shot. Waiting is an option, but it can be slow. Here are a few active methods to manage temperature between shots.
| Method | Description | Pros | Cons |
|---|---|---|---|
| Wet Towel/Cloth | Drape a cool, damp cloth around the bell of the group head for 15-30 seconds. | Easy, controlled cooling. | Can be a bit messy. |
| Portafilter “Heat Sink” | Lock a cold, wet portafilter (or just the basket) into the group for a few seconds to draw heat out. | Very effective and fast. | Requires a spare cold portafilter or wetting your primary one. |
| Finned Cooling Heatsink | Aftermarket accessories, often made of brass or aluminum, that clip onto the group head to passively dissipate heat. | Passive and requires no effort after installation. | Adds cost and changes the machine’s aesthetics. |
Using one of these techniques, along with your thermometer strip, will allow you to quickly bring the group back into the ideal brewing range for your next shot, ensuring consistency across multiple drinks.
Conclusion
Mastering the La Pavoni is a journey, and the warm-up routine is your map to success. While it may seem elaborate at first, it quickly becomes a simple, meditative ritual. By understanding the importance of thermal stability and diligently following a consistent procedure—filling the boiler correctly, bleeding false pressure, and actively flushing the group head to the perfect temperature—you eliminate the biggest variable in your espresso making. This transforms the machine from a source of frustration into a reliable tool for crafting exceptional coffee. The key is consistency. This routine provides the stable foundation you need, allowing you to focus on the other variables like grind size and tamping, confident that your machine is perfectly prepared to do its job.


 No products in the cart.