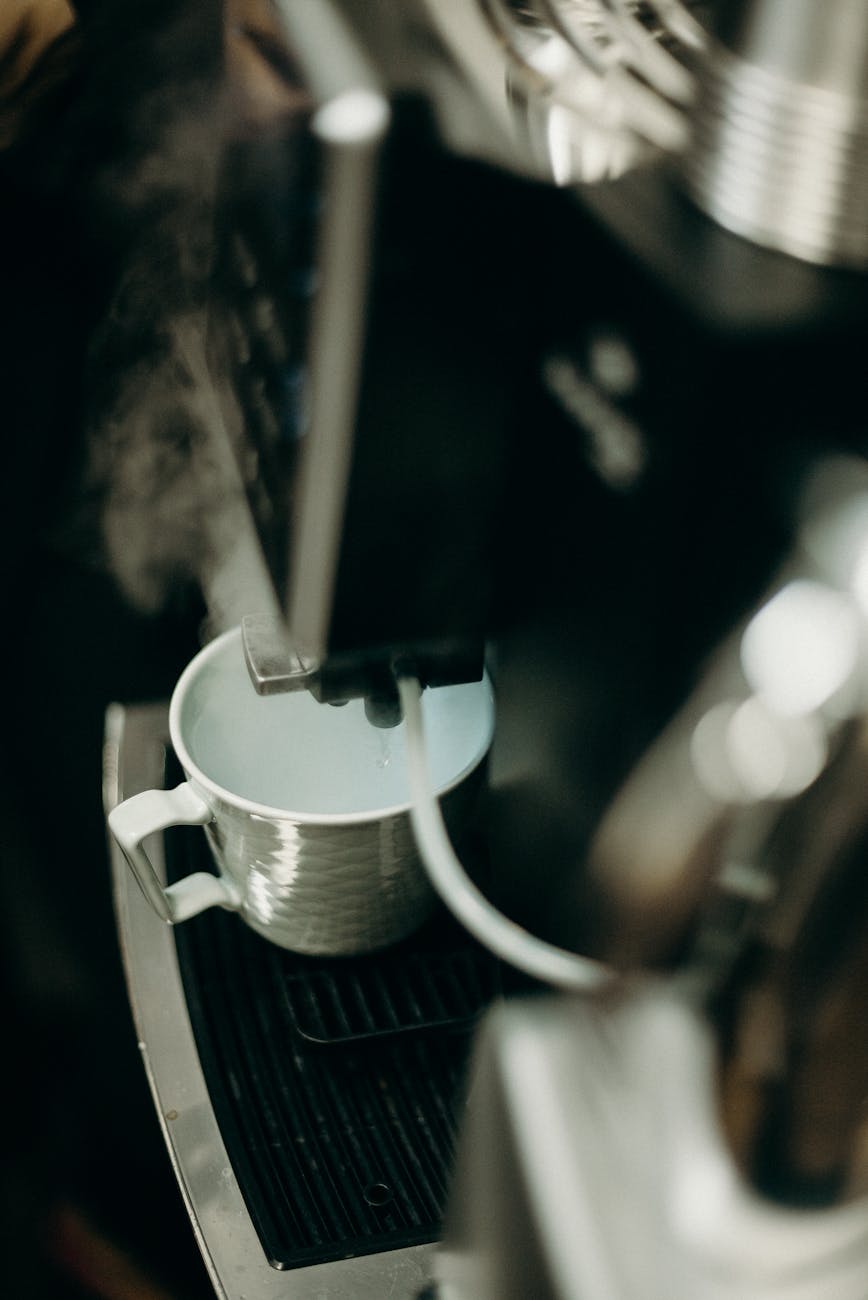
The Gaggia Classic is a legendary entry-level espresso machine, beloved by home baristas for its robust build and potential for modification. One of the most popular upgrades is the addition of a PID (Proportional-Integral-Derivative) controller, which provides rock-solid brew temperature stability. However, while solving one problem, this upgrade can introduce a new challenge: managing steam temperature. Many users discover that after installing a PID, the steam temperature aggressively overshoots its target, leading to inconsistent steam pressure and difficulty in producing quality microfoam. This article will delve into why this happens and provide a comprehensive guide on how to tune your PID settings and adjust your workflow to tame the steam on your Gaggia Classic.
Understanding steam temperature overshoot
To produce steam, the Gaggia Classic’s small aluminum boiler must be heated to well above the boiling point of water, typically to a target of around 140-155°C (284-311°F). Without a PID, this is managed by a simple bimetallic thermostat that clicks on and off within a wide temperature range. A PID controller, however, uses a sophisticated algorithm to hold the temperature much closer to a specific setpoint.
The problem arises from the combination of the PID’s power and the boiler’s small thermal mass. When you switch to steam mode, the PID directs full power to the heating element to get to the target temperature as quickly as possible. Because the boiler is so small, it heats up extremely fast. By the time the temperature probe registers that it’s nearing the setpoint, the heating element is still intensely hot. Even after the PID cuts the power, this residual heat continues to transfer to the boiler, pushing the temperature far past the target. This is temperature overshoot, and it can sometimes be as high as 10-15°C.
This matters because extreme overshoot can create a burst of very high-pressure, wet steam, which then quickly fades. This makes it difficult to properly stretch and texture milk, often resulting in either stiff, bubbly foam or barely heated milk.
The role of PID settings in steam management
The key to controlling steam overshoot lies within the PID’s steam-specific parameters. While your brew settings might be perfectly dialed in, the steam settings require a completely different approach. The goal is to tell the PID to be less aggressive and to anticipate the temperature rise more effectively. Let’s look at the three core values:
- P (Proportional): This determines how much power is applied based on how far the temperature is from the setpoint. For steam, a high P value contributes directly to overshoot.
- I (Integral): This value looks at past errors and adjusts to eliminate temperature droop over time. In the rapid heating phase for steam, a high I value can “wind up” and keep the heater on for too long.
- D (Derivative): This is the most critical parameter for managing overshoot. It looks at the rate of temperature change and acts as a brake, reducing power as the temperature rapidly approaches the setpoint. A higher D value provides a stronger braking effect.
To reduce overshoot, you generally need to lower the P and I values and increase the D value for your steam settings. The exact numbers will vary slightly between PID kits (like those from Auber or Shades of Coffee) and individual machines, but the principle remains the same.
| Parameter | Effect on Steam | Typical “Aggressive” Setting | Recommended “Anti-Overshoot” Setting |
|---|---|---|---|
| P (Proportional) | Controls initial heating power. Too high = overshoot. | 10.0 – 15.0 | 3.0 – 7.0 |
| I (Integral) | Corrects for long-term error. Can worsen overshoot. | 0.10 – 0.20 | 0.02 – 0.05 |
| D (Derivative) | Acts as a brake. The primary tool to fight overshoot. | 1.0 – 2.0 | 4.0 – 8.0 |
Note: These are example values. You should start with a conservative tune and adjust in small increments to find what works best for your machine.
Developing a smart steam workflow
Tuning your PID settings is half the battle. The other half is adapting your workflow to work with the machine’s behavior. Simply flipping the switch and waiting for the PID to hit its target is often not the best approach. Here are two effective workflows to combine with your tuned PID settings for consistent, powerful steam.
1. The early start method
This is the most popular technique. The goal is to start steaming before the boiler reaches its peak temperature, using the temperature’s upward momentum to provide strong, sustained steam pressure throughout the frothing process.
- Flip your machine into steam mode. Your steam target might be set to 145°C.
- Watch the PID display as the temperature climbs rapidly.
- When the temperature reaches about 10-15°C below your target (e.g., at 130-135°C), purge the steam wand for 1-2 seconds to clear any condensed water.
- Immediately insert the wand into your milk pitcher and begin steaming.
- The heating element will remain on as you steam, providing continuous power and preventing the pressure from dropping off midway through.
2. The purge and stabilize method
This method is useful if your machine still overshoots significantly or if you prefer to steam at a more stable, albeit slightly lower, temperature.
- Engage steam mode and let the temperature rise and overshoot the target.
- Wait for the temperature to peak and begin to fall back towards your setpoint.
- Once it’s near the setpoint, purge the steam wand for 3-5 seconds. This will vent the initial high-pressure, wet steam and stabilize the pressure in the boiler.
- The PID will kick the heater back on. As soon as it does, begin steaming your milk.
By combining tuned PID parameters with a deliberate workflow, you transform the Gaggia Classic’s steaming from an unpredictable variable into a reliable and powerful tool.
Final thoughts and conclusion
Adding a PID controller to a Gaggia Classic is a fantastic upgrade for brew temperature control, but it requires a new approach to steam management. The aggressive heating that a PID enables can cause significant temperature overshoot in the machine’s small boiler, leading to frustratingly inconsistent steam for milk frothing. However, this is a solvable problem. By understanding the function of the PID’s P, I, and especially D parameters, you can tune them specifically for steam to dampen this overshoot. Combining these optimized settings with a smart workflow, such as starting to steam before the boiler reaches its target temperature, allows you to harness the machine’s full potential. With a little practice and tuning, your PID-equipped Gaggia Classic can produce powerful, sustained steam, giving you the control you need to create perfect, cafe-quality microfoam at home.


 No products in the cart.