Master your espresso: Improving shot consistency with a 49mm bottomless portafilter
For the dedicated home barista, the quest for the perfect espresso shot is a journey of passion and precision. Achieving that syrupy, balanced, and delicious shot consistently can feel elusive. Often, the barrier between a good shot and a great one lies in unseen flaws within the coffee puck. This is where the 49mm bottomless portafilter transforms from a simple accessory into an indispensable diagnostic tool. Far more than just a way to get beautiful Instagram videos, this piece of equipment offers a raw, unfiltered view into the heart of your extraction. This article will guide you through using a 49mm bottomless portafilter to diagnose problems, refine your technique, and ultimately unlock a new level of consistency in every cup you brew.
Understanding the bottomless portafilter advantage
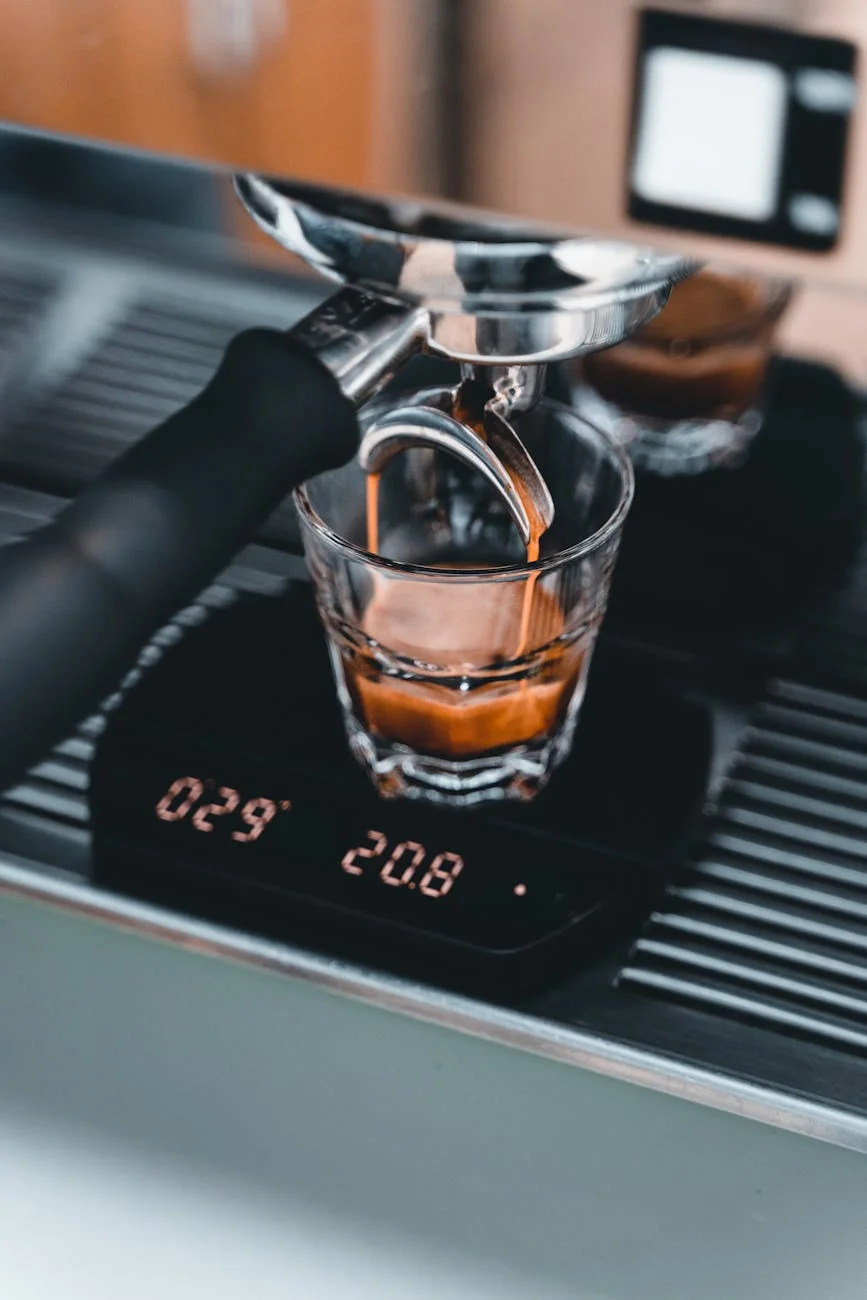
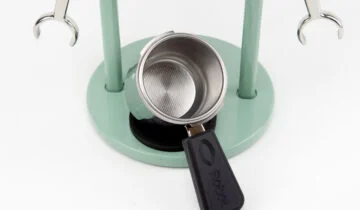
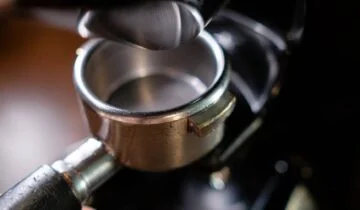
A standard portafilter has a solid bottom with one or two spouts that guide the espresso into your cup. In contrast, a bottomless portafilter, also known as a naked portafilter, has the bottom portion completely removed. This exposes the entire underside of the filter basket, giving you a direct, unobstructed view of the espresso as it extracts. While available in many sizes, the 49mm size is specific to a beloved class of machines, most notably manual lever machines like the La Pavoni Europiccola and Professional models, as well as some vintage Olympia Creminas.
The primary benefit is immediate, clear visual feedback. As the water is forced through the coffee grounds, you can see exactly how the extraction develops. Does the coffee appear as a single, unified stream in the center? Do you see beautiful, rich tiger striping? Or, do you see tiny jets of water spraying sideways or blond, watery patches forming prematurely? This visual information is priceless. It connects what you see with what you taste. A visually perfect extraction, where dark, viscous drops form evenly across the basket and coalesce into a single stream, almost always translates to a balanced, sweet, and complex shot. Flaws in the extraction, however, directly correlate to flaws in the cup, such as bitterness or sourness.
Diagnosing common extraction flaws
With a bottomless portafilter, you become a detective investigating your own espresso puck. The clues it provides are clear and point directly to specific problems in your preparation technique. Once you know what to look for, you can start making targeted adjustments.
- Channeling: This is the most common and dreaded flaw. Channeling occurs when water finds a path of least resistance through the coffee puck, over-extracting from that channel while under-extracting the rest of the puck. Visually, it appears as thin, fast-flowing, and light-colored streams or even aggressive spurts that spray out from the basket. The resulting shot will often taste both bitter (from the over-extracted channel) and sour (from the under-extracted majority).
- Uneven extraction: If you notice the espresso beginning to flow from only one side of the basket before the other, it’s a clear sign of an uneven bed of coffee. This is typically caused by an unlevel tamp or poor distribution of the grounds, leading to one side being less dense than the other.
- Donut extraction: This occurs when the extraction begins around the outer edges of the basket, leaving the center dry for the first few seconds. This can indicate that you have put too much coffee in the basket (overdosing) or that your distribution technique is pushing grounds to the sides, leaving the center less dense.
Recognizing these issues is the first and most critical step. Instead of blindly guessing why your shot tastes off, the bottomless portafilter gives you a concrete starting point for improvement.
The toolkit for perfect puck prep
After diagnosing the issues with your bottomless portafilter, the next step is to address their root cause: puck preparation. The narrow and deep nature of 49mm baskets makes them particularly sensitive to poor prep. A few key tools and techniques can make all the difference.
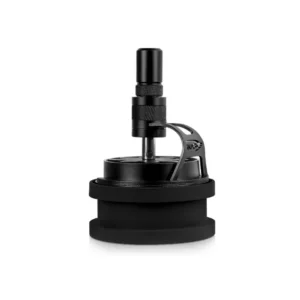
First and foremost is the Weiss Distribution Technique (WDT). This involves using a tool with very fine needles to stir the coffee grounds in the portafilter before tamping. This breaks up any clumps from the grinder, eliminates air pockets, and evenly distributes the grounds, which is the single most effective way to combat channeling.
Next, consider a distribution or leveling tool. These tools sit on top of the portafilter and have a small, propeller-like base that you spin to create a perfectly level surface of coffee grounds. While WDT does the heavy lifting of de-clumping, a leveler ensures the surface density is uniform before you tamp.
Finally, focus on your tamping technique. The goal is to apply firm, even pressure to compact the grounds into a solid, level puck. A calibrated tamper, which clicks when you reach a specific pressure, can be a great training aid for consistency. However, what matters most is not the exact pressure but that you are tamping perfectly level every single time. A crooked tamp is an open invitation for water to flow faster down the lower side.
Putting it all together: A step-by-step workflow
Consistency comes from a repeatable process. By combining your diagnostic observations with the right preparation tools, you can build a workflow that minimizes variables and maximizes your chances of a perfect shot. This process turns shot-pulling from a game of chance into a controlled, methodical practice.
Here is a workflow to follow:
- Dose: Grind your beans fresh and weigh your dose accurately. Use a dosing funnel to keep your station clean and ensure all grounds make it into the 49mm basket.
- Distribute: Use your WDT tool to thoroughly stir the grounds. Work in circles and cross-hatching patterns to break up all clumps and create a fluffy, even bed.
- Settle and Level: Gently tap the portafilter on the counter to settle the grounds. If you have a leveling tool, use it now to create a flat surface.
- Tamp: Place the portafilter on a level surface. Using your fingertips to feel the rim of the basket, apply pressure to ensure you are tamping perfectly straight down.
- Extract and Observe: Lock the portafilter into your machine and begin the extraction. Watch closely as the first drops appear and how they coalesce.
Use your observations to make small adjustments for the next shot. This iterative process of feedback and refinement is the key to mastery.
Troubleshooting your shot
| Observation | Likely Cause | Solution |
|---|---|---|
| Fast-flowing, blond spots or “spurters” | Channeling due to clumps or uneven density. | Improve WDT. Ensure you are breaking up all clumps. Check for a level tamp. |
| Shot starts on one side of the basket | Uneven distribution or an unlevel tamp. | Focus on tamping straight. A distribution tool can help ensure a level bed. |
| Center remains dry while edges extract | “Donut extraction” from overdosing or poor distribution. | Try reducing your coffee dose by 0.5g. When doing WDT, ensure grounds are evenly spread. |
| Entire shot flows too fast | Grind is too coarse. | Adjust your grinder to a finer setting. |
Conclusion
The 49mm bottomless portafilter is far more than an aesthetic upgrade; it is an essential tool for learning and an instrument for achieving true consistency. By providing a clear window into the extraction process, it empowers you to move beyond guesswork. It reveals the hidden flaws in your puck preparation, such as channeling and uneven flow, that directly impact the taste in your cup. By pairing these visual diagnostics with a methodical approach to puck prep—embracing techniques like WDT and careful tamping—you can systematically eliminate variables. This transforms espresso making from a frustrating art into a repeatable science, allowing you to consistently pull balanced, delicious shots that showcase the full potential of your coffee and your machine.
 No products in the cart.
