Unlock perfect espresso: Your guide to the Cafelat Robot pressure gauge
The Cafelat Robot has earned a dedicated following for its simplicity, durability, and the exceptional espresso it can produce. As a fully manual machine, it puts every variable directly into your hands. While this offers unparalleled control, it can also be a source of frustration, leading to inconsistent shots. One day you pull a perfect, syrupy espresso, and the next, a sour, watery failure. The key to bridging this gap and achieving repeatable excellence is the pressure gauge. This simple-looking dial is the most powerful accessory for the Robot, transforming your brewing process from guesswork into a precise science. This guide will walk you through how to read, interpret, and use the pressure gauge to pull consistently delicious shots every single time.
Understanding what the gauge tells you
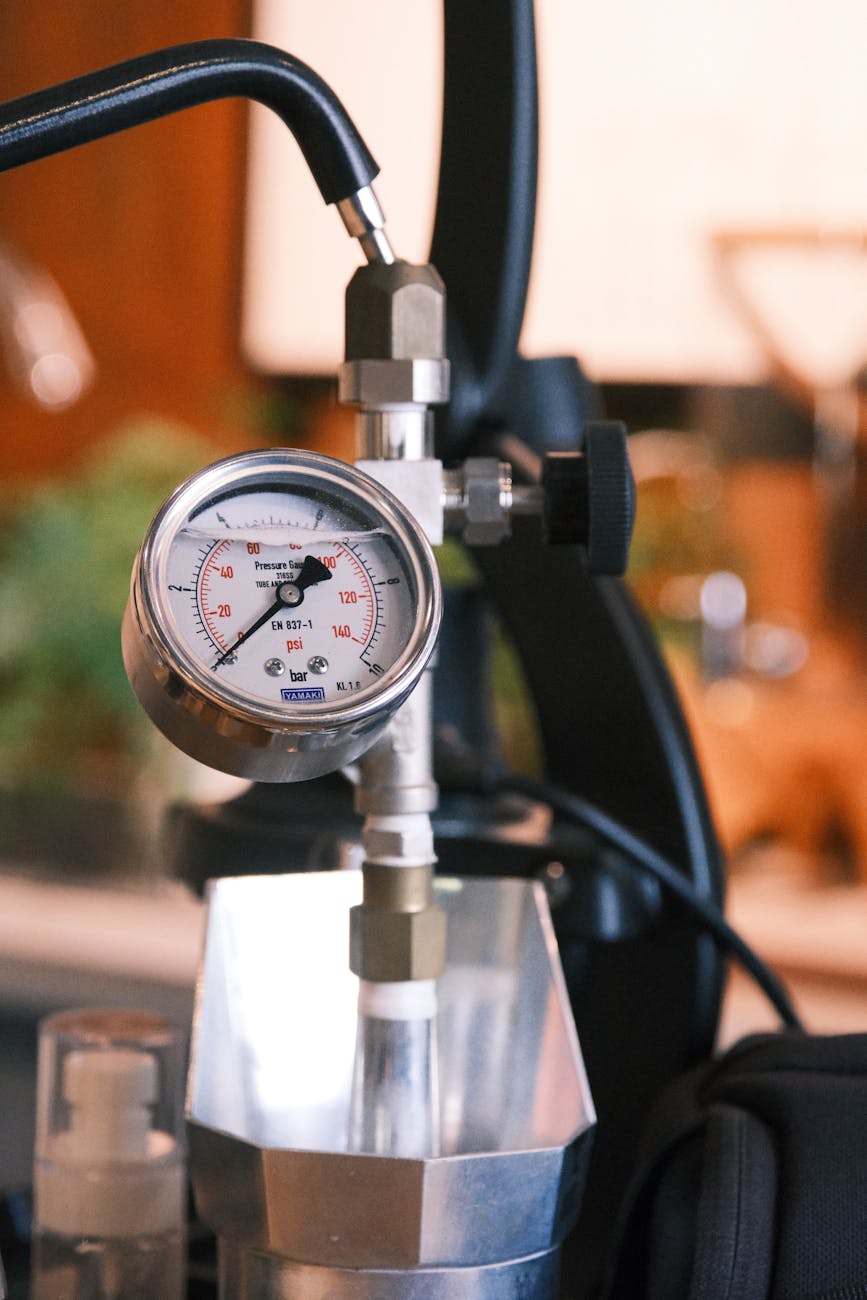
Before you can master pressure profiling, you first need to understand what the gauge is actually measuring. Attached directly above the basket, the pressure gauge provides a real-time reading of the pressure, measured in bars, being exerted directly on the coffee puck. This is a crucial distinction. Many semi-automatic espresso machines measure pressure at the pump, which can be different from the pressure the coffee actually experiences after water travels through the group head. The Robot’s gauge gives you the most accurate data point: the force that is actively extracting flavor from your coffee grounds. It’s an optional accessory, but for anyone serious about consistency, it’s non-negotiable. It turns an invisible force into a visible, controllable variable.
The anatomy of a pressure-profiled shot
An espresso shot isn’t a single event; it’s a process with distinct phases. The pressure gauge allows you to control each phase deliberately. A typical, well-executed shot on the Robot follows a specific pressure curve that you create with the lever arms.
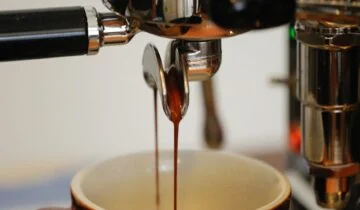
1. Pre-infusion (0-2 bars): The shot begins by slowly lowering the arms until the gauge reads between 1 and 2 bars. The goal here is to gently and evenly saturate the entire coffee puck with water before applying high pressure. This minimizes the risk of channeling, where water creates a small path of least resistance through the puck, leading to an uneven and under-extracted shot. Hold this low pressure for 5-10 seconds, or until you see the first few drops of espresso appear on the bottom of the basket.
2. Ramping up (2-9 bars): Once the puck is saturated, you begin to smoothly and steadily increase the pressure. A slow, controlled ramp-up is key. Pushing too hard, too fast can fracture the puck and cause channeling. Aim to take 3-5 seconds to build from your pre-infusion pressure up to your target peak pressure. You will be watching the needle on the gauge climb as you apply more force to the arms.
3. Peak pressure (6-9 bars): This is the main extraction phase. The traditional standard for espresso is 9 bars of pressure. With the Robot, your goal is to hold the needle as steady as possible at your target. This is where you develop a feel for the machine, making micro-adjustments to the force you’re applying. While 9 bars is a great starting point, the Robot allows for experimentation. Many find that lighter roasts taste better with a lower peak pressure of 6-7 bars, which can highlight delicate flavors without introducing excessive bitterness.
4. Tapering off (9-0 bars): As the shot progresses, the puck’s resistance naturally decreases. To maintain a steady flow rate and avoid over-extracting bitter compounds towards the end, it’s good practice to let the pressure gradually decline. You can do this by slowly easing up on the arms for the last 5-10 seconds of the shot. The gauge allows you to manage this decline gracefully instead of stopping abruptly.
Using the gauge for diagnosis and repeatability
The true power of the pressure gauge lies in its ability to give you instant feedback, turning it into an indispensable diagnostic tool. It tells you exactly what’s happening inside the basket and allows you to replicate your best shots with precision.
Troubleshooting with pressure:
- Pressure spikes and the shot chokes: If you apply force and the gauge immediately spikes to 10+ bars with no coffee coming out, your grind is too fine or your dose is too large. The water simply can’t get through the puck.
- Can’t build pressure: If you push the arms down and the gauge struggles to get past 4-5 bars while coffee gushes out, your grind is too coarse. The water is flowing through the grounds too easily.
- Sudden pressure drop: If you are holding a steady 9 bars and the needle suddenly drops to 6 bars without you changing your force, you have likely experienced channeling. The puck’s integrity has been compromised.
Once you pull a “god shot,” the gauge is your key to repeating it. You are no longer just relying on muscle memory. You can note the exact pressure profile you used and aim to replicate it. This process of “dialing in” becomes data-driven. Did the perfect shot have a 10-second pre-infusion at 2 bars followed by a slow ramp to 8 bars? Now you know the recipe. You can even create different profiles for different beans.
Example pressure profiles for different results
The beauty of the Robot is its flexibility. The pressure gauge unlocks the ability to experiment with different profiles to achieve different flavor outcomes. A standard profile is great for medium-to-dark roasts, while lighter roasts often benefit from longer, gentler extraction.
| Profile type | Pre-infusion | Peak pressure | Taper | Best for |
|---|---|---|---|---|
| Classic 9 bar | 5-8 seconds @ 2 bar | Hold steady 9 bar | Gentle decline over last 5s | Medium/dark roasts, balanced & rich shots. |
| Gentle start | 10-15 seconds @ 2 bar | Ramp to 7 bar, hold steady | Sharp decline at end | Light roasts, highlighting acidity and sweetness. |
| Slayer style | 20-30 seconds @ 1-2 bar | Ramp to 6-8 bar | Natural decline as flow increases | Very light roasts, maximizing clarity and flavor separation. |
The pressure gauge is far more than a simple accessory for the Cafelat Robot; it is the central tool for mastering it. By providing clear, real-time data, it transforms the abstract art of pulling a shot into a repeatable and deliberate science. It allows you to understand the distinct phases of extraction, from gentle pre-infusion to a controlled peak pressure and a graceful decline. More importantly, it serves as your primary diagnostic tool, instantly telling you if your grind is off or if channeling has occurred. By learning to read and react to the gauge, you remove the guesswork that plagues so many aspiring home baristas, empowering you to replicate your best shots and consistently produce café-quality espresso at home.

 No products in the cart.