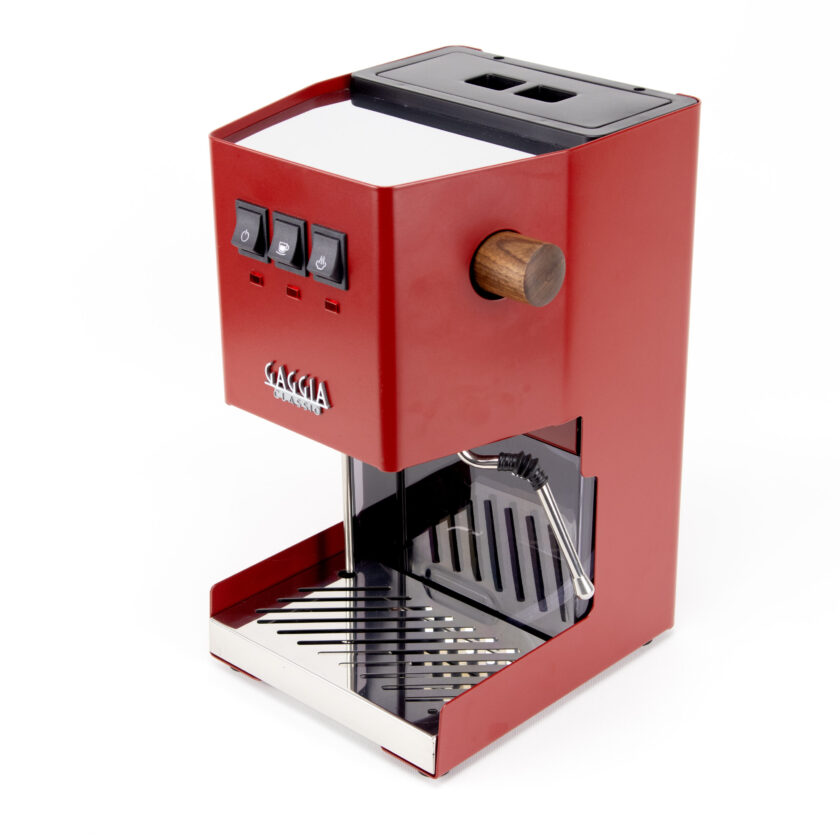
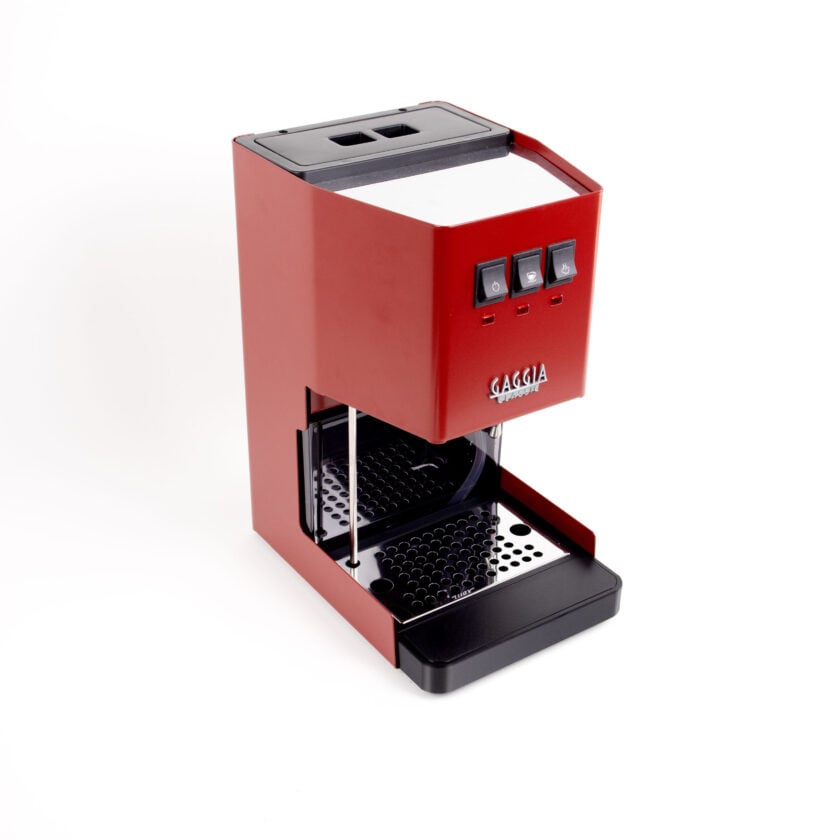



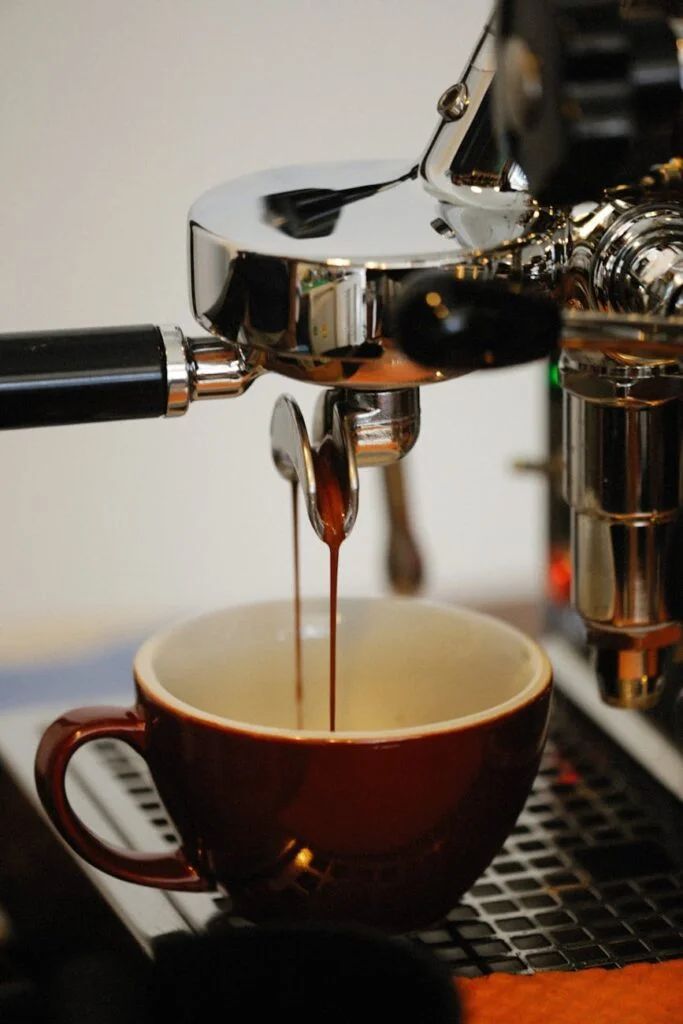
So, you’ve brought home a Gaggia espresso machine, perhaps the legendary Gaggia Classic Pro, and you’re ready to pull café-quality shots in your kitchen. As you unbox your machine, you’ll find a crucial component called a portafilter, and inside it, a small metal filter basket. Gaggia typically includes two types: pressurized and non-pressurized. This small difference is one of the most significant factors influencing your espresso’s quality, taste, and the entire brewing process. For beginners, the choice can seem confusing, but understanding it is the first major step on the path from making just coffee to crafting true espresso. This article will demystify these two basket types, explaining how they work, who they are for, and how to choose the right one for your journey.
What is a pressurized portafilter basket?
Think of the pressurized basket, often called a “dual-wall” or “Perfect Crema” basket by Gaggia, as the training wheels for your espresso machine. Its design is clever and specifically engineered to help beginners achieve a visually appealing shot with thick crema, even if their technique isn’t perfect. On the inside, it looks like a normal basket with many small holes. However, the magic happens on the outside. All of that coffee is forced through a single, tiny exit hole on the bottom.
This design creates artificial back-pressure. In traditional espresso, the pressure is built by the finely ground, tightly packed puck of coffee resisting the hot water. The pressurized basket does most of that work for you. It ensures that enough pressure builds up inside the basket regardless of the coffee grind size or tamping pressure. This is why it’s incredibly forgiving. You can use pre-ground supermarket coffee or beans ground from a basic blade grinder and still get a drinkable shot with a lot of foam on top. However, the “crema” it produces is more of an aerated froth, lacking the rich texture and flavor of true crema.
Understanding the non-pressurized basket
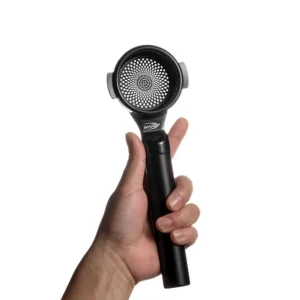
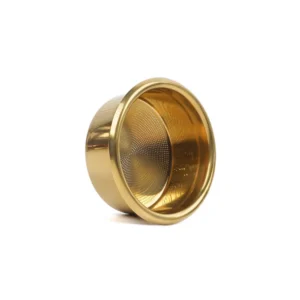
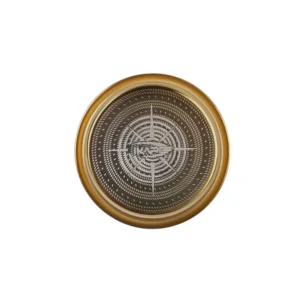
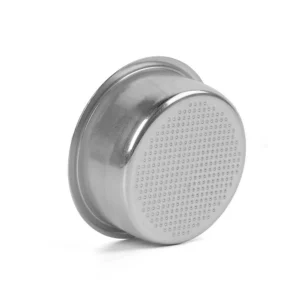
The non-pressurized basket is the professional standard and the key to unlocking your Gaggia’s true potential. Often called a “single-wall” or “commercial” basket, its design is deceptively simple: it’s just a high-quality metal cup with hundreds of tiny, evenly spaced holes covering the entire bottom. There are no tricks here. This basket offers very little resistance on its own. Instead, it places all the responsibility squarely on the barista—that’s you.
With a non-pressurized basket, the coffee puck itself must create the pressure. This means several variables become critically important:
- Grind Size: You need a fine, consistent grind specifically for espresso. Too coarse, and the water will gush through, creating a weak, sour shot (under-extraction). Too fine, and it will choke the machine, resulting in a bitter, burnt shot (over-extraction).
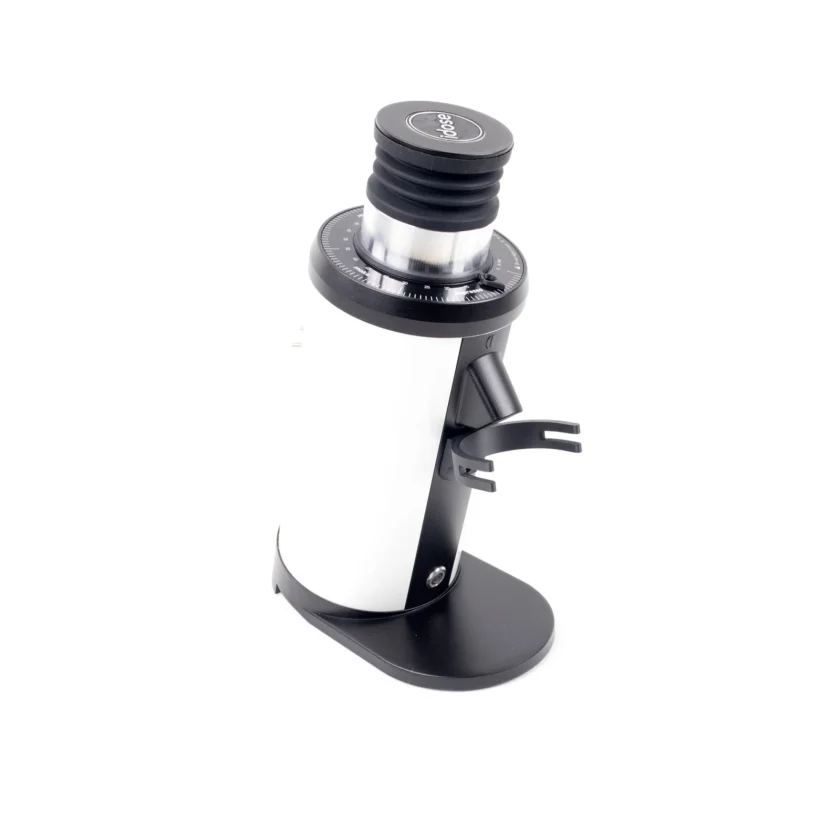
- The Grinder: This is non-negotiable. You must have a capable burr grinder that can produce that consistent, fine grind and allow for micro-adjustments. A cheap blade grinder simply will not work.
- Tamping: Your tamping technique—applying firm, even pressure to the coffee grounds—becomes essential for ensuring water flows evenly through the puck.
When you get these variables right, the reward is immense. You’ll produce genuine, rich crema and an espresso shot with incredible flavor clarity, nuance, and complexity that a pressurized basket can never replicate.
Key differences: The grinder, the puck, and the cup
The transition from a pressurized to a non-pressurized basket is more than just swapping a piece of metal; it’s a fundamental shift in your approach to making espresso. The pressurized basket is a self-contained system designed for convenience, while the non-pressurized basket is one tool in a larger process that you control entirely.
The most significant difference lies in the role of the grinder. With a pressurized basket, the grinder’s job is simply to make coffee beans smaller. With a non-pressurized basket, the grinder becomes your primary tool for “dialing in” a shot. You will adjust the grind size—often by tiny increments—to control how fast the water flows through the coffee, aiming for a target shot time (typically 25-30 seconds). This level of control allows you to highlight different flavors in the coffee beans, from bright citrus notes to deep chocolate and caramel tones.
This control extends to the final result in the cup. Pressurized shots tend to taste very similar, regardless of the bean used. They produce a consistent, often slightly muted, and generic “coffee” flavor. Non-pressurized shots, on the other hand, reflect the quality and origin of your beans and the precision of your technique. The flavor is more transparent, the body is more complex, and the experience is far more rewarding.
Which basket is right for you?
Deciding which basket to use depends entirely on your goals, your current equipment, and your willingness to engage with the learning process. There is no single “best” answer, only what is best for your situation.
You should use a pressurized basket if:
- You are an absolute beginner and want to get decent results immediately.
- You do not own a quality burr grinder and plan to use pre-ground coffee.
- You value speed and convenience over ultimate flavor quality.
- You want a consistent, predictable result every time without much fuss.
You should use a non-pressurized basket if:
- You have invested in a capable espresso burr grinder.
- You enjoy the process of learning and refining a skill.
- You buy fresh, whole-bean coffee and want to taste its unique flavor profile.
- Your goal is to make authentic, café-quality espresso at home.
Here is a simple breakdown of the key differences:
| Feature | Pressurized Basket | Non-Pressurized Basket |
|---|---|---|
| Best for | Beginners, users with no grinder, pre-ground coffee | Enthusiasts, users with a quality burr grinder |
| Grind Requirement | Forgiving (coarse to fine, inconsistent is okay) | Demanding (requires fine, consistent espresso grind) |
| Crema | Thick and frothy, but less flavorful | Rich, reddish-brown, and complex in flavor |
| Flavor Profile | Consistent, somewhat muted | Nuanced, clear, reflects the bean’s origin |
| Ease of Use | Very Easy – “plug and play” | Difficult – requires learning and practice |
In conclusion, the pressurized and non-pressurized baskets on your Gaggia machine serve two very different purposes. The pressurized basket is an excellent starting point, designed for convenience and consistency. It allows new users to enjoy espresso-like drinks without the steep learning curve or the required investment in a high-end grinder. It builds confidence and delivers a satisfying cup. However, the non-pressurized basket is the gateway to true espresso. It demands more from you and your equipment but rewards your effort with unparalleled control, flavor depth, and the immense satisfaction of mastering a craft. For any Gaggia owner serious about coffee, graduating to a non-pressurized basket is a rite of passage and the most significant upgrade you can make to your coffee experience.
Gathering your new toolkit
Making the leap to a non-pressurized basket isn’t just about swapping out one piece of metal for another. It requires a few essential tools because your technique now matters. Without these, you will likely encounter frustration and inconsistent results. This initial investment is what truly elevates your Gaggia from a simple appliance to a capable espresso workstation.
| Tool | Why It’s Essential |
|---|---|
| Burr grinder | This is non-negotiable. You need a grinder capable of making fine, uniform adjustments to your grind size. Blade grinders and low-quality burr grinders cannot produce the consistency required. |
| Non-pressurized basket | The star of the show. A standard 58mm single-wall basket (17-20g) is a great starting point for a Gaggia. |
| Proper tamper | The plastic tamper included with the machine is inadequate. Invest in a solid, weighted 58mm tamper that fits the basket snugly for an even and level tamp. |
| Gram scale | Consistency is key. A scale with 0.1g accuracy is needed to measure your coffee dose (grounds in) and your espresso yield (liquid out). |
| Bottomless portafilter (Optional) | Highly recommended for learning. It exposes the bottom of the basket, allowing you to see your extraction in real-time and easily diagnose issues like channeling. |
Pulling your first traditional shot
With your new tools in hand, it’s time to pull a shot. Don’t expect perfection on the first try. This process, known as “dialing in,” is a core skill for any barista. The goal is to balance the main variables (dose, grind, and yield) to achieve a target extraction time.
A great starting recipe is a 1:2 ratio in about 25-30 seconds. For example, use 18 grams of ground coffee to produce 36 grams of liquid espresso.
- Dose: Weigh out 18g of fresh coffee beans.
- Grind: Grind the beans to a fine, sand-like consistency. Place the ground coffee into your portafilter basket.
- Prepare the puck: Distribute the grounds evenly. You can do this by gently tapping the side of the portafilter or using a distribution tool (WDT).
- Tamp: Place the portafilter on a level surface and press down firmly and evenly with your tamper. The goal is a compact and level coffee puck.
- Extract: Lock the portafilter into the Gaggia, place your cup and scale underneath, and start your shot and a timer simultaneously. Stop the shot once you reach your target yield (e.g., 36g).
- Analyze and adjust: Did the shot take 28 seconds? Great! Taste it. Was it too fast (under 22 seconds)? Your coffee is likely under-extracted and will taste sour. Adjust your grinder to be finer. Was it too slow (over 35 seconds)? Your coffee is likely over-extracted and will taste bitter. Adjust your grinder to be coarser. Keep only one variable (grind size) changing at a time until you hit the target.
Transitioning from a pressurized to a non-pressurized basket is the single most important modification a Gaggia owner can make. It marks the move from letting the machine do the work to taking full, creative control over your espresso. While it introduces a steeper learning curve and necessitates an investment in a quality grinder and accessories, the rewards are immense. You will gain a deeper understanding of the coffee-making process and, most importantly, you will be able to produce espresso with a depth of flavor, rich aroma, and luscious texture that a pressurized system simply cannot replicate. Embrace the challenge, be patient with the process, and get ready to enjoy the best coffee you’ve ever made at home.