How to use the Aeropress for high-clarity light roast coffee
Light roast coffee beans are a celebration of nuance. They hold delicate floral notes, bright fruity acidity, and a complex sweetness that can be easily lost with the wrong brewing method. While many brewers can produce a decent cup, the AeroPress stands out as a uniquely versatile tool for unlocking the full potential of these special beans. Achieving high clarity—a clean, transparent cup where every flavor note is distinct—can feel like a challenge. This article will guide you through the process, transforming your AeroPress from a simple coffee maker into a precision instrument. We will explore the key variables, provide a step-by-step recipe, and show you how to fine-tune your technique to brew the most vibrant and articulate cup of light roast coffee you’ve ever tasted.
Understanding light roasts and the quest for clarity
Before we start pressing, it’s important to understand why light roasts require a different approach. Unlike their darker counterparts, light roast beans are roasted for a shorter time and at lower temperatures. This preserves more of the coffee’s original, origin-specific characteristics. The beans themselves are physically denser and less porous, making them harder to extract flavor from. The flavors we want are often subtle: think jasmine, bergamot, stone fruit, or wild berries. The challenge is to extract these desirable compounds without also pulling out the undesirable ones that cause bitterness or sourness.
This is where the concept of clarity comes in. In coffee tasting, clarity refers to a brew that is clean and free of muddled flavors. Each note is crisp and easily identifiable, much like individual instruments in a well-mixed song. The AeroPress is perfectly suited for this task because it combines two brewing principles: full immersion and pressure. Immersion ensures that all the coffee grounds are evenly saturated, promoting a balanced extraction. The final press then rapidly separates the brewed coffee from the grounds, cutting the extraction process short and pushing it through a paper filter that traps fine particles and excess oils. This combination gives you a clean cup with a surprisingly full body, avoiding the muddiness that can sometimes plague other immersion methods.
The essential variables you need to control
Mastering the AeroPress for light roasts is a game of precision. Small adjustments to a few key variables can have a dramatic impact on the final cup. By understanding and controlling these elements, you can consistently brew coffee with exceptional clarity and flavor.
- Grind size: This is perhaps the most critical variable. For light roasts, the dense beans require a larger surface area for proper extraction. We recommend a medium-fine grind. Think of the texture of table salt, slightly finer than you would use for a standard drip coffee maker but coarser than an espresso grind. A grind that is too coarse will result in a weak, sour, and under-extracted brew. Too fine, and you risk choking the filter and introducing bitterness from over-extraction.
- Water temperature: Don’t be afraid to use hotter water. The density of light roast beans means they need more thermal energy to break down their cellular structure and release their flavors. Brewing with water that is too cool will lead to a thin, acidic cup. Aim for a temperature between 93-96°C (200-205°F). If you don’t have a variable temperature kettle, simply bring your water to a boil and let it sit for about 30-45 seconds before pouring.
- Coffee to water ratio: A good starting point for light roasts is a ratio of 1:16 (1 gram of coffee for every 16 grams of water). This slightly more diluted ratio helps to highlight the delicate acidity and aromatic compounds without overwhelming the palate. For a single serving, this might look like 15 grams of coffee to 240 grams of water.
- Filtration: For maximum clarity, nothing beats paper. The standard AeroPress paper filters are excellent at trapping micro-grounds and oils, resulting in a very clean cup. For an even more pristine result, try the double filter method. Simply place two paper filters in the cap instead of one. This small change significantly enhances clarity, making those subtle flavor notes pop.
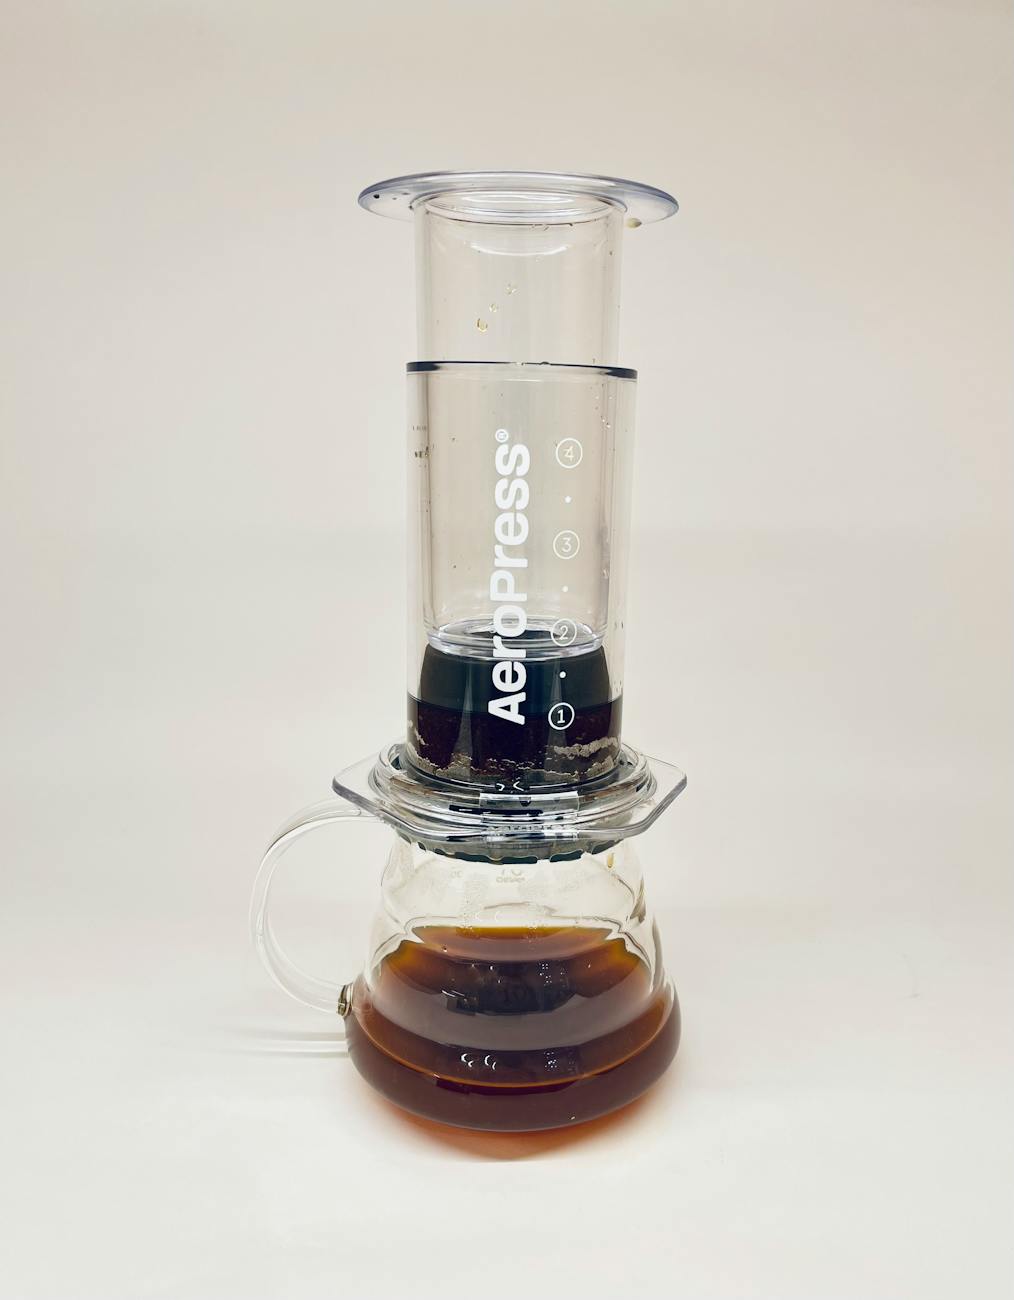
A step-by-step recipe for a clean cup
This recipe uses the standard AeroPress orientation (not inverted) and incorporates a “bypass” method. This technique involves brewing a concentrate and then diluting it with hot water, which helps to preserve delicate aromas and prevent over-extraction during the press. It’s a simple yet highly effective way to achieve a clean and vibrant cup.
What you’ll need:
- AeroPress
- Kettle (preferably with temperature control)
- Digital scale
- Burr grinder
- Your favorite light roast coffee beans
- Mug or server
| Parameter | Value |
|---|---|
| Coffee dose | 15 grams |
| Grind size | Medium-fine |
| Water temperature | 94°C / 202°F |
| Brew water | 200 grams |
| Bypass water | 40 grams |
| Total water | 240 grams (for a 1:16 ratio) |
| Total brew time | ~2 minutes |
Brewing steps:
- Place a paper filter (or two for extra clarity) in the AeroPress cap and twist it onto the chamber. Place the AeroPress directly onto your mug or server on top of your scale.
- Rinse the filter with hot water. This removes any paper taste and preheats the brewer and your mug. Discard the rinse water.
- Add your 15g of medium-fine ground coffee into the AeroPress chamber and tare your scale.
- Start your timer and pour 200g of 94°C water over the grounds, making sure to saturate them all. This should take about 15 seconds.
- Gently stir back and forth 3-4 times to ensure no dry clumps remain.
- Place the plunger into the top of the chamber, creating a seal to stop the coffee from dripping through.
- At the 1:30 mark, begin to press the plunger down slowly and steadily. This press should take about 30 seconds. Stop pressing as soon as you hear a slight hissing sound.
- Remove the AeroPress from your mug. Your scale should show you have brewed a concentrate. Now, add the remaining 40g of hot water directly into your mug to dilute the coffee to its final strength.
- Swirl, smell, and enjoy the clean, complex flavors of your brew.
Troubleshooting and dialing in your brew
The recipe above is an excellent starting point, but every coffee is different. The true beauty of the AeroPress is how easy it is to make small adjustments to perfect your brew. Learning to taste your coffee and identify what needs to change is the final step in mastering the process. Use this guide to “dial in” your recipe based on how your coffee tastes.
- If your coffee tastes sour or grassy: This is a sign of under-extraction. The water hasn’t had enough contact or energy to pull out the sweet compounds, leaving only the fast-extracting acids.
Solution: Try one of these adjustments. Grind finer to increase the surface area, or increase the water temperature by a few degrees to give the water more extractive power. - If your coffee tastes bitter or harsh: This indicates over-extraction. The water has pulled out all the good stuff and has started to extract bitter, undesirable compounds.
Solution: Do the opposite. Grind coarser to reduce the surface area, or decrease the total brew time by pressing a little earlier. - If your coffee tastes weak or thin: Assuming the extraction is balanced (not sour or bitter), the issue is likely the ratio.
Solution: Use more coffee for the same amount of water. Try changing your ratio from 1:16 to 1:15 (e.g., 16g of coffee for 240g of water).
Remember to only change one variable at a time. This scientific approach will help you understand how each element affects the final taste, turning you into a more intuitive and skilled brewer.
In conclusion, the AeroPress is far more than just a quick and convenient coffee maker; it is a precision tool capable of producing exceptionally clear and flavorful coffee. By understanding the unique properties of light roast beans—their density and delicate flavor profiles—we can tailor our brewing technique to highlight their best qualities. Controlling key variables like a medium-fine grind size, hot water temperature around 94°C, and using paper filters is fundamental to success. Our step-by-step recipe, which utilizes a bypass method, provides a reliable blueprint for brewing a clean, concentrated shot and diluting it to a perfect, balanced strength. The ultimate goal is to empower you to experiment. Use this guide not as a rigid set of rules, but as a starting point for your own coffee journey.


 No products in the cart.