The morning ritual of preparing an espresso is a sensory experience. The aroma of freshly ground beans, the sight of a rich, syrupy extraction, and the satisfying heft of the brew lever in your hand. But when that smooth, hydraulic feel is replaced by an irritating squeak, it can ruin the entire moment. That high-pitched noise isn’t just an annoyance; it’s your machine’s way of telling you it needs attention. Fortunately, fixing a squeaky E61 brew lever is a straightforward maintenance task that any home barista can handle. This guide will walk you through the entire process, from understanding the cause of the squeak to the step-by-step procedure for cleaning and lubricating the components, ensuring your espresso routine is silent and smooth once again.
Understanding the squeak: Why your E61 lever makes noise
Before grabbing your tools, it’s helpful to understand what’s happening inside your E61 group head. The brew lever isn’t a simple on-off switch. When you lift it, you are manually operating a camshaft that pushes on a set of valves. This intricate mechanical dance directs the flow of water for pre-infusion and full-pressure brewing. The squeaking sound is almost always caused by friction between the metal parts within this cam assembly.
The primary culprits are:
- Dry cam and pins: The camshaft and the small pins that actuate the valves require a thin layer of lubricant to operate smoothly. Over time, this lubricant breaks down from heat and use or gets washed away, leading to metal-on-metal contact.
- Coffee residue: Tiny coffee particles and oils can work their way into the cam chamber. This gunk can mix with old lubricant, creating a sticky, abrasive paste that causes noise and premature wear on the components.
- Worn gaskets: The small rubber gaskets on the valve pins can harden and wear out over time. While they don’t typically cause squeaking themselves, they can contribute to a less-than-smooth lever action and are worth inspecting during maintenance.
In most cases, the solution is simple: a thorough cleaning and re-lubrication of the cam assembly. It’s a maintenance task that restores that satisfyingly smooth lever action and protects the internal components from unnecessary wear.
Gathering your tools and materials
Having everything you need ready will make this job quick and easy. You don’t need a professional workshop, just a few common tools and the right kind of lubricant. The most critical item on this list is the lubricant itself; it must be food-safe and rated for high temperatures to be used in a coffee machine.
Here’s a breakdown of what you’ll need:
| Item | Purpose |
|---|---|
| Adjustable wrench | To loosen and tighten the nut that holds the cam lever assembly to the group head. |
| Food-safe lubricant | (e.g., Molykote 111, Haynes Lubri-Film) The most crucial material. Do not substitute with other greases like Vaseline or WD-40. |
| Clean, lint-free cloths | For wiping down and drying all the small components. |
| Group head brush | For scrubbing away old lubricant and stubborn coffee residue from the cam and inside the group head. |
| Espresso machine cleaner | (e.g., Cafiza or Puly Caff) Optional but highly recommended for a deep clean of the parts. |
Before you begin, lay a towel down on your work surface to protect your counter and prevent any small parts from rolling away. Having a small bowl to place the disassembled components in is also a great idea.
The step-by-step lubrication process
With your tools gathered and your workspace prepared, you’re ready to bring the silence back to your machine. Follow these steps carefully for a successful result. Remember to take your time; this is a delicate procedure, not a race.
- Safety first: Turn off and unplug your espresso machine. Most importantly, allow it to cool down completely. The group head contains hot water and becomes extremely hot during operation. Attempting this on a warm machine can result in serious burns.
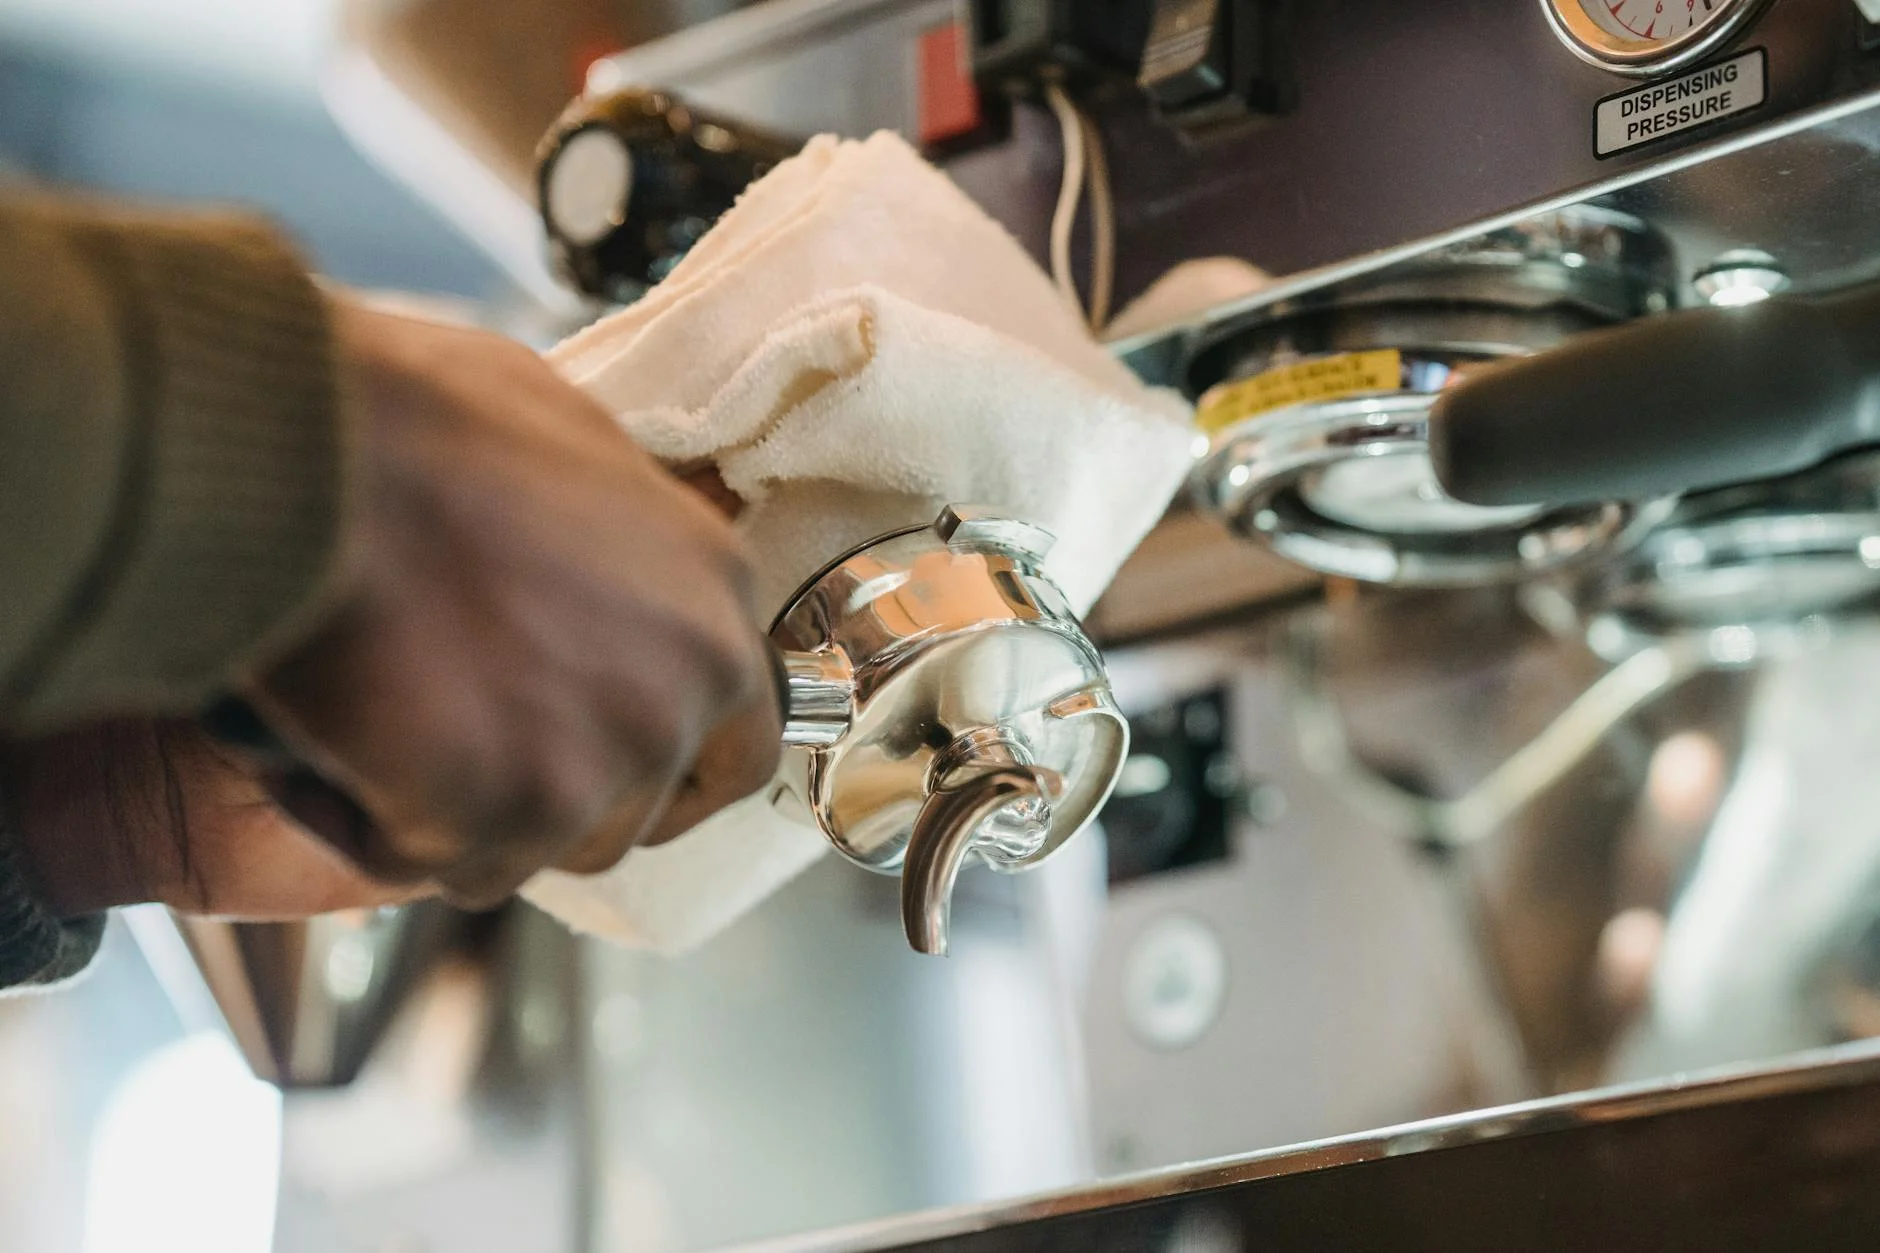
- Position the lever: Move the brew lever so it is pointing straight up or at a 45-degree angle. This aligns the cam inside, making removal easier.
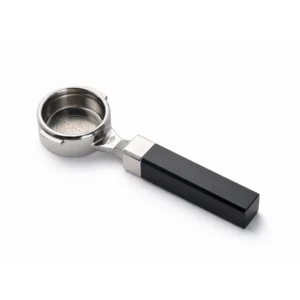
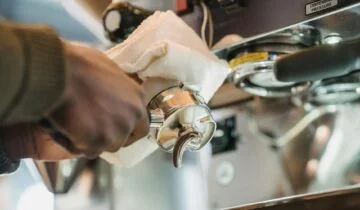
- Remove the lever assembly: Use your adjustable wrench to carefully loosen the large nut that connects the lever assembly to the group head. Turn it counter-clockwise. Once it’s loose, you can unscrew it the rest of the way by hand. As you pull the entire assembly away from the group head, a small amount of water may drip out—this is normal.
- Disassemble and inspect: Carefully pull the camshaft out of its housing. Pay close attention to the order and orientation of the small valve pins and their gaskets. It’s a great idea to take a quick photo with your phone at this stage for reference during reassembly. Place all the small parts in your bowl so nothing gets lost.
- Clean everything thoroughly: This is the most important step for a lasting fix. Use your group head brush and a clean cloth to remove every trace of old, dark lubricant and coffee gunk from the camshaft, especially the lobes, and the pins. If you have espresso machine cleaner, you can make a small, concentrated solution to soak the parts for a few minutes. Clean the inside of the group head where the cam sits as well. Rinse all parts with water and dry them completely.
- Apply new lubricant: Squeeze a small amount of the food-safe lubricant onto your finger or a small stick. Apply a thin, even layer to the lobes of the camshaft—these are the surfaces that do the work. Also, put a tiny amount on the valve pins. Don’t overdo it! Too much lubricant can attract coffee grounds and gunk up the mechanism faster.
- Reassemble and test: Carefully reassemble the components in the reverse order you took them apart, using your photo for reference. Insert the cam assembly back into the group head and hand-tighten the nut. Finally, give it a gentle snug with the wrench—do not overtighten. Plug in and turn on your machine. Once it’s up to temperature, operate the lever a few times. The squeak should be gone, replaced by a smooth and silent action.
Preventive maintenance for a silent future
Fixing the squeak is great, but preventing it from coming back is even better. Integrating this simple lubrication process into your regular maintenance schedule will keep your E61 group head operating flawlessly for years. You don’t need to do this every month; for most home users, cleaning and re-lubricating the brew lever cam every 6 to 12 months is sufficient. If you use your machine heavily, you may find that a 4-month interval works best.
Another key part of preventive care is regular backflushing with an espresso machine detergent. While backflushing primarily cleans the shower screen, dispersion block, and three-way solenoid valve, it also helps reduce the amount of coffee oil and residue that can migrate into the cam chamber. A cleaner internal environment means the lubricant stays effective for longer.
Finally, pay attention to your machine. If the lever starts to feel stiff or you hear a faint noise returning, it’s a sign that it’s time for another service. Being proactive is always better than waiting for the problem to become a full-blown, ear-splitting squeak during your morning coffee ritual.
That annoying squeak from your E61 brew lever is more of a cry for help than a sign of a serious problem. By following this guide, you can confidently address the issue yourself, saving you from a potentially costly service call. The entire process boils down to a few key actions: carefully disassembling the lever mechanism, thoroughly cleaning away old gunk and lubricant, and applying a fresh, thin layer of food-safe grease to the moving parts. This simple task not only silences the squeak but also extends the life of the internal components of your cherished espresso machine. Now, you can return to the peaceful ritual of pulling shots, with the only sounds being the hum of the pump and the satisfying trickle of perfect espresso into your cup.

 No products in the cart.
