A complete guide to cleaning the Gaggia Classic’s three-way solenoid valve
The Gaggia Classic is a legendary entry-point into the world of home espresso, beloved for its robust build and ability to produce cafe-quality shots. A key component responsible for its clean, professional performance is the three-way solenoid valve. This small but mighty part is what gives you that satisfyingly dry coffee puck after pulling a shot, making cleanup a breeze. However, over time, coffee oils and mineral scale can cause it to clog or stick, leading to frustrating issues. This article will serve as your comprehensive guide to understanding, diagnosing, and cleaning the three-way solenoid valve on your Gaggia Classic. We’ll walk you through the entire process, ensuring you can keep your machine running smoothly and pulling delicious espresso for years to come.
What the three-way solenoid valve does and why it fails
Before diving into the cleaning process, it’s helpful to understand what this component actually does. The three-way solenoid valve is essentially an electronically controlled traffic cop for water in your machine. When you flip the brew switch, the valve opens a path from the boiler to the group head, sending hot, pressurized water through your coffee grounds. The magic happens when you turn the switch off. The valve instantly closes the path from the boiler and opens a third path, which vents the built-up pressure from the group head and portafilter directly into the drip tray. This rapid pressure release is what transforms a soupy, messy puck into a dry, easily discardable one.
The problem arises from what passes through it. A constant flow of water, especially hard water, can lead to limescale buildup inside the valve’s tiny passages. More commonly, microscopic coffee grounds and sticky coffee oils can get sucked back into the valve during the pressure release, accumulating over time. This gunk eventually causes the internal plunger to stick or the narrow channels to clog, hindering its ability to function correctly and leading to the common symptoms of a dirty valve.
Telltale signs your solenoid valve needs attention
Your Gaggia Classic is usually quite good at telling you when something is wrong. If you notice a decline in performance, the solenoid valve is a prime suspect. Paying attention to these signs can help you diagnose the issue before it gets worse. A faulty valve doesn’t just affect cleanup; it can impact the quality of your espresso and the health of your machine.
- The soupy puck: This is the most common and obvious symptom. If you consistently find a wet, muddy mess in your portafilter after brewing, it means the valve isn’t properly venting pressure.
- Constant dripping: You may notice a slow but steady drip of water from the group head, even when the machine is idle and heated up. This indicates the valve isn’t sealing completely, allowing water from the boiler to leak through.
- The dreaded “portafilter sneeze”: If you try to remove the portafilter immediately after brewing and are met with an explosive spray of hot coffee grounds, it’s a clear sign of unreleased pressure. A working solenoid prevents this dangerous mess.
- Restricted or no water flow: In severe cases, a complete blockage in the valve can prevent water from reaching the group head at all when you try to pull a shot.
A step-by-step guide to cleaning the valve
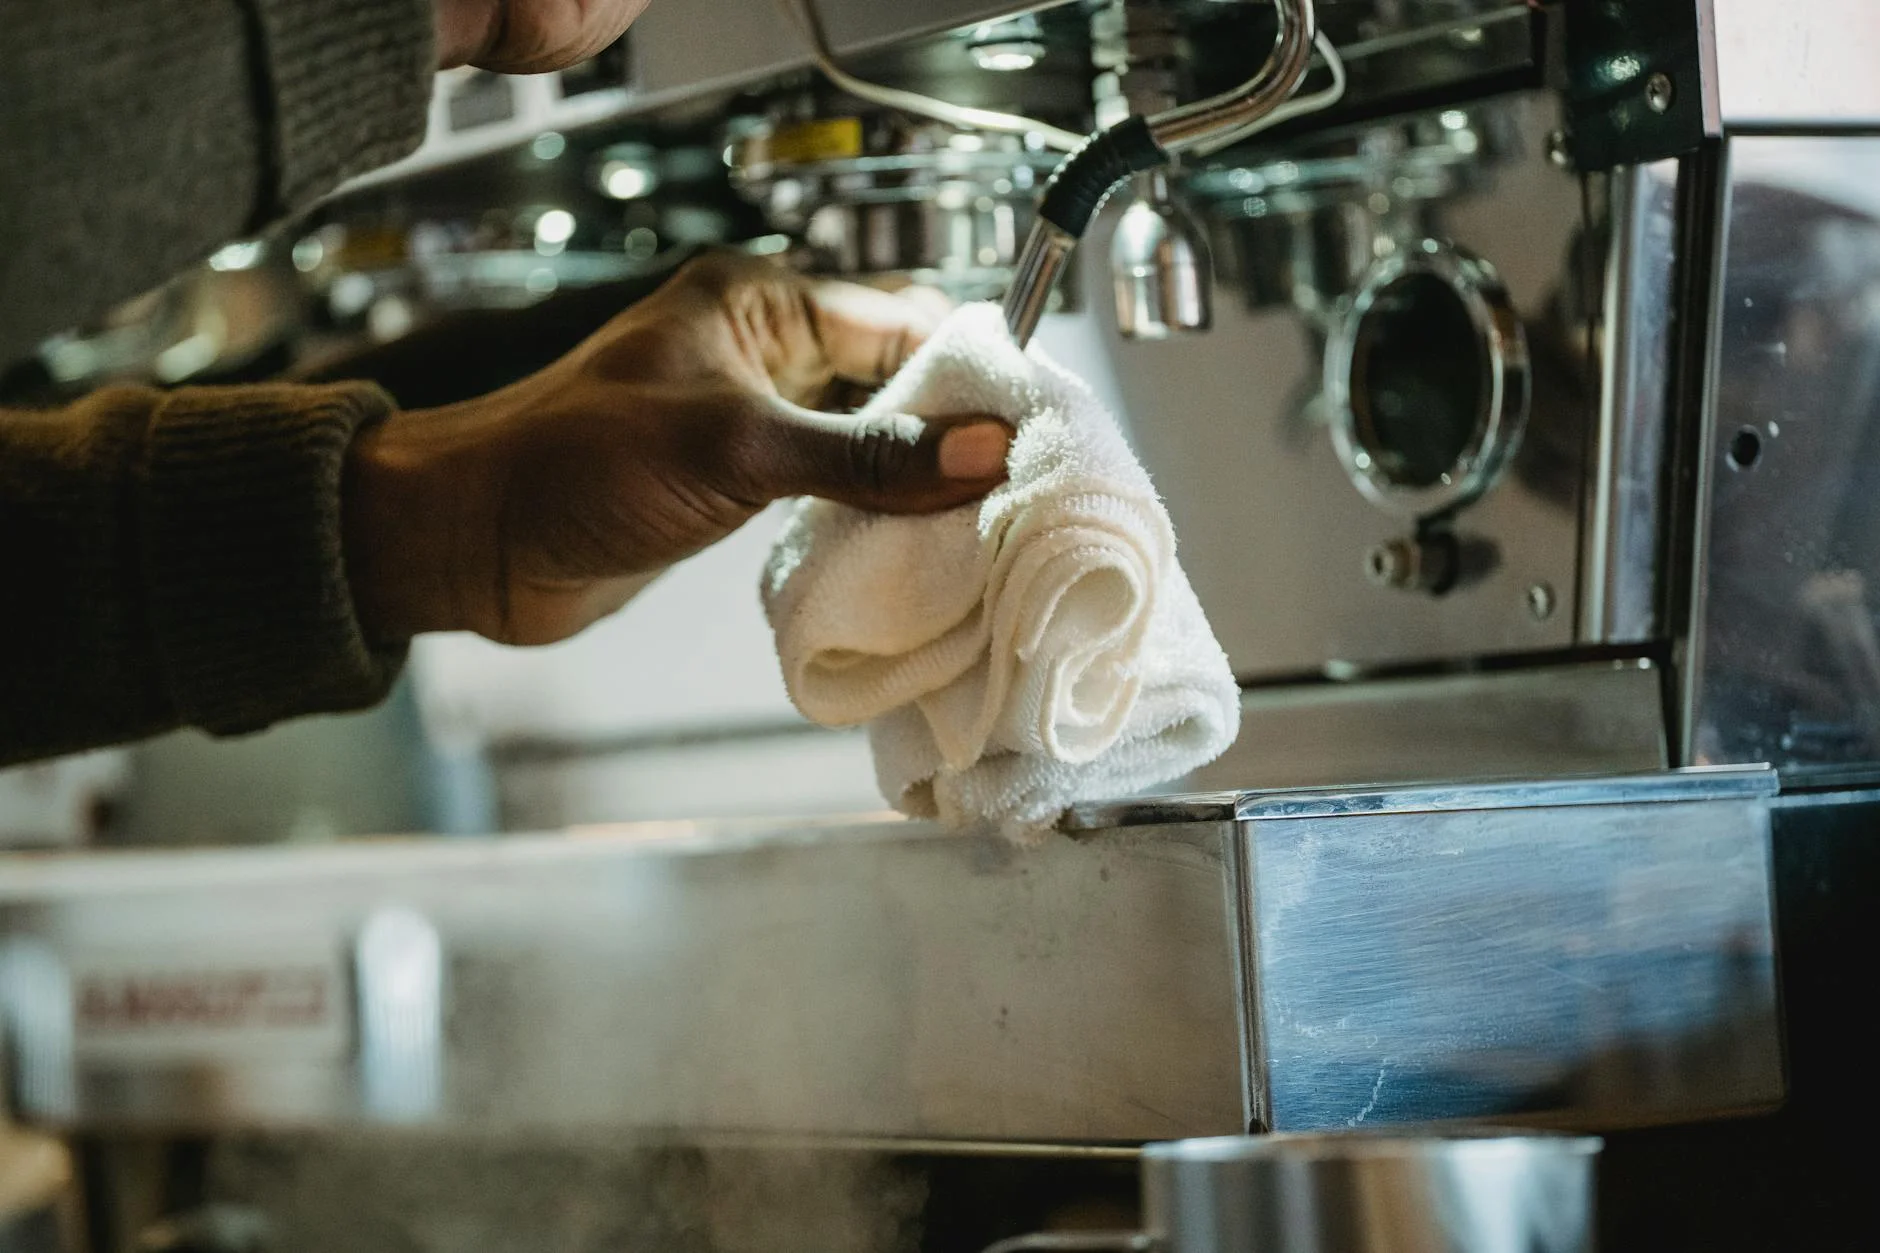
Cleaning the solenoid valve is a straightforward mechanical task that requires a bit of patience and the right tools. It’s a satisfying job that will restore your machine’s performance. Important: Always unplug your machine from the power source and allow it to cool down completely before starting any maintenance.
Tools you’ll need:
- Phillips head screwdriver
- Adjustable wrenches or a set of spanners (typically 14mm and 17mm)
- A small bowl
- Espresso machine cleaning powder (e.g., Cafiza)
- A small, stiff brush (an old toothbrush works well)
- A pin or paperclip
- A camera or smartphone to take photos for reference
- Access the valve: First, remove the water tank, drip tray, and any beans from the hopper. Then, remove the screws holding the top cover of the machine and lift it off. You will see the boiler and a network of tubes and wires.
- Locate and disconnect: The solenoid valve is a brass block with a black or blue electromagnetic coil on top, located near the boiler. Before you do anything else, take a clear photo of the wiring connections. Carefully slide the two electrical connectors off the coil.
- Remove the valve: Using your wrenches, carefully loosen the nuts connecting the valve to the boiler and the copper tubes. There may be small gaskets, so be careful not to lose them. Once all connections are undone, you can lift the entire valve assembly out of the machine.
- Disassemble the valve: First, slide the electrical coil off the central shaft. Next, use a wrench to unscrew the long shaft from the main brass body. Inside, you will find a small spring and a plunger (the piston). Lay all the metal parts out on a cloth.
- Clean the components: Dissolve a teaspoon of espresso machine cleaner in a bowl of hot water. Place all the metal parts (the brass body, the shaft, plunger, and spring) into the solution. Do not submerge the electrical coil. Let the parts soak for 30-60 minutes. After soaking, use your brush to scrub away any remaining residue. Pay close attention to the inside of the brass body. Use a pin to gently clear out the tiny holes to ensure they are free of debris. Rinse all parts thoroughly with fresh water.
- Reassemble and test: Dry all components and reassemble the valve in the reverse order. Reinstall it in the machine, ensuring all connections are snug. Refer to your photo to correctly reattach the electrical wires. Replace the machine’s top cover. Fill the water tank, plug the machine in, and turn it on. Run a few full tanks of water through the group head to flush the system completely. Finally, pull a test shot. You should be rewarded with a clean extraction and a perfectly dry puck!
Preventative care to keep your valve healthy
While a deep clean is sometimes necessary, the best strategy is prevention. By incorporating a few simple habits into your routine, you can drastically reduce the frequency of this task and extend the life of your machine. A little bit of regular care goes a long way in preventing the buildup of oils and scale that causes the valve to fail in the first place.
The single most effective practice is regular backflushing. This process forces water and a cleaning solution backward through the group head and solenoid valve, flushing out trapped coffee grounds and oils before they have a chance to build up and harden.
| Maintenance Task | Frequency | Purpose |
|---|---|---|
| Water Backflush | Daily, after your last shot | Rinses out fresh coffee grounds and oils from the group head and valve using a blind basket. |
| Chemical Backflush | Every 1-2 weeks | Uses a dedicated espresso machine cleaner to dissolve stubborn, built-up coffee oils. |
| Use Filtered Water | Always | Prevents limescale buildup in the entire machine, including the solenoid valve. Hard water is a major cause of component failure. |
| Regular Descaling | Every 2-3 months | Removes mineral deposits that backflushing cannot. A full descale ensures all water pathways remain clear. |
By following these preventative steps, you are actively maintaining the health of your machine’s most critical components. This not only keeps your solenoid valve clean but also improves the taste of your coffee and ensures your Gaggia Classic operates reliably.
Conclusion
Maintaining the three-way solenoid valve is a vital part of owning a Gaggia Classic. This component is key to the machine’s functionality, responsible for the clean, dry puck that makes post-shot cleanup so simple. When faced with symptoms like a soupy puck or a dripping group head, you now have the knowledge to diagnose and fix the issue yourself. The cleaning process, while requiring some disassembly, is a manageable task that can completely restore your machine’s performance. More importantly, understanding the value of preventative maintenance—especially consistent backflushing and the use of filtered water—is the ultimate secret. Taking these proactive steps will keep your valve clear, your espresso tasting pure, and your beloved Gaggia Classic pulling perfect shots for many years to come.

 No products in the cart.