Unlocking modern roasts: a guide to espresso ratios on your Gaggia Classic
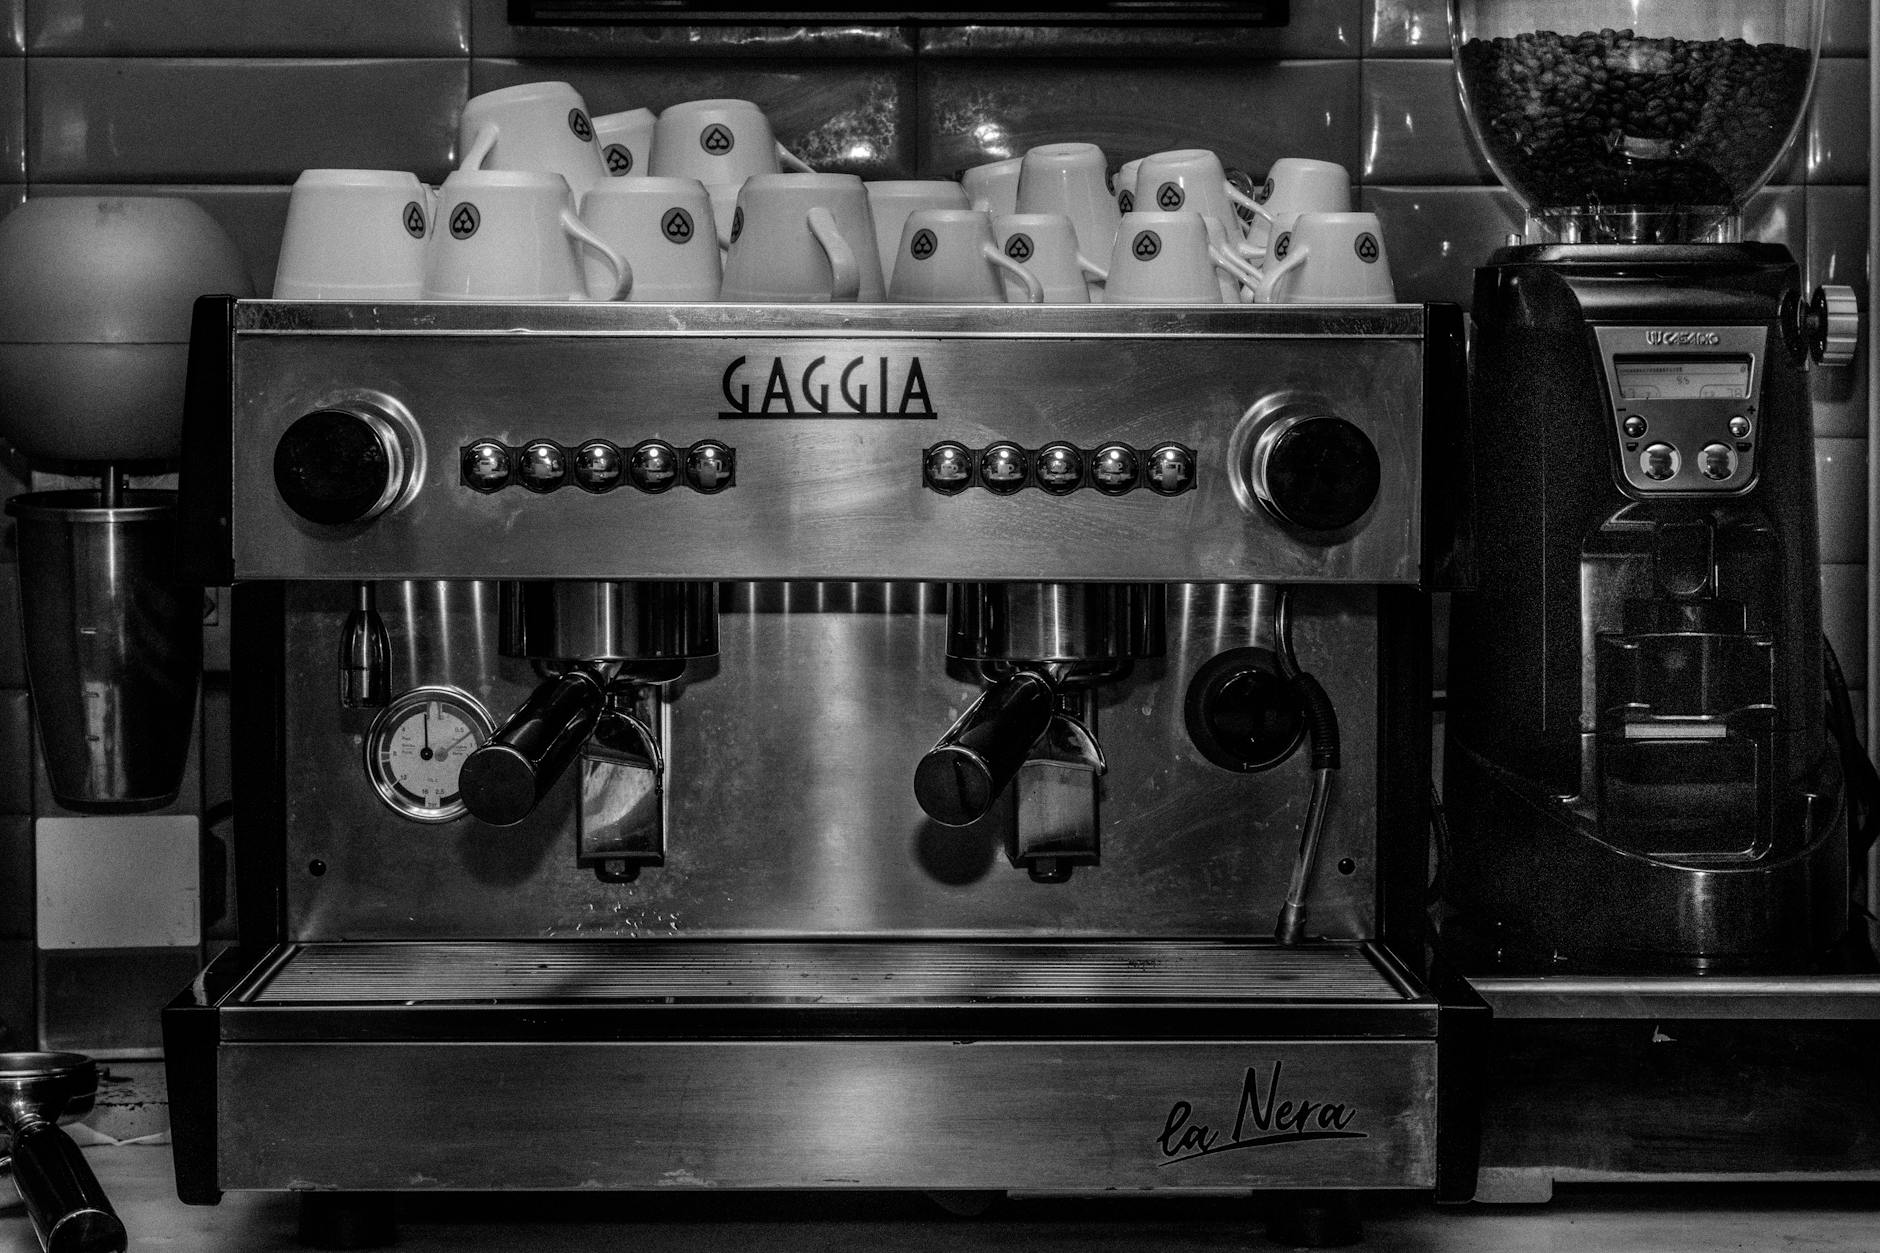
The Gaggia Classic is a legendary machine, a true workhorse beloved by home espresso enthusiasts for its simplicity and power. However, as the coffee world has embraced lighter, more nuanced “modern” roasts, many Gaggia owners find themselves struggling. The bright, acidic, and complex flavors of a specialty light roast can often translate into sour, under-extracted shots on a machine designed in an era of dark, Italian-style espresso. The secret to bridging this gap isn’t a new machine; it’s a new approach. This guide will walk you through the art of fine-tuning your espresso brew ratio, transforming your Gaggia Classic into a machine perfectly capable of pulling sweet, balanced, and delicious shots from today’s most exciting coffees.
Understanding the challenge: Modern roasts and the Gaggia
Before we can adjust our recipes, we need to understand why modern roasts behave so differently. Unlike their dark-roasted counterparts, which are brittle and highly soluble, light and medium roasts are much denser and less porous. Their cellular structure is more intact, making it significantly harder for water to penetrate and extract the desirable flavor compounds. These coffees are packed with delicate floral and fruit notes, but they are locked behind a wall of bright, often sharp, acidity. If you don’t extract them properly, all you taste is that sourness.
The stock Gaggia Classic presents its own set of challenges. It tends to run at a very high pressure, often well above the 9-bar standard, which can force water through the coffee puck too quickly and create channels. Its temperature stability can also be fickle without specific techniques. When you combine high pressure with a less-soluble, dense coffee bean, you have a perfect recipe for an under-extracted, disappointing shot. This is where the brew ratio becomes your most powerful tool for taking control of the extraction.
The brew ratio: Your key to flavor control
At its core, a brew ratio is simply the relationship between the weight of your dry coffee grounds (the dose) and the weight of the liquid espresso in your cup (the yield). It’s expressed as a simple ratio, like 1:2. This concept is the foundation of any espresso recipe and the primary variable you will change to alter the taste of your shot.
- Ristretto: A “restricted” shot, typically a 1:1 to 1:1.5 ratio (e.g., 18g of coffee in, 18-27g of espresso out). It’s concentrated, syrupy, and intense.
- Normale: The classic espresso shot, usually a 1:2 to 1:2.5 ratio (e.g., 18g in, 36-45g out). This is often the starting point for most coffees.
- Lungo: A “long” shot, with a ratio of 1:3 or even higher (e.g., 18g in, 54g+ out).
For traditional dark roasts, a 1:2 ratio is often perfect. It provides body and tempers bitterness without much fuss. However, for modern, lighter roasts, a 1:2 ratio is often not enough to break down the dense beans and get past the initial sourness. To achieve a balanced extraction with these coffees, we almost always need to use a longer ratio, pushing into the 1:2.5 or even 1:3 range. This increased water contact allows for a fuller extraction, unlocking the sweetness needed to balance the coffee’s inherent acidity.
Dialing in your Gaggia Classic: A practical workflow
Let’s get practical. The key to dialing in is to change only one variable at a time. For this workflow, we will lock in our dose, choose a target ratio (yield), and use our grinder to adjust the shot time. You will need a scale that measures to at least 0.1 grams.
Step 1: Lock in your dose.
Start with a dose that fits your basket comfortably. For the stock Gaggia double basket, 17-18 grams is a good starting point. Keep this dose consistent for the entire dialing-in process.
Step 2: Choose a starting ratio and time.
For a modern light roast, forget the 1:2. Let’s start with a 1:2.5 ratio. If your dose is 18g, your target yield is 45g (18 x 2.5 = 45). Aim for this to happen in about 25-35 seconds from the moment you press the brew button.
Step 3: Pull a shot and adjust your grind.
Place your scale and cup under the portafilter and start a timer as you start the shot. Stop the shot just before you hit 45g.
- If the shot ran too fast (e.g., 20 seconds), your grind is too coarse. Grind finer.
- If the shot ran too slow (e.g., 45 seconds), your grind is too fine. Grind coarser.
Continue to adjust your grind size until you hit your target yield (45g) in the target time window (25-35 seconds). Now, and only now, should you taste it.
Step 4: Taste and refine your ratio.
This is where you fine-tune. Based on the taste, you will adjust your yield, not your grind. The table below is your guide. After adjusting your yield, you may need to make a very small grind adjustment to keep the time in a reasonable range.
| Taste Defect | Likely Cause | Primary Solution: Adjust Ratio |
|---|---|---|
| Sour, thin, grassy, lacking sweetness | Under-extraction | Increase your yield. Change your ratio from 1:2.5 to 1:2.8 or 1:3. (e.g., from 45g to 50g). |
| Bitter, astringent, dry, harsh | Over-extraction | Decrease your yield. Change your ratio from 1:2.5 to 1:2.2. (e.g., from 45g to 40g). |
| Tastes good but a bit weak or strong | Preference | Make small adjustments to yield to find your ideal balance of flavor and strength. |
Beyond the ratio: Advanced Gaggia tweaks
Once you are comfortable manipulating your brew ratio, you can incorporate other techniques to further improve your extractions. These methods help create a more stable and gentle brewing environment, which is ideal for delicate modern roasts.
Temperature surfing: The Gaggia’s boiler cycles on and off, causing temperature swings. To get a consistent temperature, you can “surf”. A common method is to turn on the steam switch for a few seconds to heat the boiler, then turn it off and flush water through the group head until the heating element light turns back on. You then wait for the light to turn off and immediately start your shot. This provides a more predictable starting temperature.
Pressure modification: The single biggest upgrade for a Gaggia Classic is an OPV (Over-Pressure Valve) spring mod. For a small cost, you can replace the stock spring to lower the machine’s brewing pressure to the ideal 9 bars. This lower pressure is much gentler on the coffee puck, reducing the risk of channeling and allowing you to grind finer for a more even and complete extraction. This makes achieving those longer, balanced ratios for light roasts significantly easier.
Conclusion
Brewing exceptional espresso with modern roasts on a Gaggia Classic is not only possible but also incredibly rewarding. It requires you to move beyond traditional espresso parameters and embrace a more flexible, taste-driven approach. By understanding that lighter roasts require more effort to extract, you can use a longer brew ratio—often starting at 1:2.5 or higher—as your primary tool to unlock their complex sweetness and balance their vibrant acidity. Use the workflow of dose, yield, and time as your guide, but let your palate be the final judge. Combine this focus on ratios with simple techniques like temperature surfing or an OPV mod, and your trusty Gaggia Classic will be more than capable of producing cafe-quality espresso that highlights the best of what modern coffee has to offer.


 No products in the cart.