The pursuit of the perfect espresso shot is a journey filled with variables. Coffee enthusiasts meticulously weigh their beans, time their extractions, and perfect their tamping technique. Yet, a common source of frustration, leading to inconsistent and disappointing shots, often lies hidden within the heart of the setup: the grinder. While we obsess over burr size and material, a more fundamental factor is frequently overlooked: burr alignment. This crucial element dictates the uniformity of your coffee grounds and, consequently, the balance and clarity of your final espresso. In this article, we will demystify burr alignment, explore its profound effect on extraction, and provide practical steps to diagnose and correct it, unlocking a new level of precision in your coffee brewing.
What is burr alignment?
At its core, burr alignment refers to the physical orientation of the two burrs inside your coffee grinder relative to each other. The goal is to ensure the distance between the cutting surfaces of the burrs is perfectly uniform across their entire circumference. This concept manifests slightly differently depending on the type of burrs in your grinder.
- Flat burrs: For grinders with flat burrs, perfect alignment means the two disc-shaped burrs are perfectly parallel to each other. Imagine two plates spinning face-to-face. If they are parallel, the gap between them is the same at every point. If one is tilted, the gap will be narrow on one side and wide on the other.
- Conical burrs: In a conical burr set, which consists of a cone-shaped inner burr and a ring-shaped outer burr, alignment means the inner burr is perfectly centered within the outer burr. Its axis of rotation must be perfectly true, without any wobble, ensuring the gap between the two is consistent all the way around.
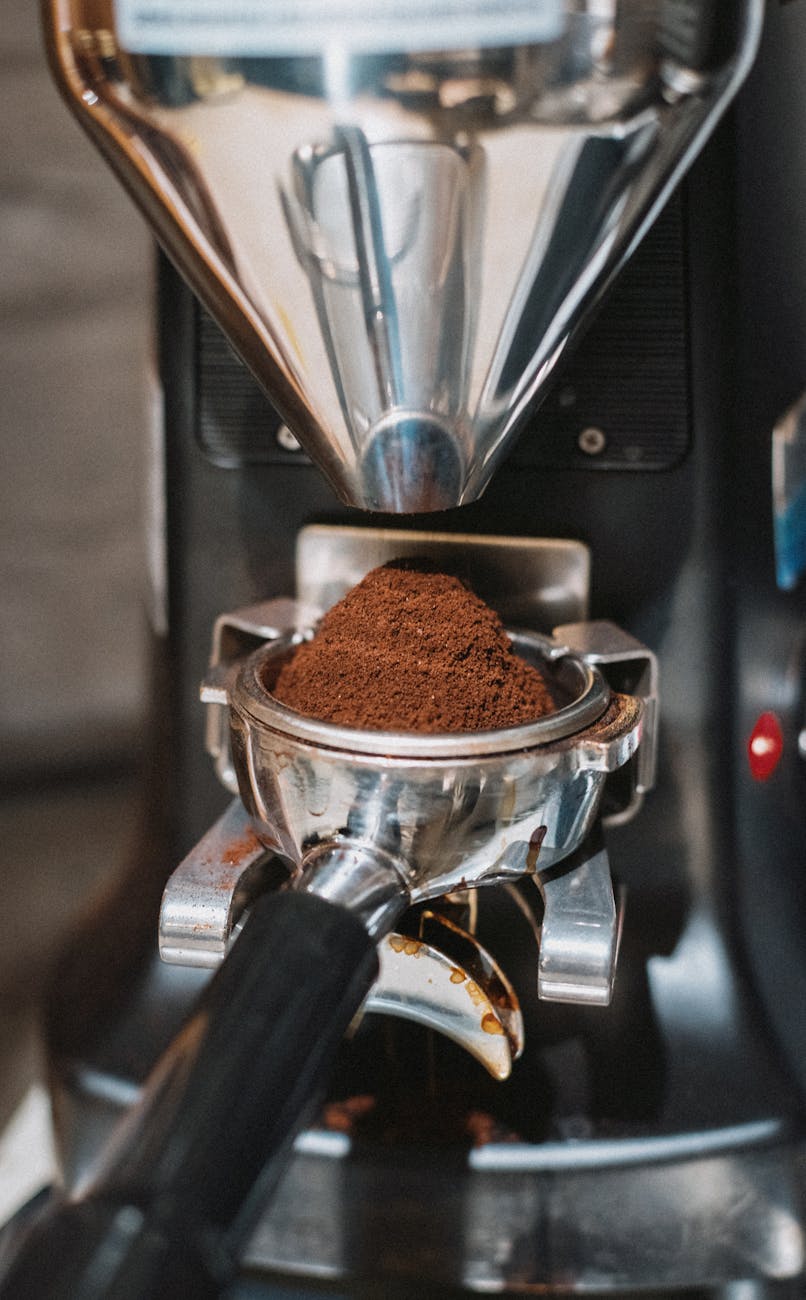
When burrs are perfectly aligned, every coffee bean passing through them is subjected to the same cutting and crushing force, resulting in a highly uniform particle size. This uniformity is the foundation of a great espresso extraction.
The impact of misalignment on grind consistency
When burrs are misaligned, the dream of a uniform grind is shattered. A non-parallel or off-center burr set creates an inconsistent gap. As the burrs rotate, some coffee particles are ground very fine in the narrow sections, while others pass through the wider sections as coarse chunks. This results in a poor grind distribution with a mix of extremely fine particles (fines) and large particles (boulders).
This inconsistency has a disastrous effect on espresso extraction. During the brewing process, water always follows the path of least resistance.
- The fines are so small that they over-extract almost instantly, releasing bitter and astringent compounds. They can also migrate through the coffee puck and clog the filter basket holes, impeding flow and further encouraging uneven extraction.
- The boulders are too large for the water to penetrate and extract properly in the short 25-30 second window of an espresso shot. They under-extract, contributing sour, acidic, and weak flavors.
The result in the cup is a muddled and unbalanced shot. You might taste both sourness and bitterness simultaneously, with no sweetness or clarity of flavor. This uneven extraction, known as channeling, is a direct symptom of a poor grind, which is very often caused by misaligned burrs.
| Symptom / Effect | Misaligned Burrs | Aligned Burrs |
|---|---|---|
| Grind Distribution | Inconsistent (fines & boulders) | Uniform & consistent |
| Espresso Taste | Unbalanced (sour and bitter) | Balanced, sweet, complex |
| Extraction | Uneven, prone to channeling | Even, consistent flow |
| Dialing In | Difficult, requires large adjustments | Easier, requires small adjustments |
Diagnosing burr misalignment
Fortunately, you don’t need expensive lab equipment to check your grinder’s alignment. One of the most effective and popular methods is the marker test. It’s a simple, visual way to see how evenly your burrs are making contact.
Here’s how to do it:
- Safety first: Unplug your grinder completely.
- Access the burrs: Disassemble your grinder according to the manufacturer’s instructions to expose one of the burrs (usually the stationary one is easiest).
- Color the burr: Using a dry-erase marker, carefully color the outer flat edge of the burr’s cutting teeth. Try to apply an even, thin coat.
- Reassemble and test: Carefully put the grinder back together. With the motor running and no beans in the hopper, slowly and gently adjust the grind setting finer until you hear the very first, faint “chirp” of the burrs touching. Stop immediately. This is the zero point.
- Inspect the result: Unplug and disassemble the grinder again. Look at the marker on the burr. If the marker is wiped off evenly all the way around the circumference, congratulations, you have excellent alignment. If it’s only wiped off on one side, that’s your high spot, and it confirms you have an alignment issue.
An alternative, less precise method is to simply listen to the sound as the burrs touch. A well-aligned set will produce a smooth, continuous rotational sound or chirp. A misaligned set will often produce an intermittent sound, like “chirp…chirp…chirp,” as only the high spots make contact with each rotation.
How to align your grinder burrs
If the marker test reveals a high spot, the most common way to fix it is by shimming. Shimming involves placing tiny, thin spacers under the burr to lift its low spots, making it parallel with the other burr. The goal is to place the shims on the opposite side of where the marker was wiped clean.
The process is iterative and requires patience:
- Identify the low spots: The area where the marker was not wiped away is the low side. You will place your shims under the burr’s screw holes in this area.
- Create your shims: Small squares cut from a piece of regular aluminum foil work perfectly. Start with just one layer of foil.
- Place the shims: Unscrew the burr, place the foil shims over the corresponding screw holes on the burr carrier, and then place the burr back on top and screw it down firmly.
- Re-test: Clean the burr, re-apply the marker, and perform the test again.
- Repeat: You may need to add or reposition shims several times. The goal is to keep adjusting until the marker wipes off evenly across the entire surface.
While foil is a common DIY solution, some companies sell pre-cut stainless steel shim kits for specific grinder models. This process, though tedious, can transform a mediocre grinder into a high-performance machine.
In conclusion, burr alignment is not just a minor detail for the technically obsessed; it is a fundamental aspect of grind quality that directly translates to the flavor in your cup. An unaligned grinder works against you, producing an inconsistent grind that makes balanced, delicious espresso nearly impossible to achieve. By understanding what alignment is, recognizing the symptoms of misalignment like channeling and unbalanced flavors, and learning how to diagnose it with the simple marker test, you can take control. The process of shimming your burrs, while requiring patience, is a powerful and cost-effective upgrade. Investing the time to align your grinder unlocks its true potential, ensuring every shot you pull is built on a foundation of consistency and precision.


 No products in the cart.