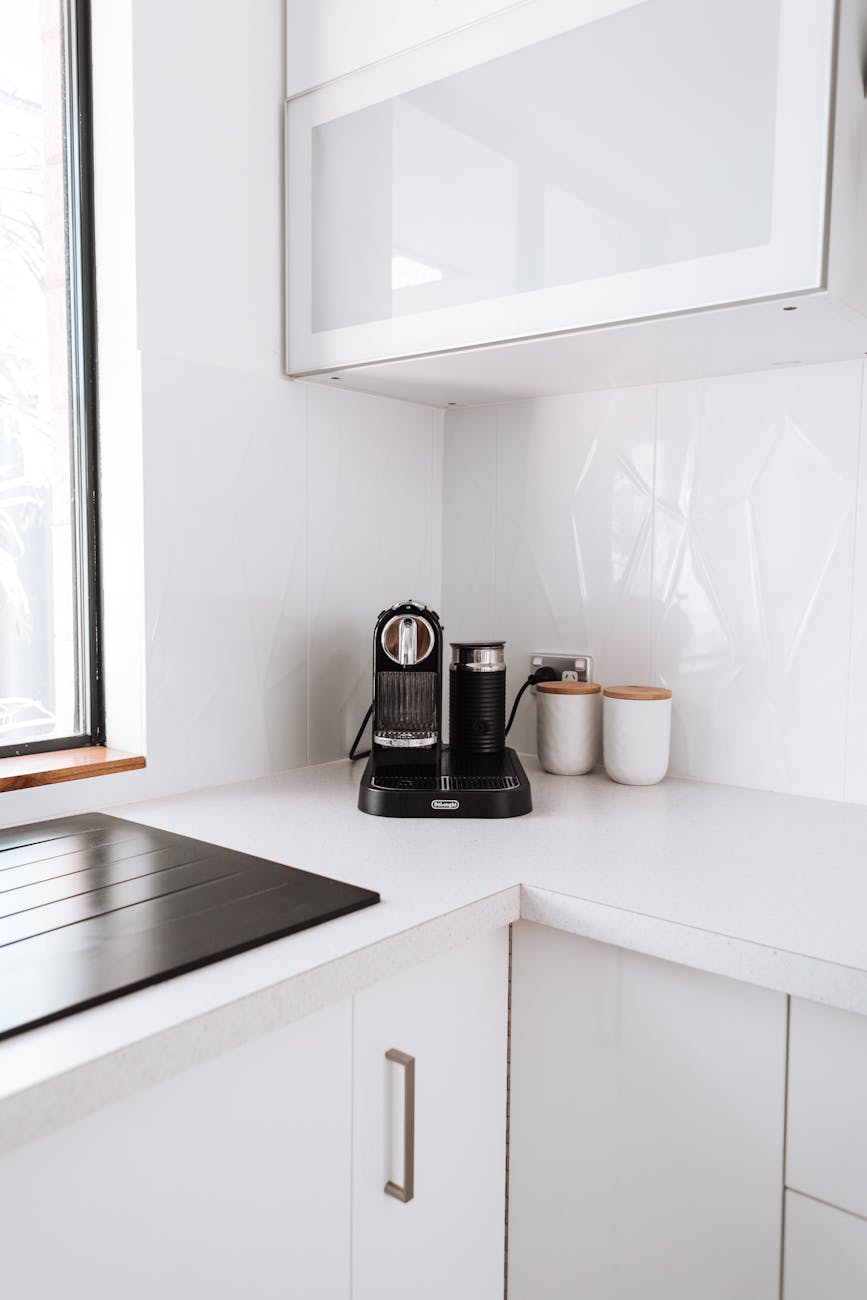
Dialing in a Moccamaster for the home espresso enthusiast
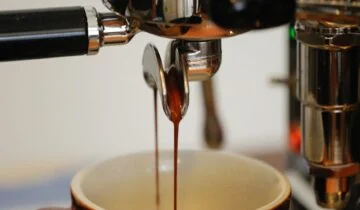
If you’re a home espresso enthusiast, you live by a code of precision. You obsess over grams, seconds, grind size, and pressure to pull that perfect, syrupy shot. So, what happens when you introduce a legendary automatic drip machine like the Technivorm Moccamaster into your coffee bar? It might seem like a step back from total control, a simple “set it and forget it” device. However, that couldn’t be further from the truth. The Moccamaster, with its SCA-certified brewing temperature and consistent water delivery, is a fantastic platform for precision brewing. This article is your guide to translating your meticulous espresso workflow to the art of filter coffee, helping you dial in your Moccamaster to produce a cup that rivals any specialty cafe.
Understanding the machine’s variables
Before you can dial in any brewer, you must first understand what you can and cannot control. An espresso machine offers a dozen variables, but the Moccamaster simplifies this, allowing you to focus on the most impactful elements. Think of the machine as providing the perfect foundation, upon which you build your recipe.
The Moccamaster’s core strengths are its constants. It consistently heats water to the ideal range of 92-96°C (196-205°F) and maintains it throughout the brew cycle. Its showerhead is designed to distribute this water evenly over the coffee bed. These are the elements you don’t have to worry about, freeing you up to focus on what truly shapes the flavor in the cup. The primary variables you, the brewer, will manipulate are:
- Coffee dose: The weight of your coffee grounds.
- Grind size: The coarseness or fineness of your coffee.
- Water volume: The amount of water you add to the reservoir.
- Manual agitation: A hands-on step to ensure even saturation.
By mastering these four elements, you can take full control of the extraction process and steer the final taste profile with the same intention you apply to your espresso.
Translating your espresso toolkit
The good news is that your existing high-end espresso gear is perfectly suited for this new venture. You don’t need to buy an entirely new setup; you just need to adapt how you use your current tools. Your investment in quality equipment will pay dividends here.
Your burr grinder is the single most important tool. For espresso, you use a fine, talc-like grind to create resistance against high pressure. For the Moccamaster, you’ll be venturing into much coarser territory. Start with a grind size that resembles coarse sand or sea salt. This larger particle size is crucial; it allows water to flow through the coffee bed at a steady pace, preventing the filter from clogging and the coffee from over-extracting into a bitter, muddy mess. The same principles of consistency and minimal fines that make a grinder great for espresso also make it exceptional for filter coffee.
Likewise, your precision scale is non-negotiable. The concept of a brew ratio is central to all coffee making. While you might use a 1:2 ratio for espresso (e.g., 18g coffee to 36g liquid), filter coffee uses a much wider ratio. A great starting point for the Moccamaster is 1:16 (1 gram of coffee for every 16 grams of water). Using your scale to measure both coffee and water ensures your results are repeatable day after day.
The methodology of dialing in
This is where your espresso mindset truly shines. Dialing in the Moccamaster follows the same logical process of taste, diagnose, and adjust. Let’s start with a baseline recipe and refine it.
1. Establish a starting point: Use the 1:16 ratio. For a full 1.25-liter batch, this means about 78g of coffee (1250g water / 16 = 78.1g coffee). For a smaller half-batch, try 38g of coffee for 600g of water. Set your grinder to a medium-coarse setting.
2. Incorporate a manual bloom: This is how you introduce hands-on control. Once the Moccamaster has released enough water to just saturate the grounds (usually within the first 30-45 seconds), slide the carafe out to stop the drip. Give the coffee slurry a gentle stir with a spoon or bamboo paddle, ensuring all grounds are wet. This is the filter coffee equivalent of your WDT, breaking up clumps and promoting an even extraction. After about 45 seconds, slide the carafe back and let the machine finish.
3. Taste and adjust the grind: Now, taste the coffee. Is it sour, acidic, and thin? That’s a sign of under-extraction. Your next step is to grind finer. Is it bitter, astringent, and does it leave a dry feeling in your mouth? That’s over-extraction. You need to grind coarser. Make one adjustment at a time, just like you would with espresso, until you find the sweet spot where the coffee is balanced, sweet, and complex.
4. Adjust strength with your ratio: If the coffee tastes balanced but is either too weak or too intense, you’ll adjust your ratio. If it’s weak, move to a tighter ratio like 1:15 (more coffee for the same amount of water). If it’s too strong, try a wider ratio like 1:17 (less coffee).
Troubleshooting and common adjustments
As you refine your process, you’ll encounter common issues. Full batches, for instance, have a longer water contact time than half-batches. This means you’ll likely need a slightly coarser grind for a 1.25-liter brew than you would for a 600ml brew to achieve a similar extraction level. Don’t be afraid to have different grind settings for different batch sizes. The key is to let your palate be the final judge. The table below summarizes the most common adjustments you’ll make in your dialing-in process.
| Problem Detected in the Cup | Likely Cause | Primary Solution |
|---|---|---|
| Tastes sour, grassy, or overly acidic | Under-extraction | Grind Finer: Decrease the particle size to increase surface area and extraction. |
| Tastes bitter, astringent, or hollow | Over-extraction | Grind Coarser: Increase the particle size to reduce surface area and slow extraction. |
| Coffee is weak or watery, but balanced | Brew ratio is too wide | Adjust Ratio: Move from 1:16 to 1:15 (increase coffee dose). |
| Coffee is overpowering or too strong | Brew ratio is too tight | Adjust Ratio: Move from 1:16 to 1:17 (decrease coffee dose). |
| Brew basket overflows during brewing | Grind is far too fine | Grind Significantly Coarser: The fine coffee particles are choking the filter paper. |
By approaching your Moccamaster with this structured troubleshooting method, you turn an “automatic” process into a precise and controlled craft, ensuring every carafe is brewed with intention.
Conclusion: Precision in every cup
The Moccamaster isn’t a departure from the world of precision coffee; it’s an extension of it. While it automates the most tedious parts of filter brewing—water heating and distribution—it leaves the most critical variables firmly in your control. By applying the same diligent methodology you learned from espresso, you can transform this machine from a simple coffee maker into a tool for crafting exceptional filter coffee. Using your quality grinder and scale to meticulously control your grind size and brew ratio is paramount. By introducing a manual bloom and learning to taste for over- and under-extraction, you elevate the process from automatic to artisanal. The result is a consistently delicious, sweet, and complex cup that proves precision matters, no matter the brew method.

 No products in the cart.