Planning your Gaggia Arduino mod: a pre-installation checklist
Embarking on an Arduino-based modification for a machine like the Gaggia Classic is a significant step toward achieving exceptional control over your espresso extraction. While the allure of temperature stability and pressure profiling is strong, success depends less on enthusiasm and more on meticulous planning. For the experienced home barista, a well-considered plan prevents frustrating installation errors, reduces the risk of damaging components, and ensures the final result is both functional and safe. This checklist is designed to guide you through the essential preparatory phases, transforming a complex project into a manageable and rewarding process. A thoughtful approach before you touch a single wire is the true foundation of a successful modification.
Defining your modification goals
Before sourcing components or writing code, the first step is to clarify what you want to achieve. An Arduino modification can range from a simple PID temperature controller to a complex system with full pressure and flow profiling. Clearly defining your primary objective is crucial because it dictates the entire scope of the project, including the hardware, software, and skills required. Are you primarily trying to solve the Gaggia’s notorious temperature instability? If so, a PID-focused build with a thermocouple and a solid-state relay (SSR) will be your core focus. Or is your goal to experiment with intricate pressure profiles to manipulate extraction dynamics? This would require adding a pressure transducer and a dimmer circuit for pump control, significantly increasing complexity.
Component selection and sourcing
Once your goals are set, you can create a precise list of necessary components. Sourcing high-quality, compatible parts is non-negotiable for both performance and safety. A typical Gaggia mod includes several key elements:
- Microcontroller: An Arduino Nano is a common choice due to its small footprint and sufficient processing power for this application.
- Temperature sensor: A K-type thermocouple connected to a MAX6675 amplifier is a popular and reliable option for monitoring boiler temperature.
- Solid-state relay (SSR): An SSR is used to switch the high-current heating element. It is critical to select a properly rated relay and mount it to a heat sink to ensure safe operation.
- Pressure transducer: For pressure profiling, a 0-16 bar pressure transducer allows the Arduino to read boiler pressure in real time.
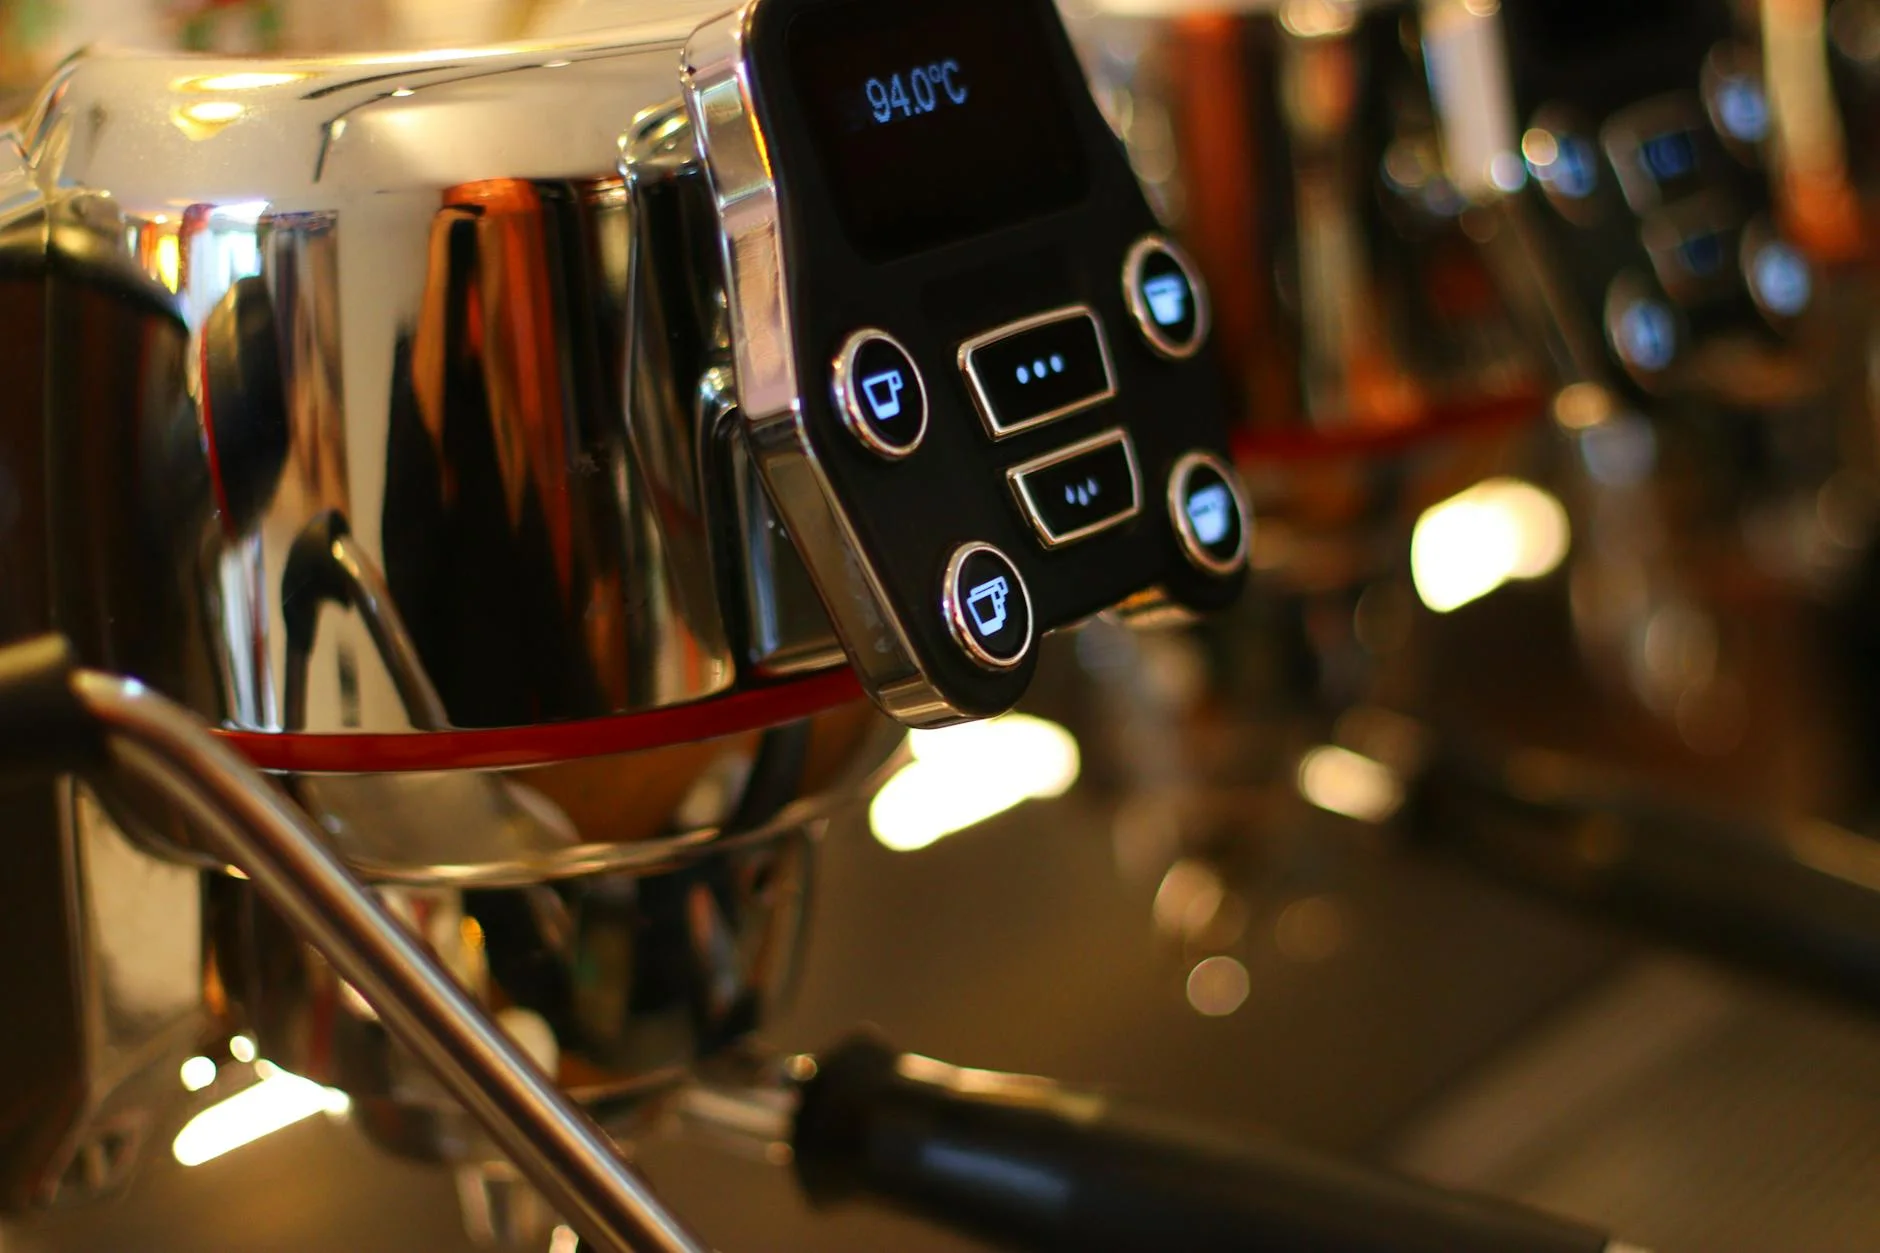
- Display: A small OLED screen is often used to provide a user interface, displaying temperature, pressure, and shot timer information.
- Pump control: A dimmer circuit, often built around a triac, is necessary to modulate the AC power to the vibratory pump for pressure control.
Carefully vet suppliers and opt for components with clear documentation. Paying attention to details like wire gauge, connector types, and the physical fit of parts inside the Gaggia’s chassis will prevent significant headaches during assembly.
Understanding the software and control logic
The hardware is only half of the equation; the software brings the modification to life. Fortunately, projects like Gaggiuino offer a robust, open-source firmware solution that has been refined by a community of users. However, it is a mistake to treat the software as a black box. Before you begin the installation, take the time to review the code and its documentation. Understanding the core principles of its operation, such as the PID loop algorithm for temperature management and the phase-angle control used for pump dimming, is invaluable. This knowledge will not only help you install the system correctly but will also empower you to troubleshoot issues and potentially customize settings to better suit your workflow. Flashing the Arduino and confirming it is recognized by your computer is a wise preliminary step.
Workspace preparation and safety protocols
Modifying an espresso machine involves working directly with mains voltage, a task that demands respect and caution. A well-prepared workspace and strict adherence to safety protocols are paramount. Ensure you have a clean, organized, and well-lit area to work in. Essential tools include a quality multimeter for testing continuity and voltage, a decent soldering iron, wire strippers, and a set of insulated screwdrivers.
Before starting any work, always unplug the machine from the wall outlet.
Verify with a multimeter that no power is present. Key safety practices include:
- Properly grounding all relevant components.
- Using heat-shrink tubing to insulate all solder joints and connections.
- Housing all electronics within a suitable enclosure to prevent accidental contact.
- Never working on the machine while it is connected to a power source.
Rushing this stage is the most common source of failure and, more importantly, poses a serious safety risk. Double-check every connection before you even consider plugging the machine in for its first test.
Conclusion
A successful Arduino modification is a testament to careful and deliberate preparation. By first defining your goals, you create a clear roadmap for the entire project. This informs the meticulous selection of reliable components and a deep dive into the software that will control them. Finally, establishing a safe and organized workspace ensures that the implementation is as precise as the planning. The process transforms the Gaggia Classic from a capable entry-level machine into a highly sophisticated tool for espresso exploration. This journey is as much about the process of learning and building as it is about the final cup. For baristas seeking to deepen their craft, various tools and accessories to support their passion are available from specialists like papelespresso.com.
 No products in the cart.