Don’t dilute your delight: A barista’s workflow for perfect iced espresso drinks
There’s nothing quite like the refreshing jolt of an iced latte on a warm day. But too often, that first delightful sip is followed by a gradual, disappointing slide into a watery, flavorless beverage as the ice melts. The bold, complex notes of the espresso get lost in a sea of dilution. If you’re tired of your homemade iced coffees tasting like sad, brown water after five minutes, you’re in the right place. This isn’t about a single secret trick; it’s about adopting a smarter workflow. We’ll explore how to build a robust espresso foundation, master the art of chilling, and assemble your drink in the proper sequence to lock in that delicious coffee flavor from the first sip to the very last.
Start with a stronger foundation
The first and most critical step to preventing a diluted drink is to start with a coffee base that can stand up to a little melting. A standard espresso shot is balanced for immediate consumption in a hot drink like a cappuccino. When you pour it over ice, its delicate balance is immediately thrown off. To counteract this, you need to brew a more concentrated, intense shot of espresso.
There are two primary methods to achieve this:
- Pull a ristretto shot: A ristretto, which is Italian for “restricted,” is an espresso shot pulled with the same amount of coffee grounds but about half the amount of water. This results in a shorter, more syrupy shot that is less bitter and packs a concentrated punch of flavor. Its intensity is the perfect armor against the diluting effects of ice.
- Increase your dose: If you prefer a longer shot, you can simply increase the amount of coffee grounds you use. Upping your dose from 18 grams to 20 grams, for example, while keeping the water volume the same, will create a more robust and full-bodied espresso that won’t get lost when chilled.
By making your espresso base intentionally stronger, you are giving the final drink a flavor buffer. Even as the ice melts, the prominent coffee notes will continue to shine through.
Master the chill to minimize melt
The core problem is hot espresso meeting cold ice, causing rapid melting. Your next goal is to manage this temperature exchange. Instead of pouring a piping hot shot directly into your cup, you need to chill it first. This is a technique professional baristas use to maintain quality and consistency.
One of the most effective methods is the shock chill. After pulling your espresso shot into a small pitcher, pour it into a cocktail shaker filled with ice. Shake vigorously for 5-7 seconds and then immediately strain the chilled espresso into your glass. This process instantly drops the espresso’s temperature with minimal dilution, as the contact time with the ice is so brief. You’ll notice that very little water is left in the shaker.
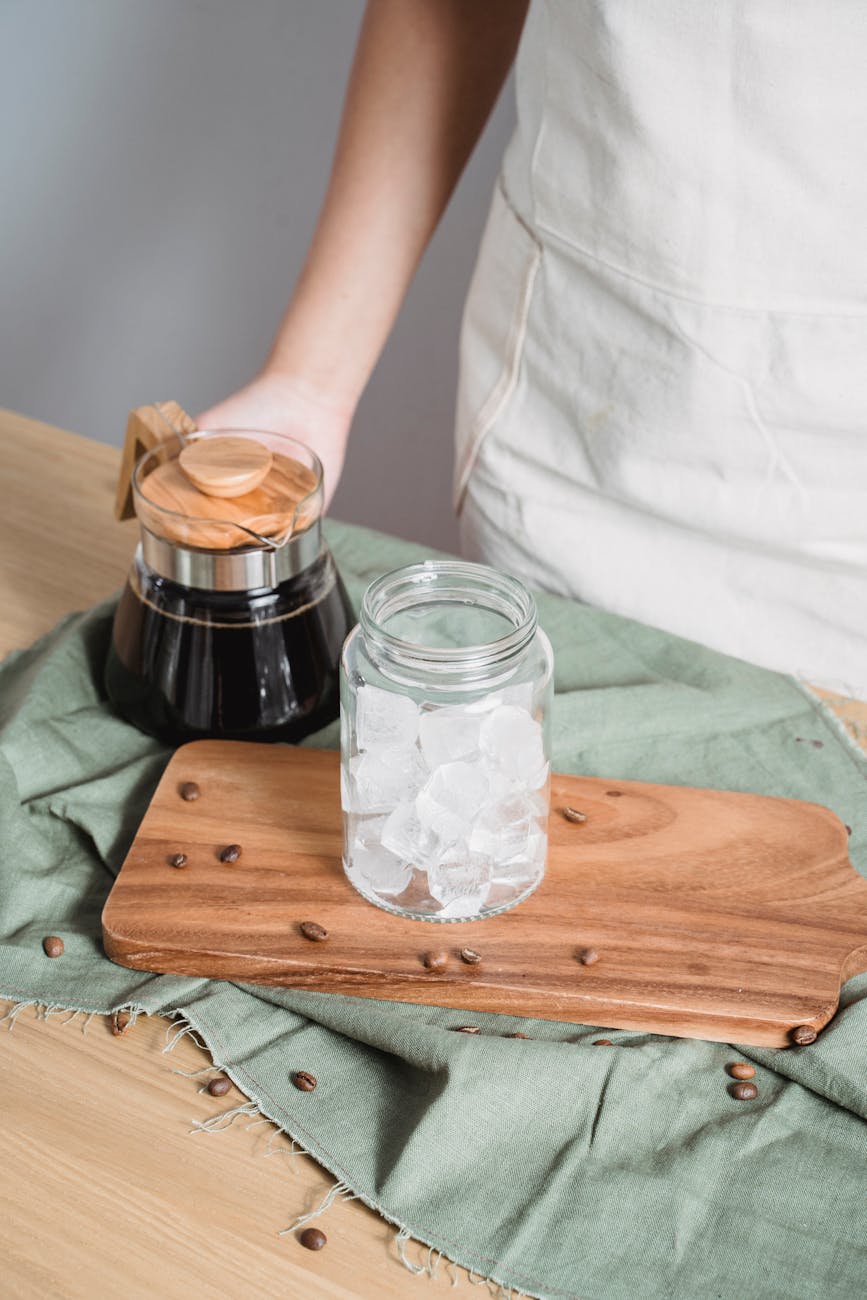
Another game-changing technique is to rethink your ice. Instead of using regular water-based ice cubes, plan ahead and make coffee ice cubes. Simply brew a pot of coffee (or use leftover cold brew), let it cool, and pour it into an ice cube tray. As these melt, they release more coffee flavor into your drink, enriching it over time instead of watering it down. Using a single, large ice cube or sphere will also slow down melting significantly compared to smaller cubes due to a lower surface-area-to-volume ratio.
The art of assembly: Order matters
Now that you have a strong, chilled espresso base, the way you build your drink is the final piece of the puzzle. The common amateur mistake is to fill a glass with ice, pour the hot espresso over it, and then top it off with milk. This method causes the most dilution possible, as the hot espresso directly attacks the ice.
For a superior, undiluted iced latte or americano, follow this professional workflow:
- Start with your glass and flavor. If you’re using syrups or sauces, add them to the bottom of the empty glass first. This allows them to be incorporated more easily.
- Add milk or water next. Pour your cold milk (for a latte) or cold water (for an americano) directly into the glass over the syrups. Fill the glass about two-thirds of the way.
- Add your ice. Now, add your ice cubes to the cold liquid. The milk or water acts as a cold buffer, protecting the ice.
- Top with espresso. Finally, pour your pre-chilled or concentrated espresso shot over the top. It will gently cascade through the cold milk and ice, creating a beautiful visual and, more importantly, integrating without causing shock melting.
This “milk first” method uses the cold liquid base to absorb the initial temperature difference, preserving the integrity of both your ice and your espresso’s flavor.
Ingredient choices and chilling methods compared
Beyond workflow, the quality of your ingredients can also contribute to a richer final product. Thicker, high-quality syrups and sauces provide more flavor per ounce than thin, watery alternatives. Similarly, the milk you choose can make a difference. The higher fat content in whole milk or the creamy texture of certain oat milks can create a richer mouthfeel, making any minor dilution less noticeable.
Choosing the right chilling method depends on your priorities—speed, flavor preservation, or convenience. Each has its place in a home barista’s toolkit.
| Chilling Method | Pros | Cons | Best For |
|---|---|---|---|
| Directly Over Ice | Fastest and simplest method. | Maximum dilution, weakest flavor. | When you are in an absolute hurry and don’t mind a weaker drink. |
| Cocktail Shaker Chill | Very fast chilling with minimal dilution. | Requires an extra tool and step. | Iced shaken espressos; preserving the nuanced flavor of a single-origin shot. |
| Coffee Ice Cubes | Zero dilution; adds flavor as it melts. | Requires planning ahead. | The daily iced coffee drinker who wants consistently strong flavor. |
| Large Format Ice | Melts very slowly, preserving flavor over time. | Requires special molds and planning. | Slowly sipping on an iced americano or black coffee. |
Conclusion
Crafting a truly exceptional iced espresso drink that stays flavorful to the last drop is not about a single magic bullet, but a series of deliberate, simple steps. It begins with creating a strong foundation—a concentrated ristretto or an up-dosed shot of espresso that has the backbone to withstand chilling. The next crucial phase is managing temperature by pre-chilling your espresso or using flavor-enhancing coffee ice cubes. Finally, it all comes together in the assembly, where adding your milk or water before the espresso acts as a protective buffer for the ice. By adopting this intentional workflow, you move beyond the common pitfalls of home-brewed iced coffee and can consistently produce drinks that are rich, refreshing, and delicious from start to finish.

 No products in the cart.