Unlocking flavor with the blooming espresso profile on a Flair
The beauty of a fully manual espresso machine like the Flair is the complete control it gives you over every variable. Beyond just dose and yield, you have the power to manipulate pressure throughout the entire extraction, a technique known as pressure profiling. One of the most transformative profiles you can explore is the blooming espresso. This method, inspired by pour-over coffee techniques, introduces a zero-pressure pause to fully saturate the coffee puck before extraction. The result is often a sweeter, more balanced, and more forgiving shot. This article will guide you through what a blooming espresso profile is, why it’s so effective, and exactly how to perform it on your Flair machine to elevate your home espresso game.
What is a blooming espresso profile?
At its core, a blooming espresso profile is a three-stage extraction process. It moves beyond a simple pre-infusion by incorporating a dedicated, pressure-free saturation phase. While a standard pre-infusion involves holding a low pressure (2-4 bar) for a few seconds, the blooming profile takes it a step further. The goal isn’t just to wet the grounds, but to let them soak and de-gas completely before applying the high pressure needed for extraction.
The three distinct stages are:
- Pre-infusion: The shot begins with a gentle application of 2-3 bars of pressure. You hold this just long enough for the first drops of espresso to appear at the bottom of the portafilter. This signals that the puck is initially saturated.
- The bloom: As soon as you see the first drops, you release the pressure completely, bringing the gauge back down to zero. You then wait for a set period, typically 30 to 45 seconds. During this pause, the water fully permeates the coffee grounds without the force of extraction, allowing CO2 to escape and preparing the coffee for an even extraction.
- Extraction: After the bloom phase is complete, you smoothly ramp up the pressure to your desired peak, usually around 8-9 bar, and complete the shot as you normally would.
This deliberate pause is the key differentiator. It changes the puck’s internal dynamics, setting the stage for a more uniform and efficient extraction in the final phase.
The benefits of blooming your espresso
So, why go through the extra trouble of adding a bloom phase to your shot? The benefits are most apparent in the cup, directly impacting flavor and consistency. The primary advantage is a significant reduction in channeling. Channeling occurs when water finds a path of least resistance through the coffee puck, leading to uneven extraction where some grounds are over-extracted (bitter) and others are under-extracted (sour). By allowing the puck to saturate fully and gently during the bloom, you promote a more uniform density. This encourages water to flow evenly through the entire bed of coffee during the high-pressure phase, leading to a more balanced extraction.
This technique is particularly magical for light roast coffees. Lighter roasts are less soluble and denser than their darker counterparts, making them notoriously difficult to extract properly. The extended contact time during the bloom gives the hot water more time to penetrate the bean particles and begin breaking down the complex flavor compounds. This leads to a higher overall extraction yield, transforming sharp, acidic shots into ones that are sweet, nuanced, and full of flavor clarity. You’ll find you can grind finer without choking the machine, unlocking sweetness and body that a standard profile might miss.
How to pull a blooming shot on your Flair
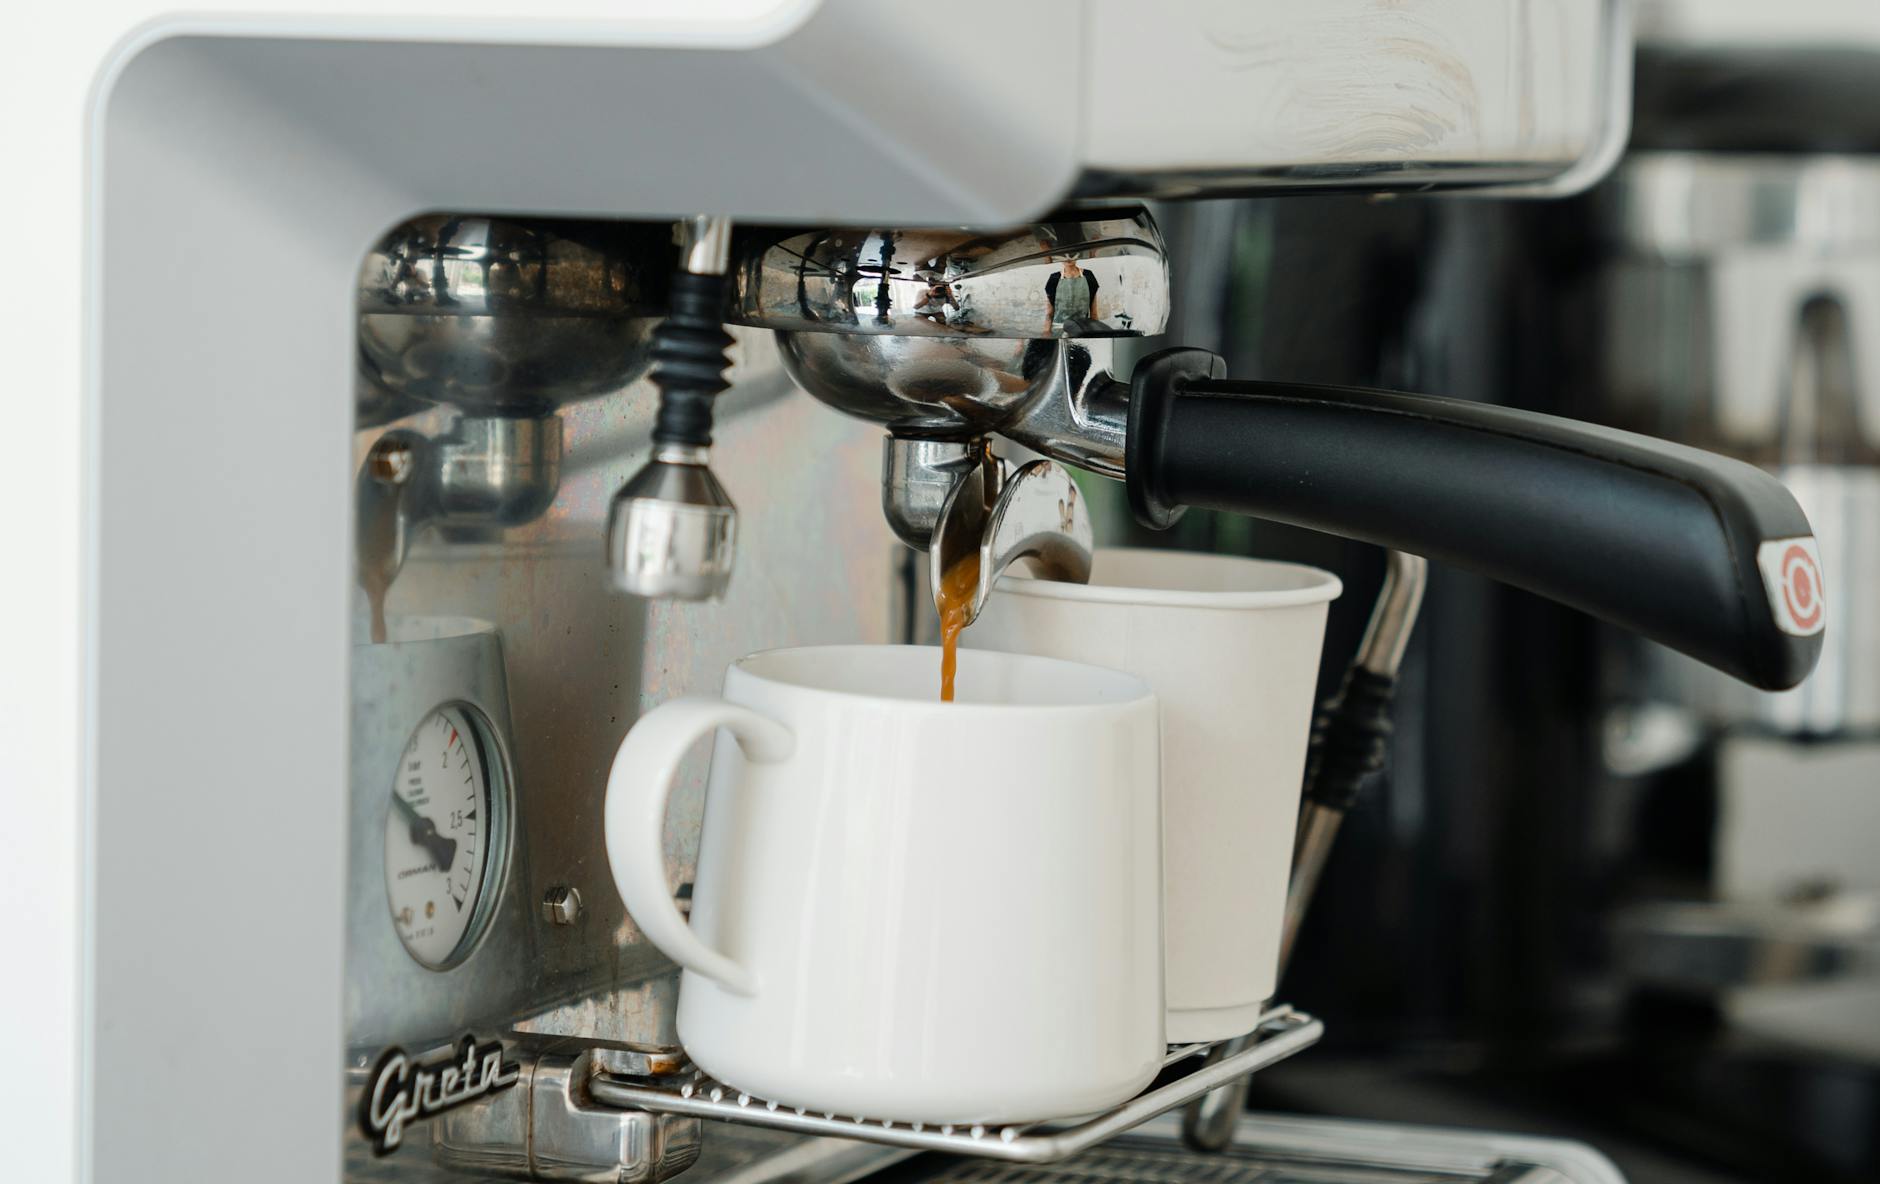
Executing this profile on a Flair is intuitive once you understand the steps. A pressure gauge is highly recommended to perform this accurately. Your goal is to manipulate the lever to control the three phases precisely.
First, prepare your shot as you normally would, with one key adjustment: grind slightly finer than you would for a standard 9-bar shot. The bloom phase tends to increase the flow rate, so a finer grind is necessary to provide enough resistance for the final extraction phase.
Follow these steps for the extraction:
- Step 1 (Pre-infusion): Start your timer and slowly press the lever down to reach 2-3 bar. Watch the bottom of your portafilter. As soon as you see the first drops of coffee appear, you’ve completed this stage. This usually takes 10-15 seconds.
- Step 2 (The bloom): Immediately and gently lift the lever just enough to release all pressure. The gauge should read 0 bar. Now, you wait. A good starting point for your bloom duration is 30 seconds. This is the main variable you will experiment with.
- Step 3 (Extraction): Once your 30-second bloom is complete, smoothly press the lever down again, ramping up to your target pressure of 8 or 9 bar. Maintain this pressure, perhaps letting it decline naturally toward the end of the shot, until you reach your desired espresso yield (e.g., 36g out from an 18g dose).
Don’t be alarmed by the total shot time. A blooming shot can easily take 60-90 seconds from start to finish. This is normal and necessary for the profile to work its magic.
A starting recipe and troubleshooting
Experimentation is key, but having a solid starting point is crucial. Use this recipe as your baseline and adjust one variable at a time based on taste. The most impactful variable to tweak will be the bloom duration.
| Parameter | Recommendation | Notes |
|---|---|---|
| Dose | 18g | Adjust based on your basket size. |
| Grind | Slightly finer than standard | The bloom increases flow; a finer grind compensates. |
| Pre-infusion | 2-3 bar until first drops | Typically around 10-15 seconds. |
| Bloom duration | 30 seconds | Extend for more extraction, shorten for less. |
| Extraction pressure | 9 bar (peak) | A declining profile (e.g., 9 bar down to 6 bar) works well. |
| Yield | 36g (1:2 ratio) | A reliable starting ratio for any espresso. |
| Total shot time | 60 – 90 seconds | This longer time is expected and perfectly normal. |
If you encounter issues, here are some common troubleshooting tips:
- Shot runs too fast: Your grind is too coarse. Grind finer.
- Shot chokes the machine: Your grind is too fine. Grind a step coarser.
- Taste is sour or under-extracted: Try extending the bloom time (e.g., to 45 seconds) or increasing your water temperature. This will boost extraction.
- Taste is bitter or astringent: The shot is likely over-extracted. Try shortening the bloom time (e.g., to 20 seconds) or grinding slightly coarser.
Conclusion
The blooming espresso profile is more than just a novelty; it’s a powerful tool in the home barista’s arsenal for achieving superior extractions. By incorporating a simple, zero-pressure soak after an initial pre-infusion, you can dramatically improve the evenness of your extraction. This leads to a marked reduction in channeling and unlocks a higher potential for sweetness and flavor clarity, especially with challenging light roast coffees. The fully manual nature of the Flair espresso maker makes it the perfect platform for mastering this technique. By following the steps outlined and using the starting recipe as your guide, you can begin to experiment with bloom times and other variables to dial in shots that are more delicious and consistent than ever before.
 No products in the cart.