Master your Gaggia: Understanding the heating cycle for perfect shot timing
The Gaggia Classic and Classic Pro are legendary entry-level espresso machines, beloved for their robust build and potential to produce incredible coffee. However, many new owners struggle with one major hurdle: shot-to-shot consistency. One espresso shot might be rich and balanced, while the next is bitter or sour, even with the same coffee and grind settings. The culprit is often an unseen variable: brew water temperature. The Gaggia’s simple single-boiler system operates within a wide temperature range, and understanding its heating cycle is the key to unlocking its true potential. This article will demystify that cycle, explain what the ready light really means, and teach you how to “temperature surf” for consistent, delicious results every time.
The heart of the Gaggia: A single boiler system
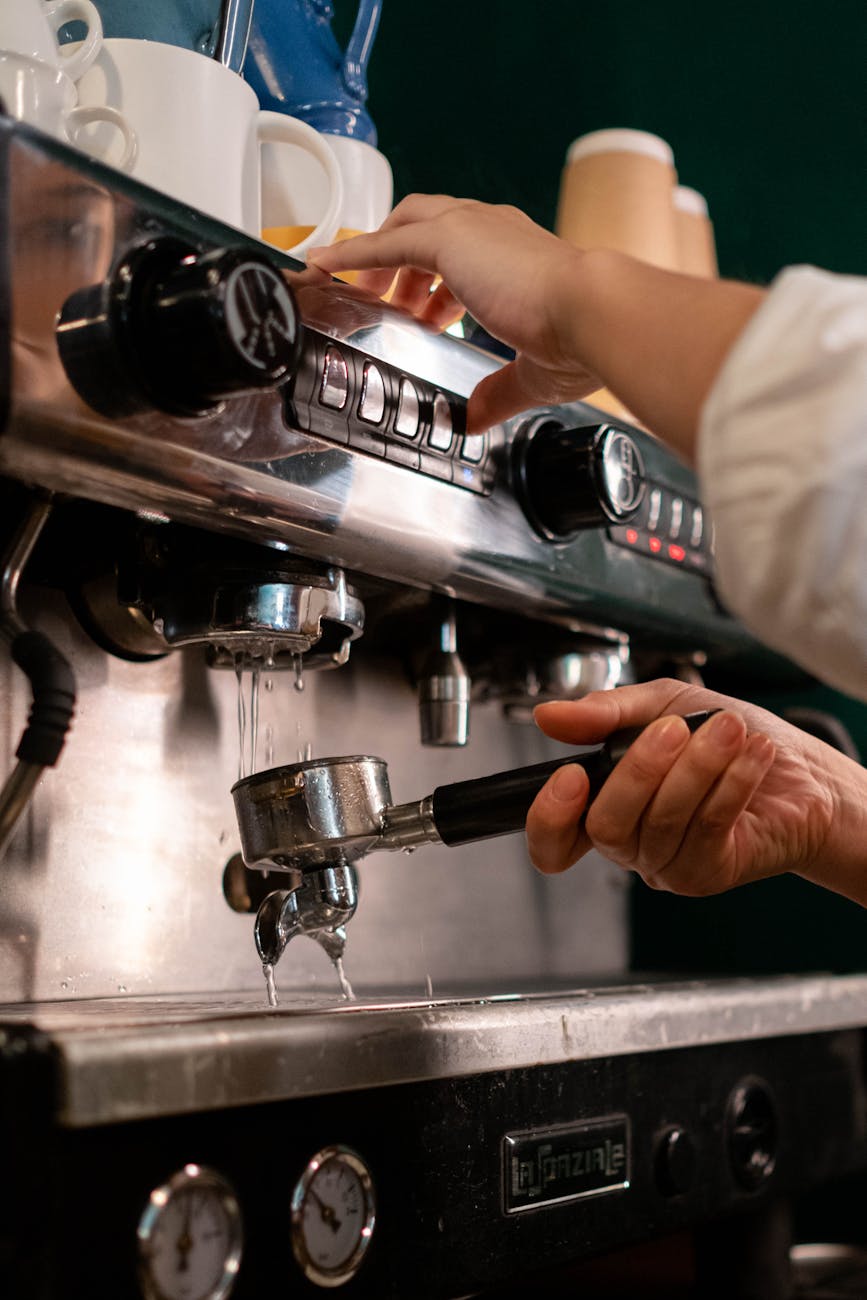
To control the Gaggia Classic, you first need to understand its core design. It’s a Single Boiler, Dual Use (SBDU) machine. This means a single, small aluminum boiler is responsible for heating water for both brewing espresso and creating steam for frothing milk. This design is cost-effective and compact, but it comes with a trade-off in temperature stability.
The boiler’s temperature is managed not by a sophisticated computer, but by a simple bimetallic thermostat. Think of it like the thermostat in an old iron; it’s a basic on/off switch. It works by turning the heating elements on when the temperature drops to a certain low point and turning them off when it reaches a high point. This creates a temperature range, or deadband, rather than a single, stable temperature. For most Gaggia Classic models, this range can be as wide as 10-15°C (around 20-30°F). So, while you might be aiming for an ideal 93°C, the water in your boiler could be cycling anywhere between 90°C and 105°C.
Decoding the ready light: What it really means
Here lies the most common point of confusion for new Gaggia users. Intuitively, you’d think the brew-ready light turning on means “Go! The machine is at the perfect temperature.” In reality, it means the exact opposite of what you want. The light is wired to the thermostat and the heating elements.
- Light ON: The thermostat has reached its maximum temperature, and the heating elements have just turned off. The boiler is now at its hottest point in the cycle and will begin to cool.
- Light OFF: The thermostat has detected the minimum temperature, and the heating elements have just turned on to heat the boiler back up.
If you pull a shot the moment the light turns on, you are brewing with water at the very peak of the temperature cycle. For most medium to dark roast coffees, this water is far too hot and will result in a bitter, over-extracted espresso. Understanding this counter-intuitive signal is the first step toward taming your machine.
Temperature surfing: Timing your shot for consistency
Now that you know the boiler is constantly cycling and the light indicates its peak, you can use this information to your advantage. This technique is called temperature surfing, and it’s a free, effective way to gain control over your brew temperature. The goal is to start your brew not at the peak or trough of the cycle, but at a specific, repeatable point in between.
Here is a common and reliable method to get started:
- Warm up thoroughly. Turn your machine on with the portafilter locked in for at least 15-20 minutes. This ensures the group head and portafilter are fully heated.
- Trigger the cycle. With an empty cup underneath, run the brew switch for a few seconds until the ready light turns off. This flush of cooler water into the boiler forces the heating elements to kick on.
- Get ready. Prepare your puck while the machine is heating. Once the light turns back on, you know the boiler is at its peak temperature. This is your consistent starting point.
- Wait and time. Do not pull the shot yet! Start a timer the moment the light comes on. Let the temperature coast down from its peak. A common starting point is to wait 10-15 seconds before starting your shot.
- Brew and evaluate. Pull your shot and taste it. If it’s still too bitter, increase your wait time (e.g., 20 seconds). If it’s sour, decrease your wait time (e.g., 5-8 seconds). By keeping the wait time consistent, you ensure your brew temperature is consistent.
The next level: Tools for precision
Temperature surfing is a fantastic skill, but it relies on timing and feel. If you want to remove the guesswork and achieve even greater precision, there are a couple of popular modifications and additions for the Gaggia Classic.
A PID (Proportional-Integral-Derivative) controller is the ultimate upgrade for temperature stability. This digital thermostat replaces the machine’s simple on/off switch. It intelligently pulses the heating elements to hold the boiler water at a precise temperature you set, with a variance of less than a degree. A PID completely eliminates the need for temperature surfing.
A less invasive option is a group head thermometer. This device attaches to the brew group and gives you a real-time temperature reading of the water as it’s about to hit your coffee. It doesn’t control the temperature, but it gives you invaluable visual feedback, allowing you to perfect your temperature surfing technique by seeing the exact temperature curve instead of relying on a timer.
| Method | Pros | Cons | Cost |
|---|---|---|---|
| Temperature Surfing | Free; develops barista skills; effective once mastered. | Requires practice; relies on timing; less precise. | Free |
| Group Head Thermometer | Provides real-time data; improves surfing accuracy. | Doesn’t control temperature; requires installation. | Moderate |
| PID Controller | Extremely precise temperature control; “set and forget”. | Most expensive option; requires technical installation. | High |
Mastering the Gaggia Classic is a journey of understanding its charmingly simple mechanics. The machine doesn’t have a sophisticated brain, so it’s up to you, the barista, to provide one. By grasping that its boiler operates in a wide temperature band, you can finally decode the ready light. It’s not a “go” signal, but rather a starting pistol for your timer. The technique of temperature surfing allows you to leverage this cycle, transforming a major source of inconsistency into a tool for control. Whether you stick with surfing or eventually upgrade with a PID, this fundamental knowledge is what separates frustrating mornings from consistently delicious espresso. Practice this technique, and you’ll be pulling better, more repeatable shots in no time.
 No products in the cart.