


The allure of a perfect, café-quality espresso at home is a powerful motivator for any coffee lover. However, the reality on a busy weekday morning can often be a chaotic scramble of weighing beans, messy grounds, and a time-consuming process that adds stress instead of solace. Many home baristas find their passion project turning into a frustrating chore when time is tight. But it doesn’t have to be this way. By adopting a structured and efficient approach, you can transform your morning coffee ritual. This article will guide you through the key principles of optimizing your home espresso workflow, focusing on preparation, technique, and cleanup to help you brew faster, more consistently, and with greater enjoyment, ensuring your day starts with a perfect shot, not a panic.
Mise en place: The foundation of a fast workflow
In professional kitchens, chefs live by the principle of mise en place, which translates to “everything in its place.” This philosophy is the single most impactful change you can make to speed up your morning espresso routine. It’s about doing the slow, thoughtful work ahead of time so that the actual brewing process is fluid and fast. Instead of fumbling for tools and ingredients when you’re half-awake, you create a calm, organized environment where every action has a purpose.
Here’s how to apply it the night before:
- Pre-dose your beans: The time it takes to get out your bag of beans, weigh the perfect dose, and put it all away adds up. Use single-dose cellars or small, airtight containers to weigh out your beans for the next morning. This step alone can shave a full minute off your routine.
- Fill your water tank: Checking and refilling the water reservoir is a simple task, but one that can be a frustrating hurdle first thing in the morning. Make sure it’s topped up before you go to bed.
- Arrange your station: Lay out all the tools you’ll need in the order you’ll use them. Your scale, portafilter, Weiss Distribution Technique (WDT) tool, dosing funnel, and tamper should be clean and within easy reach. Place your favorite cup on the machine’s cup warmer. This simple organization eliminates frantic searching.
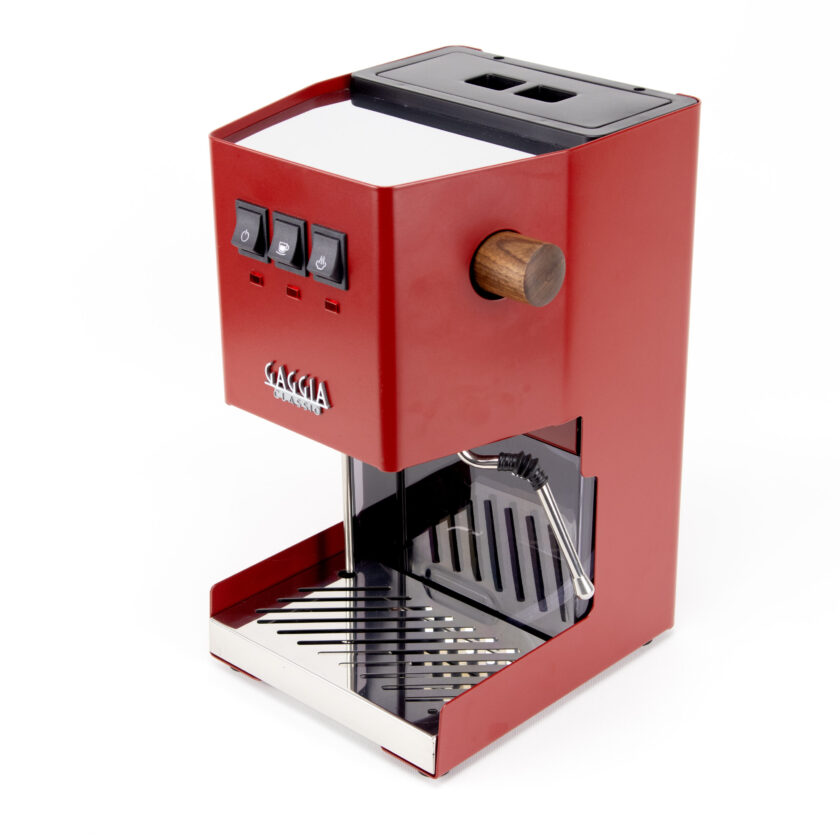
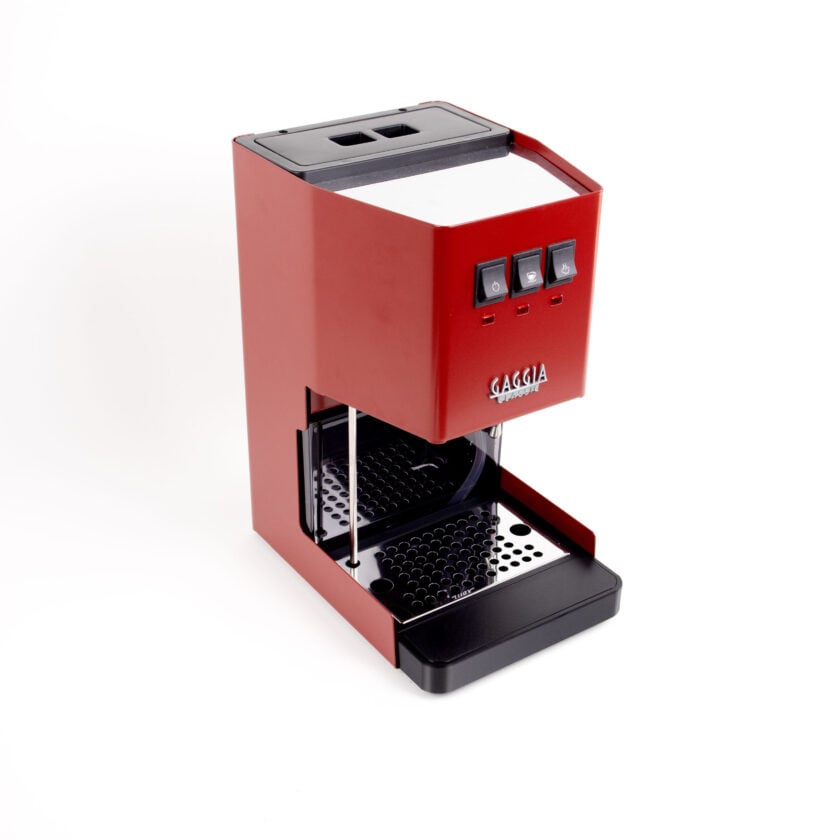
Finally, the most crucial step is to turn on your machine as soon as you wake up. Most prosumer espresso machines need at least 20-30 minutes to fully heat the group head and portafilter. Brewing with a cold machine leads to a sour, under-extracted shot and wasted time. Making this the first step of your morning ensures your equipment is thermally stable and ready to perform when you are.
Streamlining your puck preparation and extraction
Once your station is prepped and your machine is hot, the focus shifts to the “active” phase: preparing the coffee puck and pulling the shot. The goal here is not to rush, but to be efficient and repeatable. Developing muscle memory through a consistent routine is key to both speed and quality. A sloppy, inconsistent process leads to bad shots, forcing you to start over—the ultimate time-waster.
Your puck prep should become a smooth, rhythmic sequence. A great example is:
- Grind your pre-dosed beans directly into the portafilter (using a dosing funnel to prevent mess).
- Use a WDT tool with fine needles to break up clumps and evenly distribute the grounds.
- Give the portafilter a firm, vertical tap on the counter to settle the grounds.
- Tamp firmly and evenly. A calibrated or self-leveling tamper can help ensure consistency here.
This entire process should take less than a minute once you’re practiced. Using a bottomless portafilter is highly recommended, as it provides instant visual feedback. If you see channeling (spurts of water), you know your distribution or tamp needs adjustment. This helps you diagnose and fix issues quickly, leading to more successful shots in less time. Finally, use a scale with a built-in timer. By aiming for a specific brew ratio (e.g., 18g of coffee in, 36g of liquid espresso out) in a target time frame (e.g., 25-30 seconds), you remove the guesswork and create a repeatable recipe for success.
Essential tools that save you time and mess
While technique is paramount, certain tools are designed specifically to address common bottlenecks in the espresso workflow. Investing in a few key accessories can provide a significant return in time saved and frustration avoided. These tools aren’t about extravagance; they’re about targeted efficiency, reducing mess and variability, which are the primary enemies of a quick morning routine.
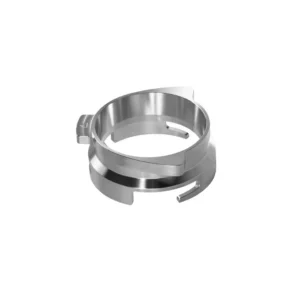
The connection is clear: a cleaner process is a faster process. For example, a simple dosing funnel that sits on your portafilter basket prevents coffee grounds from spilling onto your counter during grinding and WDT. This might save you only 10 seconds of grinding and 20 seconds of cleanup, but that half-minute is precious on a busy morning. Similarly, tools that improve consistency also improve speed by reducing the chance of a failed shot.
Here are some of the most impactful tools:
| Tool | Primary benefit | How it speeds up workflow |
|---|---|---|
| Dosing funnel | Mess prevention | Eliminates spilled grounds, drastically cutting down on counter cleanup time. Allows for more aggressive WDT without making a mess. |
| Self-leveling tamper | Consistency | Ensures a perfectly level tamp every time, removing a major variable that can cause channeling and lead to sink shots. |
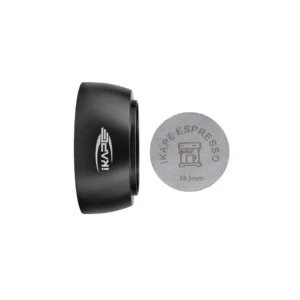
| Puck screen | Cleanliness | Keeps the group head and shower screen significantly cleaner by preventing grounds from back-flushing into the machine, reducing maintenance frequency. |
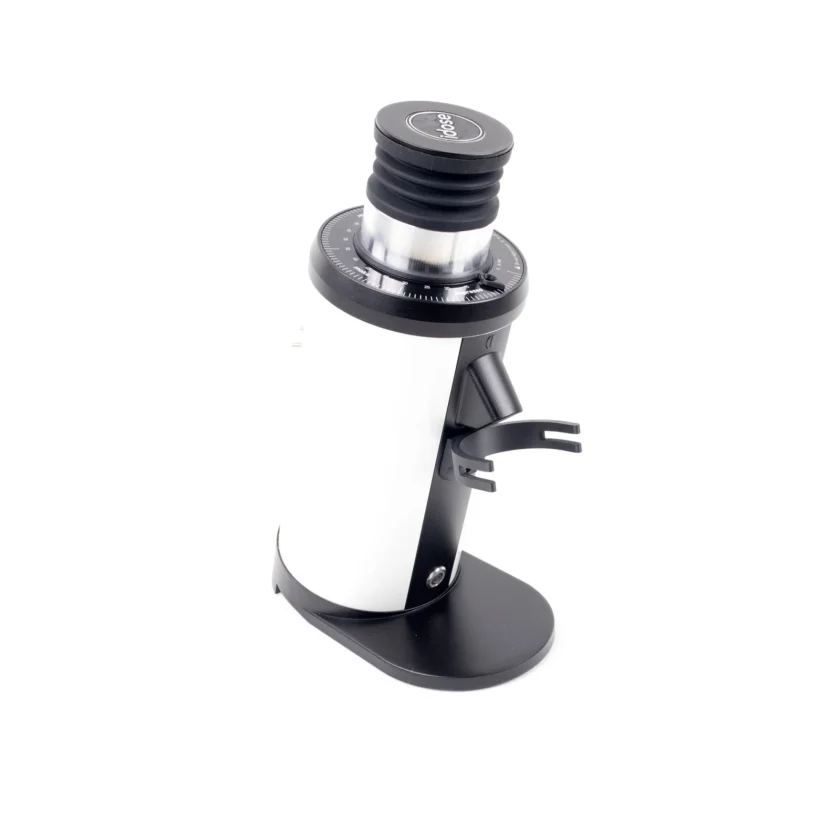
| Single-dose grinder | Efficiency & Freshness | With near-zero retention, it ensures you’re grinding exactly what you put in. Paired with pre-dosed beans, it’s the fastest way from bean to puck. |
The clean-as-you-go philosophy
Your workflow doesn’t end when the espresso hits the cup. A fast morning routine tomorrow depends on how you finish your routine today. Adopting a “clean-as-you-go” mindset is the final piece of the optimization puzzle. Leaving a dirty station creates a mental and physical barrier the next morning, slowing you down before you even start. The goal is to integrate cleaning into the brewing process itself, making it a series of small, effortless actions rather than one big chore at the end.
This begins the moment your shot is finished. Immediately after you stop the extraction, do the following:
- Knock out the puck: Knock the used coffee puck into a knock box right away. A wet puck is easy to dislodge; a dried, baked-on one is not.
- Wipe and flush: Use a brush or cloth to wipe the inside of the portafilter basket clean. Then, lock the portafilter back into the group head and run a short flush of water to rinse away any residual oils and grounds.
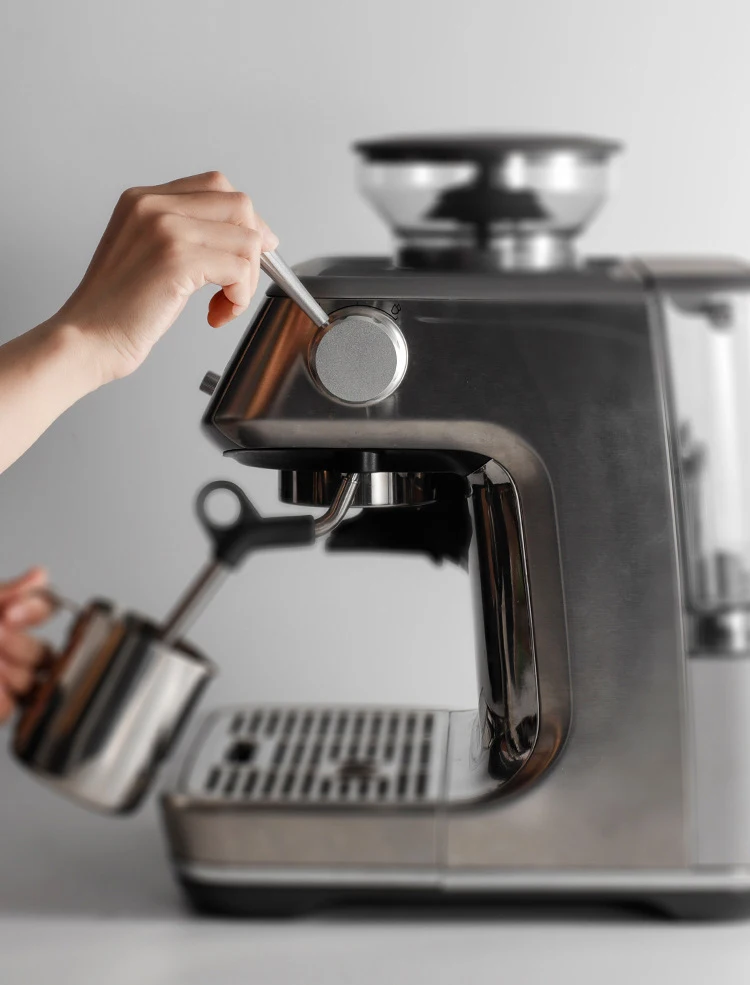
- Purge the steam wand: If you’ve steamed milk, this is non-negotiable. Wipe the wand with a damp cloth and purge it for a second or two immediately. Dried, cooked-on milk is difficult to remove and unhygienic.
These three steps take less than 30 seconds combined but leave your machine in a ready state. A final quick wipe of the drip tray and your counter ensures your espresso station is reset and waiting for you, making tomorrow’s brew just as smooth and efficient.
Organizing your station for a logical flow
Once you have your tools ready, the next step is to ensure your physical coffee station is designed for efficiency. A poorly organized space forces you to take unnecessary steps, wasting precious seconds that add up. The goal is to create a logical flow that mirrors the coffee-making process. Think of it as an assembly line, moving from raw materials to the finished product with minimal wasted motion.
Your setup should follow a natural progression:
- Grinding zone: This is where your bag of beans and grinder live. If you pre-dose beans, this is where you keep your small containers.
- Puck prep zone: Directly next to the grinder should be a dedicated space for puck preparation. A tamping mat is perfect for this. It keeps your tamper, distribution tool, and portafilter stand all in one place, minimizing mess and movement.
- Brewing zone: This is your espresso machine itself. Ideally, your puck prep area is right beside it, so you can move the prepared portafilter from the mat directly into the group head in one fluid motion.
- Finishing zone: If you make milk drinks, your steam wand area, milk pitcher, and syrups should be grouped together. Your cups should also be stored here, perhaps on top of the machine to keep them warm.
By arranging your station this way, each action flows directly into the next. You aren’t walking back and forth across the kitchen. Every tool is within arm’s reach exactly when you need it, creating a seamless and ergonomic experience.
Streamlining the process with batching and multitasking
With your station organized, you can now optimize the actions within your workflow. This is where you can shave off whole minutes from your routine by thinking ahead and performing tasks in parallel. The biggest time-saver here is batching. Instead of weighing your beans every single morning, take five minutes on a Sunday evening to weigh out single doses for the entire week into small, airtight containers. This eliminates the fussiest step from your daily morning routine.
Another key is to start heating your machine as early as possible. Make it the very first thing you do when you enter the kitchen. A properly heated machine is crucial for good espresso, and letting it warm up while you get ready for the day means it’s at the perfect temperature when you need it.
Finally, learn to multitask intelligently. While your shot is pulling, you can pour your milk into the pitcher. As soon as the shot is done, you can start steaming the milk. Don’t wait for one task to be 100% complete with cleanup before starting the next. Look at how a small change in sequence can impact your total time.
| Task | Chaotic Workflow (Time) | Optimized Workflow (Time) |
|---|---|---|
| Turn on machine & heat up | (Done now) 15 min | (Done earlier) 0 min |
| Find and weigh beans | 1 min | (Pre-dosed) 10 sec |
| Grind and prep puck | 1.5 min | 1 min |
| Pull shot | 45 sec | 45 sec |
| Get milk and steam | 1 min | (Multitasked) 45 sec |
| Total Active Time | ~4 min 15 sec | ~2 min 40 sec |
Conclusion: From chore to ritual
Transforming your morning espresso from a frantic race against the clock into a streamlined, enjoyable ritual is entirely achievable. It’s not about buying the most expensive gear or rushing through steps, but about being intentional and efficient. The journey starts with preparation—adopting the mise en place philosophy by setting up your station the night before. It continues with honing a consistent, repeatable puck preparation technique to minimize errors and wasted shots. This process is further enhanced by investing in smart, time-saving tools like a dosing funnel or a self-leveling tamper. Finally, embracing a “clean-as-you-go” habit ensures that your station is always ready for the next brew. By integrating these strategies, you’ll not only make coffee faster but also make better, more consistent coffee, turning a potential morning chore into a peaceful and rewarding start to your day.