Introduction
Welcome to our home latte art guide! If you’re a coffee lover who wants to take their coffee presentations to the next level, you’ve come to the right place. In this step-by-step guide, we will walk you through the process of creating beautiful latte art right in the comfort of your own home. Whether you’re a beginner or have some experience with latte art, we have practical tips and techniques that will help you enhance your coffee presentations. So grab your favorite mug, brew a fresh cup of coffee, and let’s get started!
Getting Started: What You’ll Need
Before we dive into the art of creating latte art, let’s make sure you have all the necessary tools and ingredients. Here’s what you’ll need:
- Espresso machine or coffee maker: You’ll need a reliable espresso machine or coffee maker to brew a strong shot of espresso. If you don’t have one, you can also use a French press or a moka pot.
- Milk: Whole milk works best for creating latte art due to its higher fat content, which helps in achieving better texture and consistency. However, you can also use alternative milk options like almond milk or oat milk if you prefer.
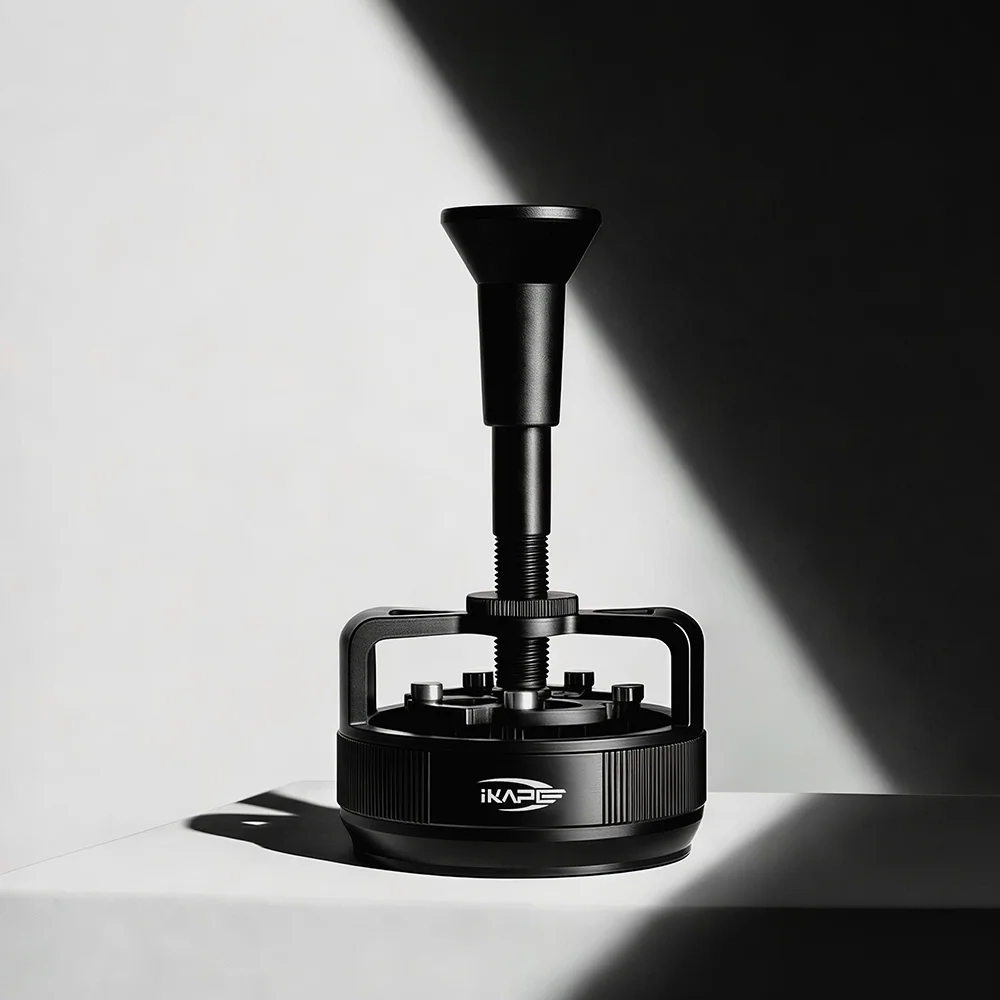
- Steam wand or frother: A steam wand is an essential tool for steaming and frothing milk. If your espresso machine doesn’t have a built-in steam wand, you can use a handheld frother or a French press to froth the milk.
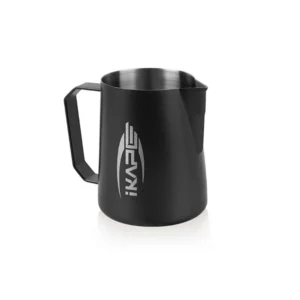
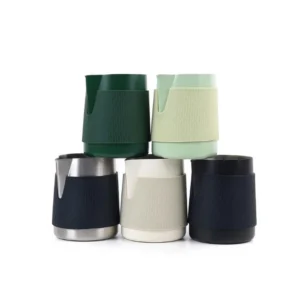
- Latte art tools: While not necessary, latte art tools like a milk pitcher, a thermometer, and a latte art pen can be helpful in creating more intricate designs.
- High-quality coffee beans: To achieve the best flavor and aroma in your latte, it’s important to use freshly roasted, high-quality coffee beans. Experiment with different flavor profiles to find your favorite.
Step-by-Step Guide to Creating Latte Art
Now that you have all the necessary tools and ingredients, let’s dive into the step-by-step process of creating latte art:
Step 1: Prepare your espresso
Start by grinding your coffee beans to a fine consistency. If you have an espresso machine, make sure to follow the manufacturer’s instructions for brewing a shot of espresso. If you’re using a French press or a moka pot, brew a strong cup of coffee instead. The key is to have a strong base for your latte art.
Step 2: Steam and froth your milk
Pour cold milk into a milk pitcher, filling it about one-third full. The amount of milk you use will depend on the size of your cup. Insert the steam wand or frother into the milk, positioning it just below the surface. Turn on the steam wand or frother and let it create a whirlpool effect in the milk. This will help incorporate air and create a creamy, velvety texture.
Continue steaming the milk until it reaches a temperature of around 150°F (65°C). It’s important not to overheat the milk, as it can affect the taste and texture of your latte art. Use a thermometer to monitor the temperature if needed.
Step 3: Pouring the milk
Once you have your espresso and steamed milk ready, it’s time to start pouring and creating your latte art. Here are a few popular latte art designs to get you started:
- Heart: Start by pouring a small amount of milk into the center of the cup, creating a dot. Then, pour a thin stream of milk from a higher position, moving the pitcher back and forth to create two half-circles that meet at the dot.
- Tulip: Begin by pouring a small amount of milk into the center of the cup, just like the heart design. Then, pour a thin stream of milk while moving the pitcher in a circular motion. As the milk spreads, use a latte art pen or a toothpick to create fine lines from the center outwards, resembling the petals of a tulip.
- Swan: This design requires more skill and practice. Start by pouring a small amount of milk into the center, similar to the heart and tulip designs. Then, pour a thin stream of milk while moving the pitcher in an S-shaped motion. As the milk spreads, use a latte art pen or a toothpick to create the swan’s head and neck.
Remember, practice makes perfect when it comes to latte art. Don’t be discouraged if your first attempts don’t turn out exactly as you imagined. Keep experimenting and refining your technique.
Practical Tips for Creating Latte Art
Here are some practical tips that will help you enhance your latte art skills:
- Use fresh milk: Fresh milk produces better foam and texture, so make sure to use milk that hasn’t expired.
- Keep your equipment clean: Regularly clean your steam wand, milk pitcher, and any other tools you use for latte art. This will prevent any residue or buildup that can affect the quality of your milk foam.
- Experiment with milk temperature: Different latte art designs require different milk temperatures. Play around with the temperature to achieve the desired consistency for your preferred design.
- Practice your pouring technique: The way you pour the milk into the espresso can greatly impact the final result. Practice pouring from different heights and angles to create different effects.
- Watch latte art tutorials: There are plenty of latte art tutorials available online that can help you learn new techniques and designs. Take advantage of these resources to expand your latte art repertoire.
Conclusion
Creating latte art at home is a fun and rewarding skill that allows you to elevate your coffee presentations. With the right tools, ingredients, and techniques, you can impress your friends and family with beautiful designs like hearts, tulips, and even swans. Remember to be patient and practice regularly to improve your latte art skills. So go ahead, unleash your creativity, and enjoy the process of creating stunning latte art right in the comfort of your own home!


 No products in the cart.