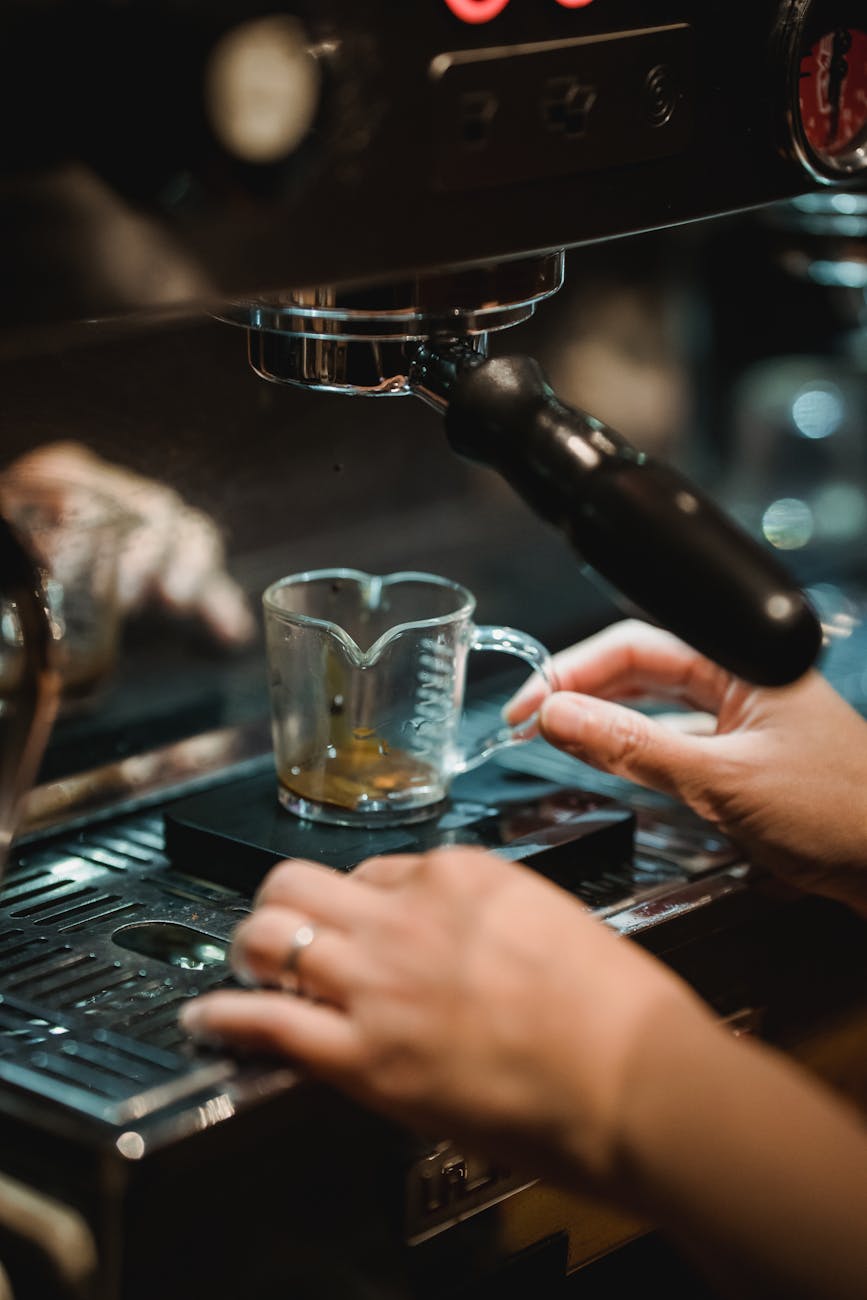
Every Gaggia owner knows the potential hiding within their machine. That iconic 58mm portafilter promises café-quality espresso right on your kitchen counter. Yet, many of us face a frustrating reality: inconsistency. One shot is beautiful and syrupy, the next is thin, sour, and sprays from the portafilter. The culprit is often not the machine or the beans, but tiny, hidden clumps in your coffee grounds. This article will demystify the single most effective technique for solving this problem: the Weiss Distribution Technique, or WDT. We will explore why your puck preparation is so crucial and provide a clear, step-by-step guide to using WDT to finally achieve the consistent, delicious espresso you and your Gaggia are capable of producing.
Understanding the problem: clumps and channeling in your Gaggia portafilter
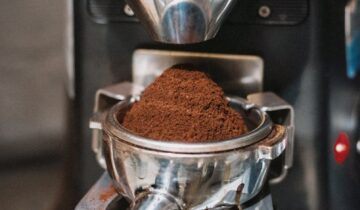
Before we can fix the problem, we need to understand it. When you grind coffee, especially for espresso, several factors like static and the grinder’s burr design can cause the fine particles to clump together. When you dump these grounds into your Gaggia portafilter, you’re not left with a uniform, fluffy bed. Instead, you have a mix of dense clumps and looser areas. This creates a hidden minefield for the hot, pressurized water from your machine’s group head.
Water is lazy; it will always seek the path of least resistance. When it hits this uneven coffee bed, it will bypass the dense clumps and rush through the looser sections. This phenomenon is called channeling. Instead of extracting flavor evenly from all the coffee, the water over-extracts the channels (creating bitter flavors) and under-extracts the dense clumps (leaving sour, undeveloped flavors). The result is a messy, unbalanced shot.
If you use a bottomless portafilter, channeling is easy to spot. You’ll see jets of water spraying out, or the extraction will favor one side of the basket. Even with a standard spouted portafilter, the signs are in the cup: a thin body, a sour and bitter taste, and a shot that runs far too quickly. Tamping harder won’t fix this; it just compacts the existing unevenness.
What is the Weiss Distribution Technique (WDT)?
The Weiss Distribution Technique is a deceptively simple method for improving the uniformity of your coffee grounds before tamping. Named after John Weiss, who pioneered the concept in the early 2000s, it involves using a tool with very fine needles to break up clumps and distribute the grounds evenly throughout the portafilter basket. It’s a form of manual declumping and homogenization that directly counteracts the issues of channeling.
The tools themselves can range from a DIY solution (like acupuncture needles stuck into a wine cork) to professionally manufactured WDT tools with ergonomic handles and specific needle gauges. For best results, you want a tool with needles that are:
- Thin: Ideally between 0.3mm and 0.4mm in diameter. Needles that are too thick will simply push the grounds around instead of breaking up clumps.
- Spaced appropriately: The needles should be arranged to cover the area of the basket efficiently without being too dense.
By stirring the grounds with this tool, you are not just fluffing them up. You are fundamentally changing the structure of the coffee bed, ensuring that its density is consistent from top to bottom and from edge to edge. This creates a uniform level of resistance, forcing the water to flow evenly through the entire puck and extract flavor consistently.
Step-by-step guide to WDT on a Gaggia portafilter
Integrating WDT into your workflow is quick and the results are immediate. Here’s how to do it effectively with your Gaggia’s 58mm portafilter.
1. Use a dosing funnel. This is arguably the most important accessory for effective WDT. A dosing funnel sits on top of your portafilter, creating higher walls. This prevents grounds from spilling over the side and allows you to stir vigorously without making a mess. Grind your coffee dose directly into the portafilter with the funnel attached.
2. Distribute the grounds. Insert your WDT tool into the grounds, making sure the needles reach the bottom of the basket. Begin stirring in small, overlapping circles or a back-and-forth raking pattern. Work your way from the bottom up to the surface. Your goal is to break up every single clump and create a level, fluffy bed of coffee that looks like fine sand. The entire surface should be uniform in texture and height.
3. Settle and groom. Once you are satisfied with the distribution, remove the WDT tool and the dosing funnel. Give the portafilter one or two gentle vertical taps on your counter or tamping mat. This will collapse any large air pockets and settle the grounds into a flat bed, preparing it for tamping. Avoid banging it too hard, as this can re-introduce density variations.
4. Tamp evenly. With a well-distributed puck, the purpose of tamping becomes much simpler. You no longer need to correct for unevenness. Your only job is to provide firm, level pressure to compress the grounds into a solid puck. A level tamp on a well-distributed bed is the final key to a perfect extraction.
The tangible results: what to expect from your shots
The difference WDT makes isn’t just theoretical; it’s something you can see, measure, and, most importantly, taste. After implementing this technique, your Gaggia will perform on a new level of consistency and quality.
Visually, if you use a bottomless portafilter, the change is dramatic. Gone are the spurts and multiple, messy streams. You will be rewarded with beautiful, “tiger-striped” extractions that begin as small beads across the basket, coalesce into a single, steady stream in the center, and flow like warm honey. This is the visual confirmation of an even, channel-free extraction.
In the cup, the improvement is even more profound. By eliminating simultaneous over and under-extraction, you unlock the true flavor profile of your coffee beans. Shots will taste more balanced, with a noticeable increase in sweetness and clarity. The harsh bitterness and sharp sourness caused by channeling will be replaced by a rounder, fuller body and a more pleasant, lingering aftertaste. Your espresso will simply taste better.
The table below summarizes the key differences you can expect.
| Metric | Shot without WDT | Shot with WDT |
|---|---|---|
| Visual Extraction | Spraying, multiple streams, uneven color | Single, centered stream, even color, “tiger striping” |
| Taste Profile | Often unbalanced (both sour and bitter) | Balanced, sweet, with clear flavor notes |
| Shot Time Consistency | Highly variable, often runs too fast | Repeatable and predictable for a given grind size |
| Puck Condition | Often has small holes or cracks after extraction | Solid, dry, and knocks out cleanly in one piece |
Ultimately, the biggest win is consistency. WDT takes a major variable out of the equation, making your espresso routine far more predictable and less frustrating. You can finally focus on dialing in your grind size with confidence, knowing that your puck preparation is sound.
While a Gaggia machine provides an excellent platform for home espresso, its potential is only unlocked through careful puck preparation. The frustration of inconsistent shots is a shared experience, but the solution is within reach. Clumps and the resulting channeling are the primary enemies of good extraction, creating unbalanced and disappointing coffee. By integrating the Weiss Distribution Technique into your routine, you directly address this core issue. A simple WDT tool and a dosing funnel are small investments that pay massive dividends in quality and repeatability. Mastering this one technique will elevate your Gaggia from a good machine to a great one, empowering you to pull consistently delicious, café-quality espresso shots every single day.

 No products in the cart.