
Master your Gaggia Classic Pro: How to stabilize brew temperature for consistent espresso shots
The Gaggia Classic Pro is a legendary machine in the world of home espresso, beloved for its robust build and potential to produce cafe-quality shots. However, its greatest weakness is a common one for single-boiler machines: brew temperature instability. This can be frustrating, leading to one great shot followed by a sour or bitter one. Temperature is a critical variable in espresso extraction, and fluctuations can ruin your carefully prepped puck. This article is your comprehensive guide to taming the Gaggia Classic Pro. We will explore why its temperature swings so much and provide a tiered approach to achieving stability, from simple, no-cost techniques to the ultimate modification for perfect, repeatable, back-to-back espresso shots.
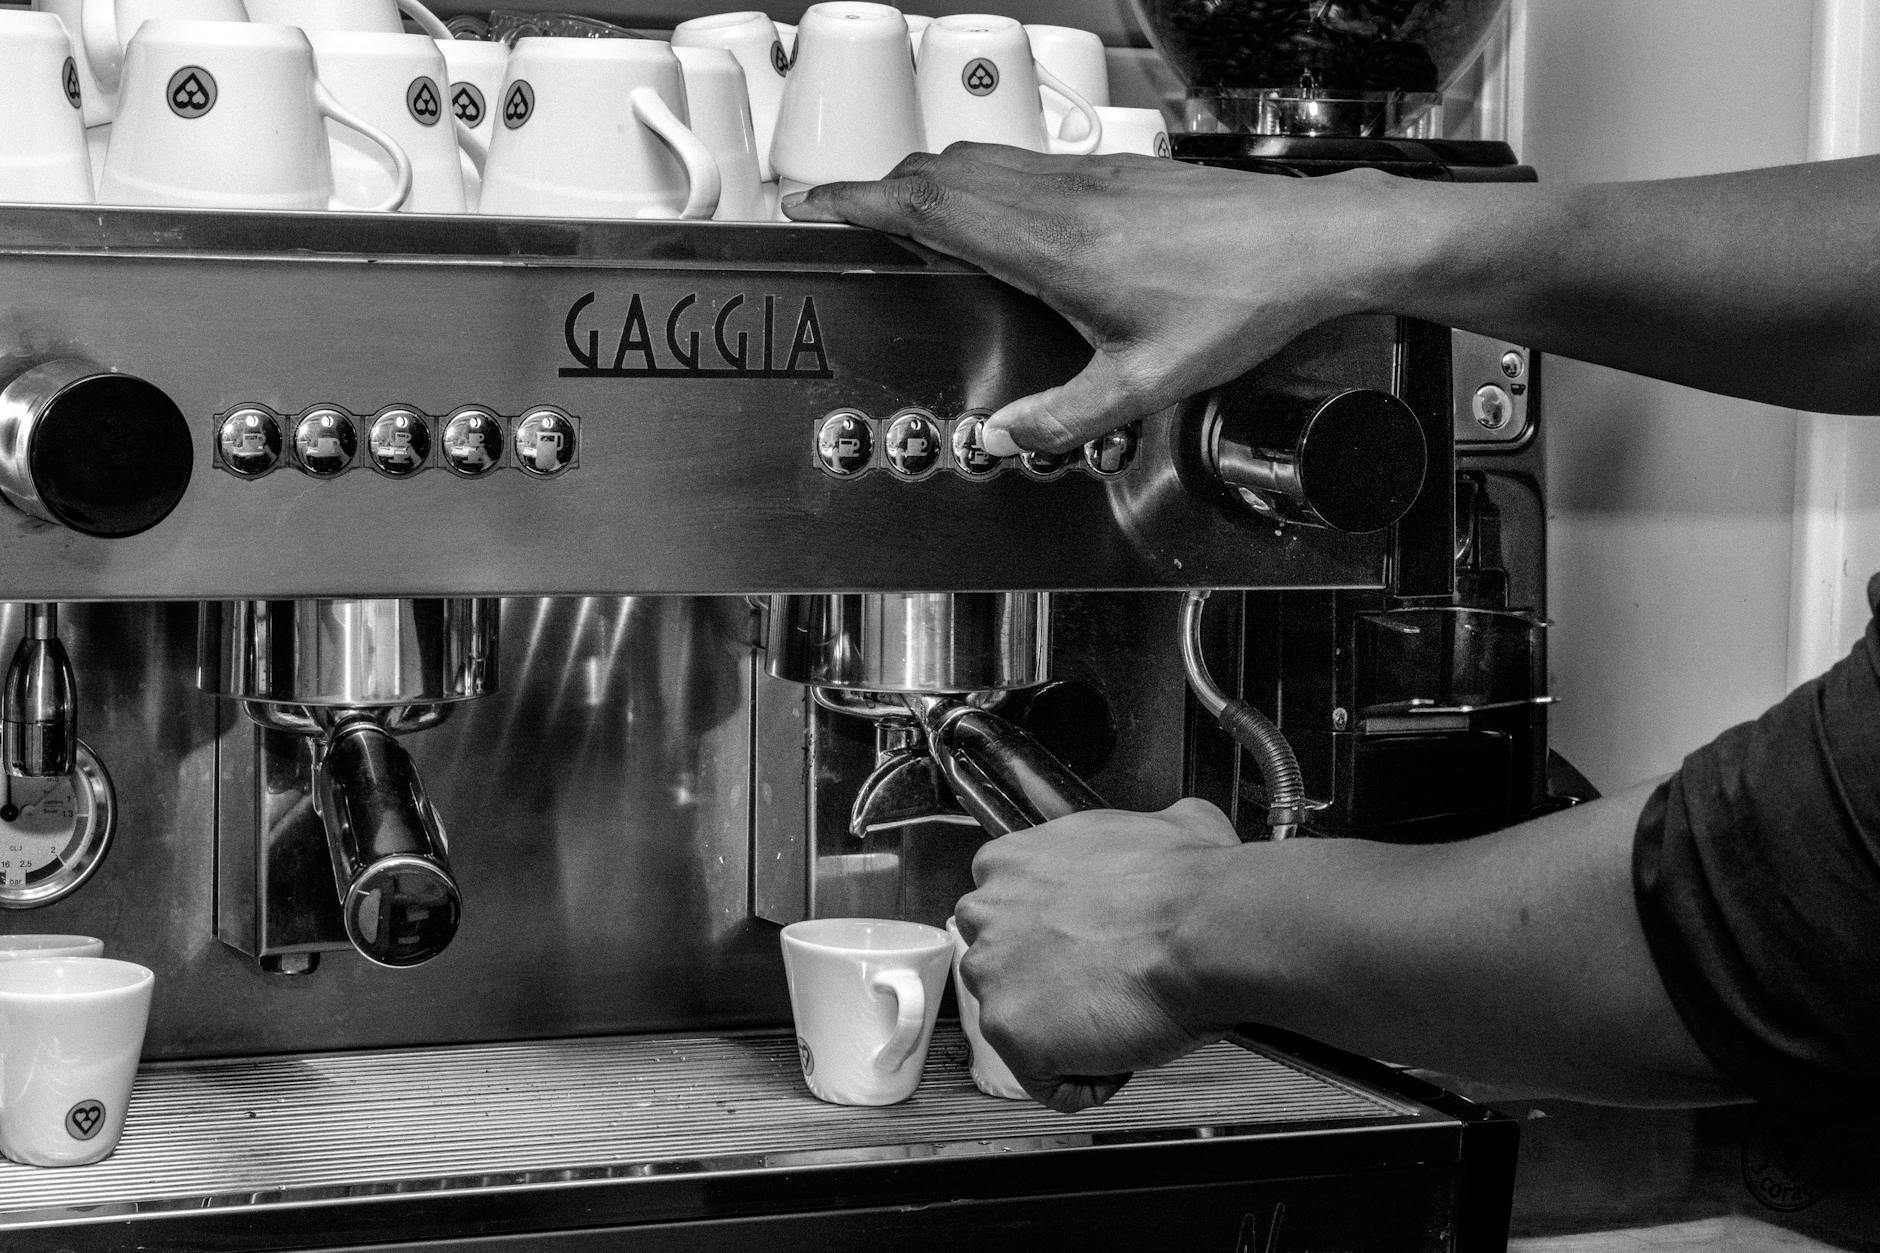
Understanding the Gaggia Classic Pro’s heating system
To solve the temperature problem, you first need to understand its cause. The Gaggia Classic Pro uses a simple and rugged design: a small aluminum boiler with two powerful heating elements attached to the outside. The temperature is regulated not by a precise digital sensor, but by two simple bimetallic thermostats: one for brewing and one for steaming.
The brew thermostat is the source of the inconsistency. It works like a basic thermostat in a home appliance, operating within a wide temperature range, often called a “deadband.” It allows the boiler to cool down to a certain temperature (e.g., 95°C) before it clicks the heating elements ON. It then heats the boiler until it reaches an upper limit (e.g., 105°C) and clicks OFF. This creates a 10°C swing where the water temperature is constantly rising or falling. Pulling a shot at the bottom of this cycle will result in a sour, under-extracted coffee, while pulling one at the peak can lead to a bitter, over-extracted taste. When you pull a shot, cold water from the reservoir enters the boiler, causing a dramatic temperature drop and making the next shot’s temperature even more unpredictable.
The basics: Temperature surfing for consistency
Temperature surfing is a free and effective technique to gain control over the heating cycle. The goal is to initiate the brew at the same point in the cycle every time, ensuring a more consistent starting temperature. It requires a bit of attention but can dramatically improve your shot quality. Here’s a reliable method to get started:
- Step 1: Thoroughly preheat. Turn your machine on with the portafilter locked in for at least 20 minutes. This ensures the group head and portafilter are fully heated and won’t sap heat from your brew water.
- Step 2: Initiate the heating cycle. Place a cup under the group head and run the pump. Watch the orange “heating” light on the front of the machine. Keep the pump on until you see this light turn ON. This action purges cooler water and forces the thermostat to start heating from the bottom of its cycle.
- Step 3: Wait and time. As soon as the light comes on, stop the pump and start a timer. The boiler is now heating. The time you wait from this point is your “temperature offset.” A common starting point is to wait 10-15 seconds. This allows the water to heat up from the bottom of the cycle into the ideal espresso brewing range.
- Step 4: Pull your shot. During the wait, you can prep and tamp your portafilter. Lock it in and start your shot at the exact time you’ve determined.
For back-to-back shots, you simply repeat the process. After your first shot, the boiler will be cold. Purge water again until the heating light comes on, and then start your timed wait for the second shot. This adds a minute or two between shots but is far more consistent than pulling them blindly.
Improving recovery with the steam wand trick
While basic temperature surfing works, it can feel slow when you’re making multiple drinks. The “steam wand trick” is a more advanced surfing method that leverages the machine’s steam function to drastically speed up the boiler’s recovery time between shots. The steam thermostat is set to a much higher temperature than the brew thermostat, and we can use this to our advantage.
Here’s how to pull a second shot quickly and consistently:
- Immediately after your first shot finishes, flick the steam switch ON.
- The orange heating light will stay on. You are now using the more powerful steam heating cycle to rapidly reheat the boiler.
- Let the boiler heat with the steam switch on for a very short, timed period—typically 5 to 8 seconds. This is the variable you will need to experiment with. Too short and the water is too cool; too long and it’s too hot.
- Flick the steam switch OFF.
- Quickly purge a small amount of water from the group head. This flushes out the overly hot, steamy water that may have accumulated at the top of the boiler.
- Immediately lock in your second prepared portafilter and pull the shot.
This technique requires practice to nail the timing, but once mastered, it allows for much faster workflow when entertaining guests or making morning lattes for the family.
The ultimate solution: Installing a PID controller
Temperature surfing techniques are effective workarounds, but they still rely on timing and guesswork. The single greatest upgrade for the Gaggia Classic Pro, which elevates it into a truly professional-grade machine, is installing a PID (Proportional-Integral-Derivative) controller.
A PID kit replaces the inaccurate bimetallic thermostat with a precise digital controller and a temperature sensor (thermocouple) placed directly on the boiler. The PID’s smart algorithm learns how your boiler heats and cools. Instead of the wide on/off swings of the stock thermostat, the PID intelligently pulses the heating elements to keep the water temperature incredibly stable, often within plus or minus one degree of your set target.
The benefits are transformative:
- Set-it-and-forget-it precision: You can dial in the exact temperature you want for your coffee beans (e.g., 93°C for a light roast) and the machine will hold it there.
- Unbeatable consistency: Every single shot is pulled at the same temperature. No more guesswork, no more surfing.
- Rapid recovery: The PID brings the boiler back to the set temperature quickly and accurately after a shot, making back-to-back shots effortless.
While it requires an investment and some DIY confidence to install, PID kits from vendors like Auber Instruments or Shades of Coffee come with detailed instructions. It is, without a doubt, the definitive solution for temperature stability on the Gaggia Classic Pro.
Comparison of temperature stabilization methods
| Method | Cost | Consistency | Effort / Skill Level |
|---|---|---|---|
| Standard Operation (No technique) | Free | Very Low | Very Low |
| Temperature Surfing | Free | Medium | Medium |
| Steam Wand Trick | Free | Medium-High | High |
| PID Controller Installation | $$ – $$$ | Very High | Installation is moderate, usage is very low |
Mastering your Gaggia Classic Pro is a journey of understanding its quirks and learning how to control them. We’ve seen that its primary weakness—the wide temperature swing from its simple thermostat—can be managed and even completely eliminated. For the enthusiast on a budget, learning to temperature surf is a crucial skill that provides a significant leap in shot consistency. Advancing to the steam wand trick can speed up your workflow for back-to-back shots. However, for those who seek ultimate precision and repeatability, installing a PID controller transforms the Gaggia Classic Pro into a different class of machine. By taking control of brew temperature, you unlock the machine’s full potential, ensuring every shot you pull is as delicious as the last.
 No products in the cart.