How to replace a group gasket and shower screen on your La Marzocco home machine
Your La Marzocco home espresso machine is the heart of your coffee ritual, a precision instrument designed to deliver exceptional espresso. Like any high-performance machine, it requires regular maintenance to keep it running smoothly. One of the most critical yet simple maintenance tasks is replacing the group gasket and shower screen. These small parts play a huge role in the quality of your shot. Over time, the rubber gasket hardens and the metal screen clogs with coffee oils, leading to leaks and uneven extraction. This guide will walk you through why this maintenance is essential, when to do it, and provide a clear, step-by-step process for replacing these components on your Linea Mini or GS3.
Why and when to perform this maintenance
Understanding the function of these two parts is key to appreciating why their replacement is so important. The group gasket, a simple rubber ring, creates a high-pressure seal between your portafilter and the group head. Without a perfect seal, water will bypass the coffee puck, leading to a weak, under-extracted shot and messy leaks. The shower screen sits just above your coffee puck, and its job is to distribute hot water evenly across the entire surface of the coffee. A clean, functional screen is essential for a balanced extraction and a delicious espresso.
But how do you know when it’s time for a change? Your machine will give you clear signals. For the gasket, the most obvious sign is water leaking from around the portafilter during brewing. You might also notice that your portafilter handle has to be locked in much further to the right than it used to. If the gasket feels hard and brittle instead of soft and pliable, its time is up. For the shower screen, you may see an uneven, sputtering flow of water instead of a gentle “shower.” A buildup of black, tarry coffee residue that can’t be cleaned is another sure sign. As a general rule, plan to replace your gasket every 6 to 12 months and your shower screen every 12 months, depending on usage.
| Component | Signs it needs replacing | Recommended interval |
|---|---|---|
| Group Gasket | Leaks around portafilter, portafilter handle rotates past 7 o’clock, gasket is hard or cracked. | 6-12 months |
| Shower Screen | Uneven water flow, visible grime and oil buildup, metallic taste in coffee. | 12 months or with gasket |
Gathering the right tools and parts
Before you begin, having everything you need on hand will make the process quick and stress-free. Using genuine La Marzocco parts is highly recommended to ensure a perfect fit and maintain your machine’s performance. You don’t need a full mechanic’s toolkit, just a few simple items.
Required parts:
- La Marzocco OEM Group Gasket: The standard size for most home machines like the Linea Mini and GS3 is the 8mm gasket. Ensure you order the correct part for your specific model.
- La Marzocco OEM Shower Screen: This part is also specific to the group head, so double-check compatibility before purchasing.
Essential tools:
- An awl or a small flat-head screwdriver: This will be used to carefully pry out the old, stubborn gasket.
- A Phillips head screwdriver: For removing the central screw that holds the shower screen in place.
- Group head brush: For scrubbing away old coffee grounds from the group head.
- Espresso machine cleaner: A powder like Cafiza or Puly Caff mixed with hot water works wonders for dissolving tough coffee oils.
- A clean, damp cloth and a small bowl: To keep your parts organized and your workspace clean.
The step-by-step replacement process
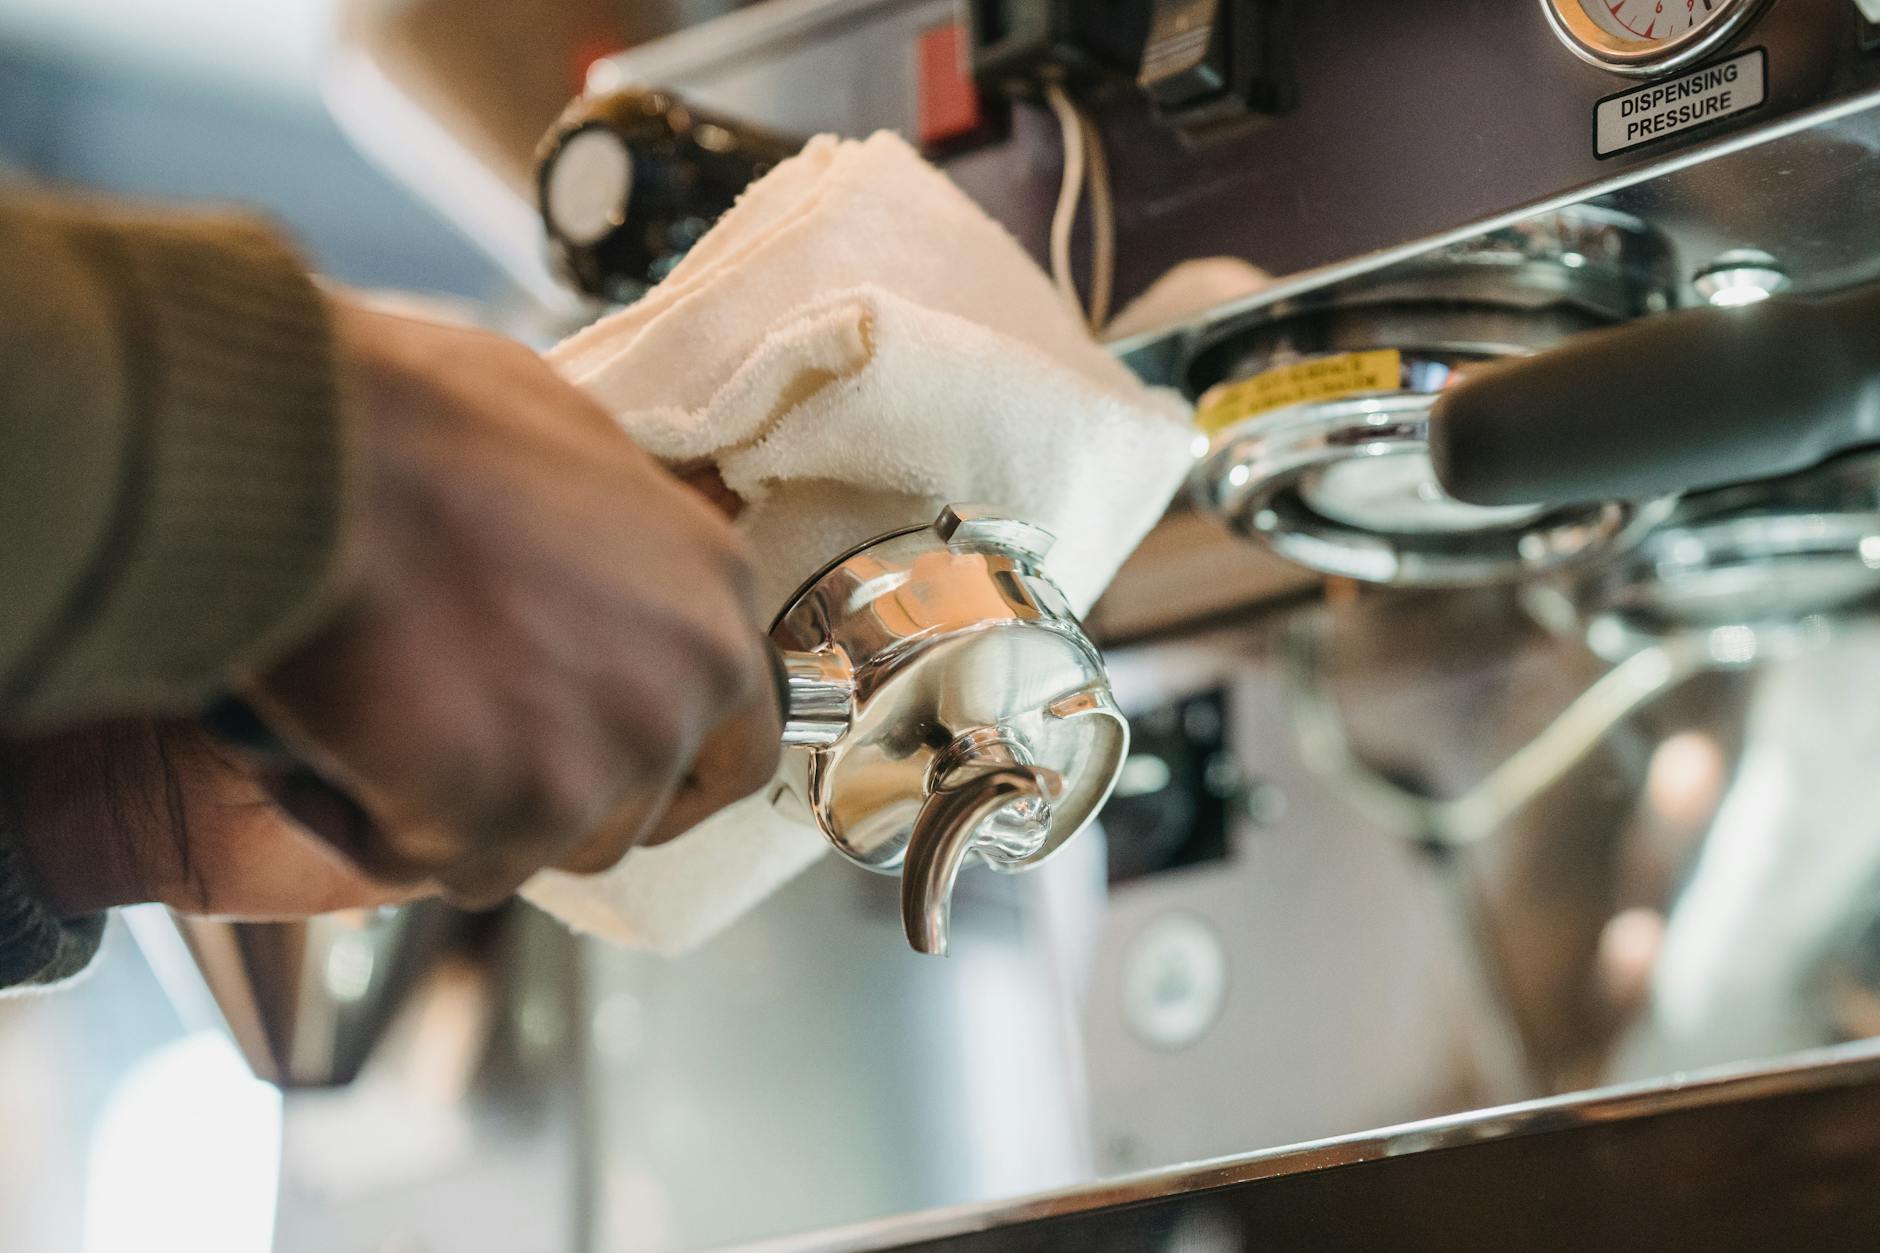
With your new parts and tools ready, it’s time to get started. The entire process should take no more than 15-20 minutes. The most important first step is safety: turn off, unplug your machine, and allow it to cool down completely. Working on a hot group head is a serious burn risk.
Step 1: Remove the old shower screen
Using your Phillips head screwdriver, carefully unscrew the central screw holding the shower screen. It may be a little tight from coffee residue. As you loosen it, the shower screen and the internal dispersion block may drop down together. Place the screw, screen, and block in your small bowl so they don’t get lost.
Step 2: Remove the old group gasket
This can be the trickiest part, especially if the gasket is old and brittle. Take your awl or small flat-head screwdriver and carefully insert the tip between the rubber gasket and the metal wall of the group head. Be gentle to avoid scratching the brass. Pry downwards to lever a section of the gasket out. Once you have a piece started, you can often pull the rest out with your fingers or pliers. Don’t be surprised if it breaks apart into several pieces.
Step 3: Clean the group head thoroughly
Now that the old parts are out, you’ll likely see a lot of coffee residue. This is the perfect opportunity for a deep clean. Use your group head brush to vigorously scrub the inside of the group head and the threads for the screw. For a deeper clean, dip the brush in a solution of hot water and espresso machine cleaner and scrub again. Finally, wipe everything down with a clean, damp cloth until no residue remains. This ensures the new gasket will seat correctly and create a perfect seal.
Installing the new gasket and screen
With a sparkling clean group head, you’re ready for the final step: installation. This part is much easier than removal. Take your new gasket and notice that one side is often beveled or angled. This beveled side should face up into the group head. Push the gasket into the cavity with your fingers, working your way around to press it in evenly. For a perfect fit, you can insert an empty portafilter (without the basket) and lock it into place. This will press the gasket firmly and evenly into its seat.
Next, take your clean dispersion block and place the new shower screen on it. Hold them together and position them inside the group head, aligning the hole with the screw thread. Insert the screw and tighten it with your Phillips screwdriver until it is snug. Be careful not to overtighten, as this can damage the screen or the screw threads. Just firm is perfect.
Finally, plug in and turn on your machine. Once it’s up to temperature, lock in your portafilter. You should feel a firm, smooth engagement, likely stopping right around the 6 o’clock position. Run some water through the group head to check for leaks and admire the even, beautiful flow from your new shower screen. You are now ready to pull a perfect shot.
Conclusion
Congratulations, you have successfully completed one of the most vital maintenance tasks for your La Marzocco home machine. By regularly replacing your group gasket and shower screen, you are not just preventing leaks; you are actively investing in the quality of your espresso and the longevity of your machine. This simple, 20-minute procedure ensures a proper seal for optimal extraction pressure and guarantees that clean, evenly distributed water is hitting your coffee puck every single time. It’s a small effort that pays massive dividends in taste and consistency. Taking ownership of this task empowers you as a home barista, connecting you more deeply with your equipment and elevating your daily coffee experience from good to truly exceptional.


 No products in the cart.