How to prepare your workflow for back-to-back robot shots
Motion control robotics have revolutionized filmmaking, offering perfectly repeatable, dynamic camera movements that were once impossible. However, the complexity of programming these systems can often bog down a production, relegating the robot to a single, time-consuming “hero” shot. The true potential of a camera robot is unlocked when it can execute multiple, complex shots in quick succession, turning it from a specialty tool into an efficient production workhorse. This requires more than just a talented operator; it demands a meticulously planned workflow that spans from pre-production to the final data handoff. This article will guide you through the essential steps to prepare your workflow for rapid, back-to-back robot shots, ensuring you maximize your time on set and capture stunning footage efficiently.
The pre-production foundation
The secret to speed on set is preparation before you even arrive. For a robotic camera workflow, pre-production isn’t just about planning; it’s about building the shots virtually. This phase is where you save hours, if not days, of on-set programming time. The goal is to walk onto the set with your camera moves already 95% complete.
- Detailed pre-visualization (pre-vis): This is the cornerstone of the entire process. Using 3D software like Cinema 4D, Maya, or Blender, you create a virtual replica of your set, props, and talent. The director and DP can then block out the exact camera paths, speeds, lens choices, and timings. This isn’t a rough animatic; it’s a precise blueprint of the shot.
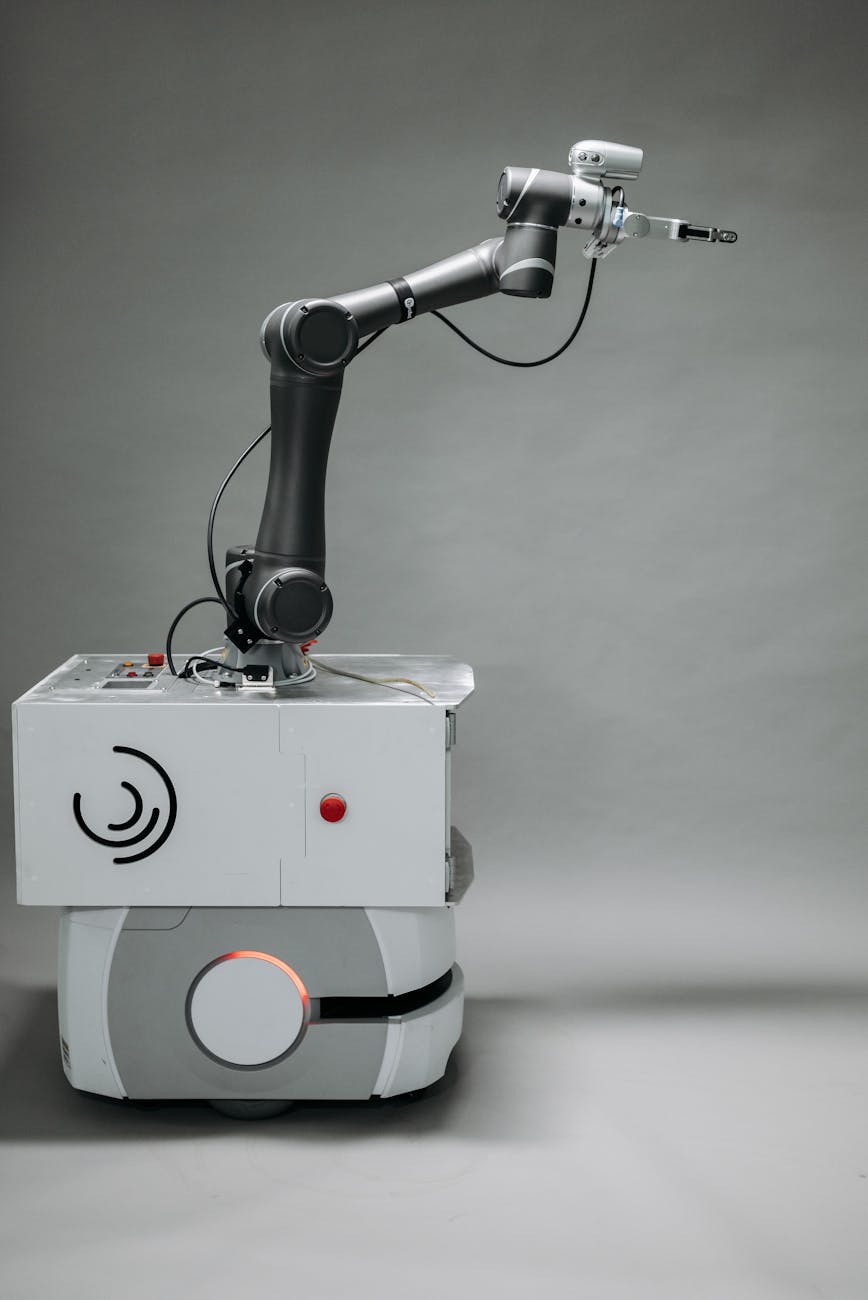
- Collaborative programming: The robot operator should be involved in the pre-vis stage. They can ensure the planned moves are physically possible for the specific robot arm, avoiding issues with reach, speed limits, or gimbal constraints. This collaborative session allows you to refine the creative vision while respecting the technical limitations of the hardware.
- Exporting the move data: Once the moves are finalized in the 3D software, the camera path data is exported. Most motion control systems have plugins or specific formats (like .mcf for Flair software) that allow this virtual move to be directly imported into the robot’s control system. This single step eliminates the need for manual, point-by-point programming on set.
By front-loading the work into pre-production, you transform the on-set process from one of creation to one of implementation and refinement.
On-set calibration and setup
With your shots pre-programmed, the next critical step is to perfectly align the physical set with the virtual world you built. This calibration process is what makes the pre-vis data usable. A small error here can throw off every programmed move, so precision is paramount.
The first task is establishing a shared coordinate system. This involves a process often called “zeroing the rig.” You need to define a single origin point (X, Y, and Z axes) that is identical for the physical robot and the virtual scene. This is typically done by picking three or more distinct, measurable points on the set that also exist in your 3D model. The robot operator will then use the arm to “teach” the system where these points are in real space. The software then calculates the correct position and orientation, effectively locking the real and virtual worlds together.
While this calibration is happening, the crew can continue with lighting and set dressing. Once calibrated, the operator can begin loading the pre-programmed shots into a library. You can have dozens of moves ready to go before the director even calls for the first rehearsal. This is also the time to run safety checks, ensuring the robot’s movement envelope is clear of any new obstacles or crew members.
Executing and adapting shots with speed
This is where your meticulous preparation pays off. Instead of spending an hour programming a single move, you can now load and execute a shot in seconds. The first take becomes a rehearsal to see how the real-world action, like an actor’s performance or a practical effect, integrates with the pre-planned camera path.
Inevitably, small adjustments will be needed. Perhaps the actor hits their mark a few inches to the left, or the director wants the camera to linger for half a second longer. Because the core move is already built, the operator isn’t starting from scratch. They are simply tweaking the existing path. This could involve:
- Timing adjustments: Easily stretching or compressing the duration of the move without changing its path.
- Frame offsets: Shifting the entire camera path slightly up, down, left, or right to perfect the framing.
- Focus mapping: While focus can be pre-programmed, it’s often refined on set with the talent present. The operator can quickly add or adjust focus marks along the existing camera path.
This ability to make rapid, minor changes is what allows you to move from one setup to the next. After a few takes of Shot A, you simply load the file for Shot B. Since the calibration is already done, the new move is ready for rehearsal immediately. This creates a fluid, dynamic shooting environment rather than the “stop-and-start” pace often associated with motion control.
Optimizing the workflow from start to finish
An efficient robot workflow benefits the entire production pipeline, especially post-production. The precision of the robot means you are not just capturing footage; you are capturing data. At the end of each shot, the final, adjusted camera move data can be exported from the robot’s controller. This data is a perfect digital record of what the camera did, including its position, rotation, focal length, and focus distance for every single frame.
When this data is handed to the VFX team, it eliminates the need for manual camera tracking. The virtual camera in their compositing or 3D software will be a perfect one-to-one match with the real camera, allowing for seamless integration of CGI elements, set extensions, or virtual backgrounds. This tight integration between pre-vis, production, and post-production is the hallmark of a truly optimized workflow.
The difference between a traditional approach and a prepared workflow is significant.
| Workflow Stage | Traditional “On-Set Programming” | Prepared “Pre-Vis Workflow” |
|---|---|---|
| Pre-Production | Basic storyboards. Move is vaguely described. | Detailed pre-vis with director and operator. Move is 95% built and exported. |
| On-Set Programming | Operator programs the move from scratch. Takes 30-90 minutes per shot. | Operator imports the move. Takes 2-5 minutes per shot. |
| On-Set Adjustment | Major changes require re-programming large sections of the move. | Minor timing and framing tweaks are made to the existing path quickly. |
| Pacing | Slow. Crew waits for programming. Often limited to 1-2 robot shots per day. | Fast. Back-to-back shots are possible, treating the robot like any other camera platform. |
| Post-Production | VFX team must camera-track the footage, which takes time and can be imprecise. | VFX team receives perfect camera data for an instant match, saving time and money. |
By embracing this structured approach, you change the fundamental role of the camera robot on set. It ceases to be a slow, complex bottleneck and becomes a versatile and rapid storytelling partner.
In conclusion, mastering back-to-back robot shots is less about the speed of the machine and more about the intelligence of the workflow. The process begins long before arriving on set, with a deep investment in collaborative pre-visualization that builds the shots virtually. This foundation allows for a swift and precise on-set calibration, turning complex programming into a simple act of loading a file. During the shoot, the focus shifts from creation to refinement, enabling rapid adjustments and a seamless transition between different setups. Finally, this meticulous process pays dividends in post-production by providing perfect camera data for VFX. By following these steps, you transform motion control from a time-intensive special effect into a powerful, repeatable, and efficient cinematic tool.


 No products in the cart.