The pursuit of the perfect espresso shot at home is a rewarding journey, but it can often be paved with frustration. Why did today’s shot taste incredible, while yesterday’s was sour and disappointing? The answer often lies in consistency, and one of the most powerful, yet frequently overlooked, tools for achieving it is pre-infusion. This initial, gentle wetting of the coffee puck can make the difference between a chaotic, uneven extraction and a balanced, syrupy shot. This article will demystify the process of pre-infusion, moving it from a vague machine feature to a controllable variable in your espresso workflow. We will explore what it is, the variables you can control, and how to dial it in to achieve repeatable, cafe-quality results from your own kitchen.
What is pre-infusion and why does it matter?
At its core, pre-infusion is the process of gently saturating the puck of ground coffee with low-pressure water before applying the full nine bars of pressure required for extraction. Think of it as giving the coffee grounds a moment to settle and prepare for the intense pressure to come. When you hit a dry, compacted puck of coffee with high-pressure water, it’s like firing a firehose at a wall of sand. The water will violently seek the path of least resistance, creating tiny cracks and fissures. This phenomenon, known as channeling, results in water bypassing most of the coffee, leading to a shot that is simultaneously under-extracted (sour, weak) and over-extracted (bitter, astringent).
Pre-infusion prevents this by allowing the coffee grounds to swell and absorb water evenly. This settles the puck, seals any potential cracks from tamping, and creates a more uniform density. When the main extraction pressure is finally applied, the water is forced to flow evenly through the entire coffee bed. This even flow is the key to a balanced extraction, where all the desirable flavor compounds are dissolved into your cup. In short, mastering pre-infusion is your first and best defense against the inconsistency caused by channeling.
Understanding the key variables of pre-infusion
To optimize pre-infusion, you need to understand the elements you can manipulate. While not all home machines offer control over every variable, knowing what they are is crucial for diagnosing your shots. The primary variables are:
- Time: This is the duration of the low-pressure phase, typically measured in seconds. A longer pre-infusion allows for deeper and more thorough saturation of the puck. Lighter roasts, which are less soluble, often benefit from a longer pre-infusion time to help kickstart the extraction process.
- Pressure: This refers to the pressure of the water during the pre-infusion stage. It’s usually between 1.5 and 4 bars. A lower pressure is gentler on the puck, minimizing the risk of disturbing the grounds. A higher pressure can saturate the puck faster but may cause issues if your puck preparation isn’t perfect.
- Flow Rate: On more advanced machines, you can control the flow rate of water entering the group head. A slower flow rate gives the puck more time to absorb water before it becomes fully saturated, offering a very gentle and controlled pre-infusion.
These variables are interconnected. A longer pre-infusion at a very low pressure might achieve the same level of saturation as a shorter pre-infusion at a slightly higher pressure. The goal is to find the right combination that fully and evenly saturates your coffee puck just before the first drops of espresso begin to fall from the portafilter.
Controlling pre-infusion on your home machine
How you control pre-infusion depends entirely on your equipment. For many home baristas, the process is automatic, but you can still work with it. For others, it’s a completely manual affair.
On entry-level machines like many Breville/Sage models, pre-infusion is often a pre-programmed function with a set time and pressure. While you can’t adjust it, its presence means that focusing on meticulous puck preparation—consistent grinding, distribution, and tamping—is even more critical to let the feature do its job effectively.
Machines with an E61 group head offer a classic form of manual control. By lifting the brew lever to its halfway point, you can open the valve to allow water into the chamber at line pressure (typically 3-4 bar), allowing you to manually time your pre-infusion before lifting the lever fully to engage the pump.
High-end machines, such as those with flow control paddles (like a Lelit Bianca) or advanced software (like a Decent), offer the ultimate control. These allow you to manipulate pressure, time, and flow rate in real-time, creating custom profiles. For example, you can program a 10-second pre-infusion that slowly ramps up from 1 to 4 bars, ensuring the gentlest possible puck saturation.
A practical guide to dialing in your pre-infusion
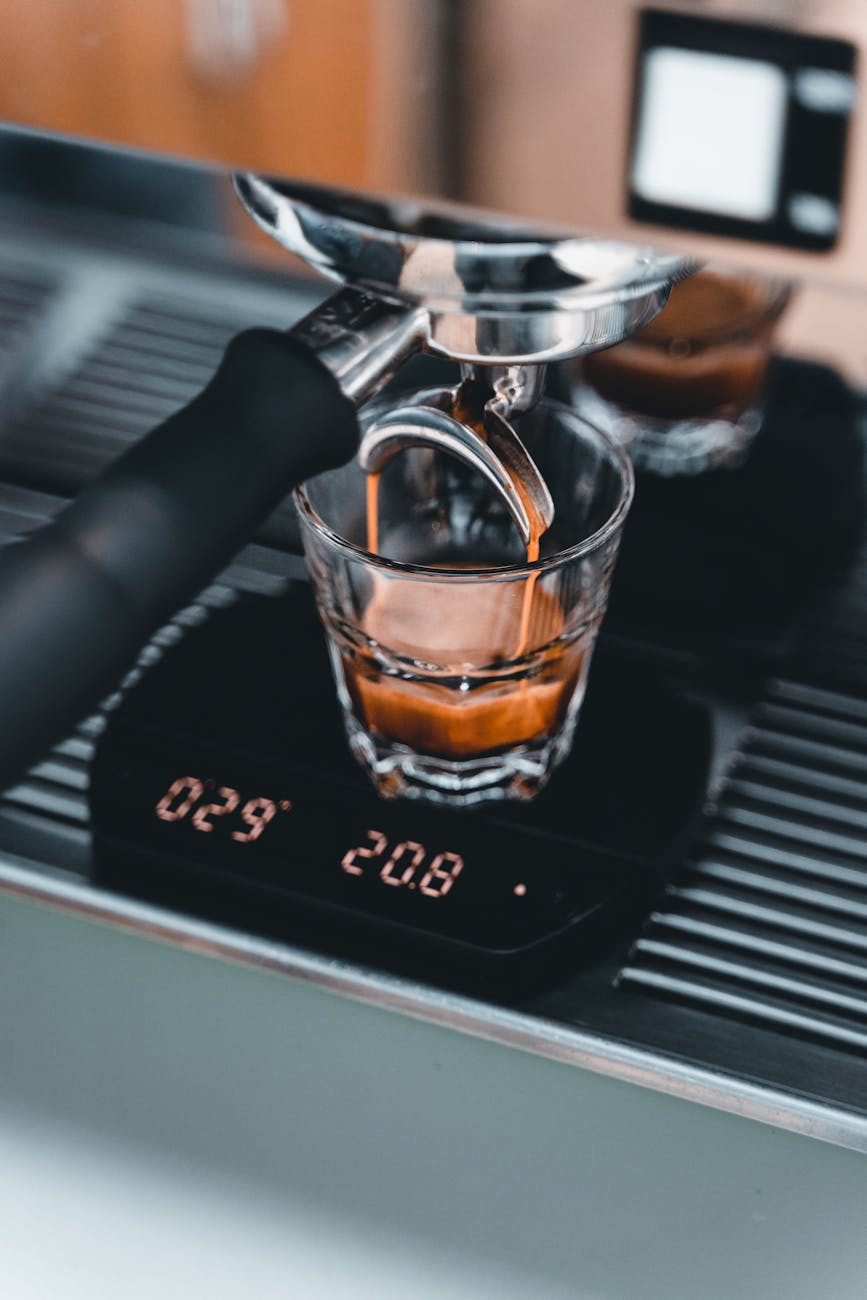
Dialing in pre-infusion should be a systematic process. The goal is to achieve full puck saturation, which you can identify by seeing the first drops of espresso appear just as you end the pre-infusion phase and start the main extraction. A bottomless portafilter is an invaluable tool here, as it allows you to see how evenly the puck is saturating.
Start with a baseline. A good general starting point is a pre-infusion of 7 seconds at around 3 bars of pressure. Pull a shot and observe. Did channeling occur? How did it taste? Adjust one variable at a time based on your results. If your shot is pulling too fast and tastes sour, the water is likely not saturating the puck enough. Try extending the pre-infusion time by 2-3 seconds.
If you see channeling despite a long pre-infusion, the issue might be your puck prep, but it could also be that your pre-infusion pressure is too aggressive. If your machine allows, try lowering the pressure. Use the following table as a simple troubleshooting guide:
| Observation / Taste Defect | Potential Pre-infusion Cause | Suggested Adjustment |
|---|---|---|
| Shot starts with blond spots (channeling) | Pre-infusion is too short or aggressive, not allowing puck to swell. | Increase pre-infusion time. If possible, lower pre-infusion pressure. |
| Shot tastes sour and weak, pulls too fast. | Inadequate puck saturation. | Extend pre-infusion time until first drops appear at the end of the phase. |
| Shot tastes bitter and “over-extracted” despite a normal shot time. | Localized over-extraction from channeling. | Focus on puck prep first, then try a gentler, lower-pressure pre-infusion. |
Remember to keep other variables like dose, yield, and grind size consistent while you are only adjusting pre-infusion. This methodical approach will help you isolate the impact of your changes and lead to better, more consistent espresso.
Ultimately, pre-infusion is not a magic fix, but a foundational technique for better espresso. By understanding its purpose—to evenly saturate the coffee puck and prevent channeling—you can begin to take control of this crucial first stage of extraction. Whether your machine has a simple automatic function or full manual control, paying attention to pre-infusion elevates your process from just making coffee to crafting espresso with intention. The journey requires patience and observation, but the reward is immense: the ability to pull a delicious, balanced, and, most importantly, consistent shot of espresso every single time. So, embrace experimentation, trust your palate, and use pre-infusion as your key to unlocking the full potential of your coffee beans.


 No products in the cart.