How to maintain consistent espresso flavor through grinder care
The pursuit of the perfect espresso shot is a journey familiar to every coffee enthusiast. You buy specialty beans, dial in your machine, and meticulously weigh your dose, yet the results can be maddeningly inconsistent. One day you pull a rich, syrupy “god shot,” and the next, a bitter, disappointing cup from the very same bag of beans. While many blame the espresso machine or their tamping technique, the most common culprit is often the most overlooked component: the coffee grinder. A dirty or poorly maintained grinder is the silent killer of flavor consistency. This article will guide you through the essential practices of grinder care, demonstrating how a simple cleaning routine is the key to unlocking reliably delicious espresso, every single time.
Why your grinder is the heart of your espresso setup
It’s easy to be captivated by the chrome and steam of a high-end espresso machine, but experts agree that the grinder is the more critical investment for quality coffee. Its primary job isn’t just to make big beans into small grounds; it’s to create a uniform distribution of particle sizes. For espresso, this is non-negotiable. Water under pressure is an aggressive solvent, and it will exploit any weakness in your coffee puck. If you have a mix of large particles (boulders) and tiny particles (fines), the water will rush past the boulders (under-extracting them, creating sourness) and over-saturate the fines (over-extracting them, creating bitterness). The result is a muddled, unbalanced shot. A high-quality, clean grinder produces the consistent particle size needed for a sweet, balanced, and repeatable extraction.
The culprits of inconsistency: oils, fines, and stale grounds
Over time, your grinder becomes a repository for the enemies of fresh coffee flavor. Understanding what builds up inside is the first step to combating it. The main offenders are rancid oils and retained grounds. Every time you grind beans, they release fragrant, volatile oils. While delicious when fresh, these oils are sticky. They coat the internal surfaces of your grinder, especially the burrs, and quickly turn rancid. This rancidity imparts a stale, often acrid taste to the fresh beans you grind next. Furthermore, a significant amount of coffee grounds, especially microscopic fines and light chaff, gets trapped in the grinding chamber, chute, and burr crevices. This is known as grind retention. It means that a portion of the grounds in your portafilter today are actually stale grounds from yesterday, polluting the flavor profile of your carefully prepared shot.
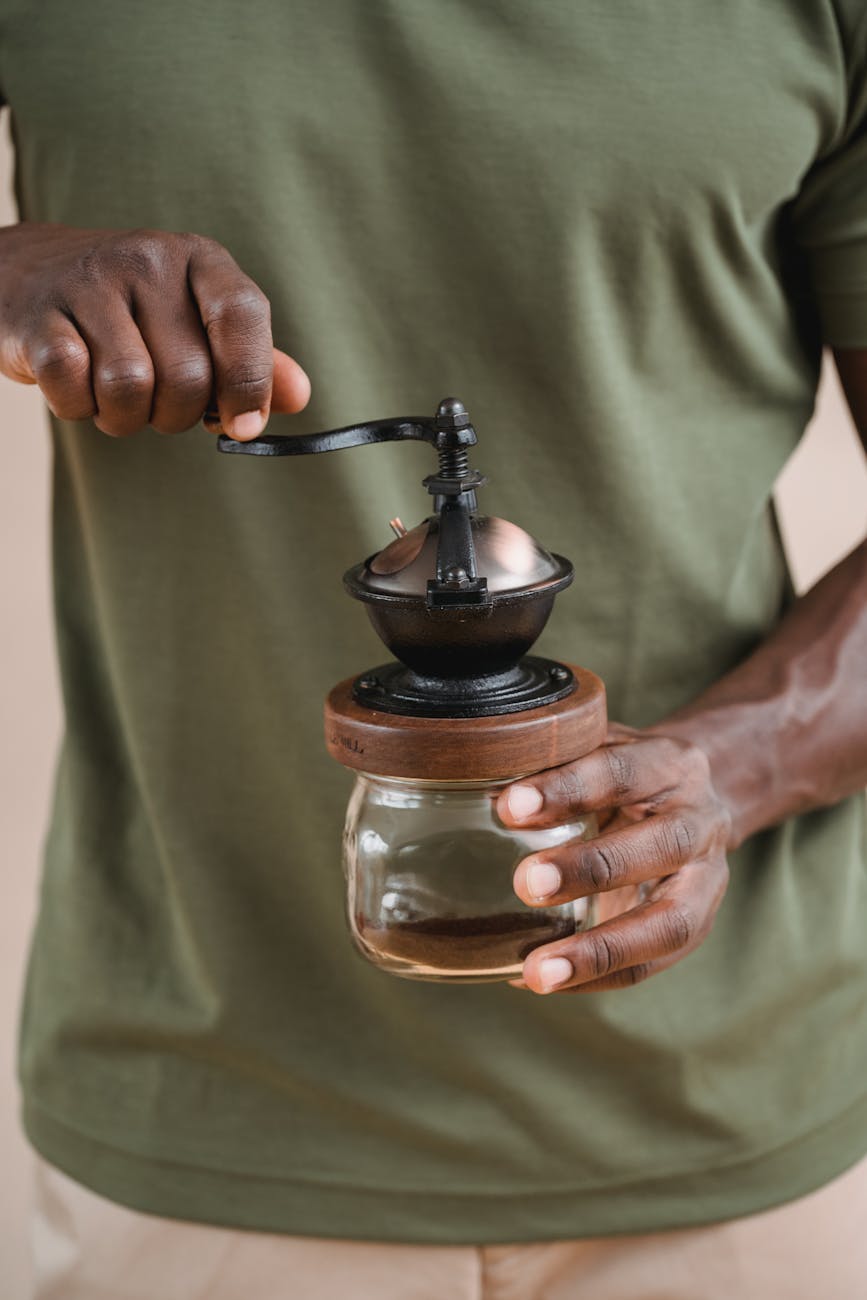
Your essential grinder cleaning toolkit and routine
Maintaining your grinder doesn’t have to be a monumental task. Establishing a simple, multi-tiered routine will keep it in peak condition and ensure your espresso tastes fresh and vibrant. This routine can be broken down into daily, weekly, and periodic deep cleaning tasks.
A daily routine is about preventing major buildup. This takes less than a minute and involves using a small bellows or brush to clear the exit chute of any retained grounds after your last session. Weekly, it’s time to tackle the oils. For this, you can use specialized grinder cleaning tablets (like Urnex Grindz). These food-safe, coffee-bean-shaped pellets are ground through the machine, where they absorb sticky coffee oils and dislodge stubborn particles without requiring disassembly.
Finally, a deep clean should be performed every month or two, depending on usage. This involves unplugging the grinder, removing the hopper, and disassembling the upper burr carrier. Using a stiff brush, a wooden pick, and a vacuum cleaner with a small nozzle attachment, meticulously clean all the old grounds from the burrs, the grinding chamber, and the screw threads. Important: Never use water or soap on your burrs, as this can lead to rust and permanent damage. Once reassembled, it’s good practice to grind a few grams of old coffee to “season” the burrs and purge any remaining cleaning dust.
| Frequency | Task | Tools Needed | Why it’s important |
|---|---|---|---|
| Daily | Purge the chute | Grinder brush, air bellows | Removes loose grounds to prevent stale coffee in your next shot. |
| Weekly | Degrease with tablets | Grinder cleaning tablets | Absorbs and removes rancid coffee oils from the burrs and chamber. |
| Monthly / Quarterly | Deep clean disassembly | Screwdriver, brush, vacuum | Removes impacted fines and old grounds that tablets can’t reach. |
Beyond cleaning: burr health and replacement
Cleaning is crucial, but it’s only one part of the equation. Grinder burrs are a consumable part with a finite lifespan. Just like a chef’s knife, they become dull with use. Sharp burrs cleanly slice coffee beans into uniform particles. Dull burrs, on the other hand, tend to shatter and crush the beans, creating an excess of fine particles and an inconsistent grind. This leads directly back to the problem of uneven extraction and muddled flavors.
How do you know if your burrs are dull? Look for these signs:
- Your espresso shots are pulling too fast, and you have to adjust your grind setting significantly finer than you used to.
- The grounds feel warmer than usual coming out of the chute, a sign of increased friction from dull burrs.
- Your espresso lacks the clarity and sweetness it once had, tasting more astringent or bitter.
- You notice more clumping and static in the grounds.
Most manufacturers provide a lifespan estimate for their burrs (e.g., after grinding 500 lbs of coffee). For a typical home user, this might mean a replacement every few years. Investing in new burrs is one of the most dramatic upgrades you can make to an older grinder, instantly restoring its performance and your coffee’s flavor quality.
Your journey toward consistent, cafe-quality espresso at home doesn’t require a new machine or a mystical tamping ritual. It begins and ends with your grinder. By understanding that the grinder’s primary role is to produce a uniform particle size, you can appreciate how the buildup of rancid oils and stale, retained grounds directly sabotages this goal. Implementing a simple but regular cleaning routine—a quick daily purge, a weekly tablet cleanse, and a periodic deep clean—is not a chore but an investment in flavor. Combined with the long-term awareness of burr health and replacement, this focus on grinder care will eliminate the most significant variable standing between you and consistently delicious espresso. Treat your grinder like the heart of your setup, and it will reward you with clarity, sweetness, and consistency in every single cup.
 No products in the cart.