How to degas coffee beans faster for better espresso flavor
There’s nothing quite like the aroma of a freshly opened bag of coffee beans. That vibrant scent promises a delicious, complex cup. However, if you’re an espresso enthusiast, you know that too fresh can be a problem. This initial waiting period, known as degassing, is a crucial step where freshly roasted beans release carbon dioxide (CO2). Rushing to pull a shot can lead to a sour, uneven, and disappointing espresso. But who wants to wait a week or more? Patience is a virtue, but a perfect espresso is a more immediate reward. This guide will explore the science behind degassing and provide you with practical, safe techniques to accelerate the process, getting you from roast date to perfect shot much faster.
Why degassing is critical for espresso
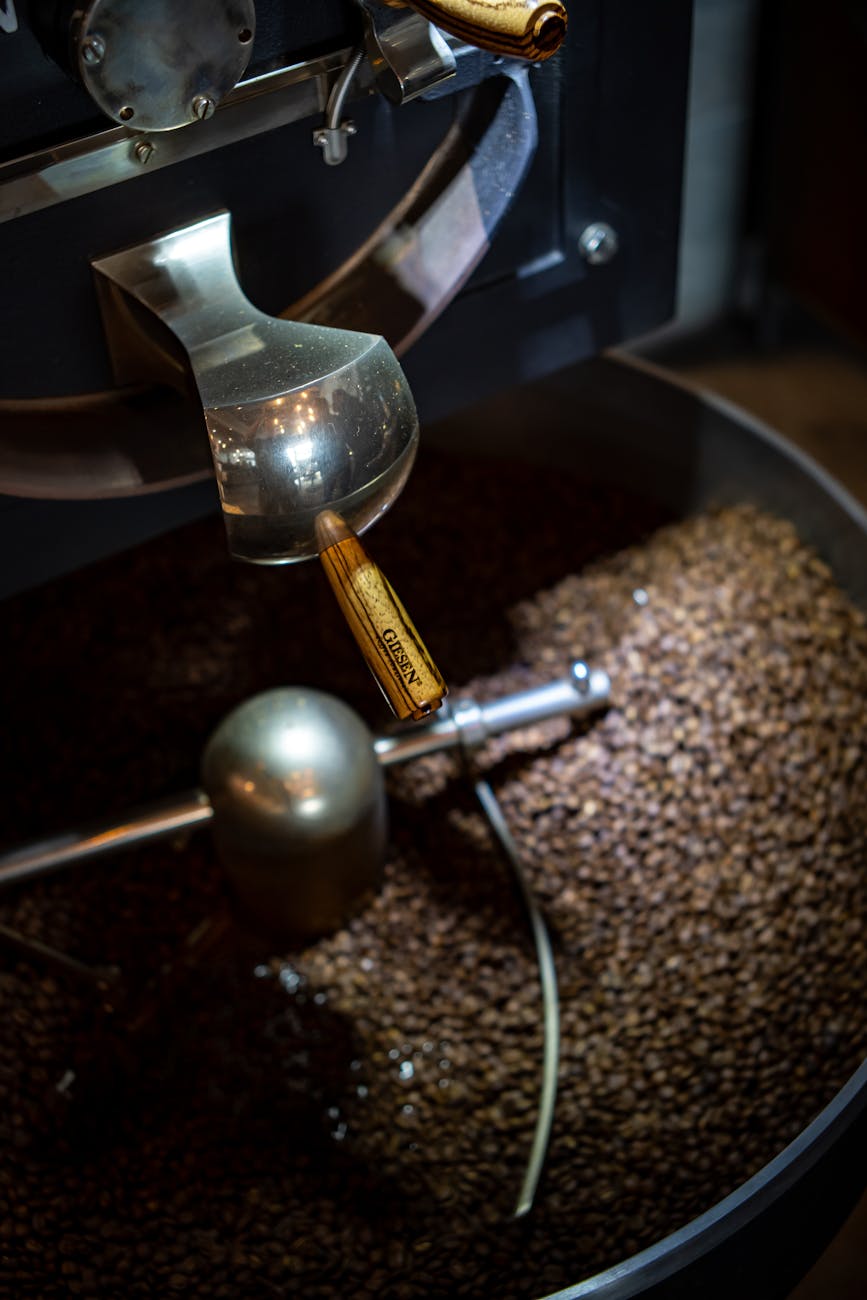
When coffee beans are roasted, a series of complex chemical reactions occur. Alongside the development of beautiful browning and delicious flavor compounds, a significant amount of gases, primarily carbon dioxide, are created and trapped within the bean’s cellular structure. Degassing is the natural process of these gases escaping over time.
For brewing methods like drip or French press, this CO2 release is less of a problem. For espresso, however, it’s a major variable. Espresso extraction happens under immense pressure (typically 9 bars) in a very short time. When water is forced through a coffee puck filled with undegassed beans, several issues arise:
- Extraction barrier: The rapid release of CO2 creates a physical barrier, repelling water and preventing it from properly saturating the coffee grounds. This leads to under-extraction, resulting in a sour, thin-bodied shot.
- Channeling: Pockets of CO2 can violently escape, creating tiny channels in the coffee puck. Water will always follow the path of least resistance, rushing through these channels and bypassing the rest of the coffee, causing a simultaneously sour and bitter (unevenly extracted) shot.
- Unstable crema: While CO2 is essential for creating crema, an excessive amount produces a light-colored, foamy, and bubbly crema that collapses almost instantly. A properly degassed bean produces a rich, reddish-brown, and persistent crema.
The goal isn’t to eliminate CO2 entirely, but to let the most volatile portion escape so you can achieve a stable, even, and delicious extraction.
The fine line between degassing and staling
Before we jump into acceleration techniques, it’s crucial to understand the primary enemy of coffee flavor: oxygen. The process that makes coffee taste stale is oxidation, where the delicate aromatic and flavor compounds in the bean react with oxygen and break down. Unfortunately, many methods that speed up degassing can also increase the beans’ exposure to oxygen, accelerating staling.
Think of it as a balancing act. Degassing is the release of CO2 from the bean, while staling is the intrusion of oxygen into the bean. A common mistake is simply leaving a coffee bag wide open to “let it air out.” While this will certainly degas the beans quickly, it also exposes them to a constant flow of fresh oxygen, rendering them flat and lifeless within a day or two. The methods we will explore are about controlled CO2 release while minimizing oxygen exposure.
Effective techniques to speed up degassing
The key to accelerating degassing is to encourage CO2 to leave the bean without inviting too much oxygen in to take its place. Here are a few safe and effective methods, from simple to more advanced.
The burping method
Most specialty coffee bags come with a one-way valve designed to let CO2 out without letting oxygen in. You can use this to your advantage. Once or twice a day, gently squeeze the sealed bag to force out the CO2-rich air that has accumulated inside. You might hear a hiss from the valve. This process, often called “burping,” helps create a greater pressure differential, encouraging more CO2 to escape from the beans to fill the void. It’s a gentle, low-risk way to nudge the process along.
The pre-grind dose method
This is arguably the most effective “just-in-time” technique. Grinding coffee drastically increases its surface area, allowing trapped gases to escape almost instantly. If you pull a shot with beans roasted yesterday and it gushes out as a sour mess, don’t give up. For your next attempt, grind your dose of beans and let the grounds sit in your portafilter or a small cup for 30-60 minutes before brewing. This gives that specific dose enough time to release the most volatile CO2 without exposing your entire bag of beans to the air. It’s a fantastic way to “spot-treat” overly fresh beans on a per-shot basis.
Agitation and gentle heat
Gently agitating your beans can also help. Simply shaking your sealed bag or airtight container for 15-20 seconds a couple of times a day can help dislodge CO2 from the beans’ surfaces. For a slight boost, you can place your sealed container in a slightly warm (but not hot!) place, like on top of your refrigerator or near (but not on) an appliance that gives off ambient heat. A small increase in temperature can slightly speed up the rate of gas release.
A practical timeline for degassing
The ideal resting period depends heavily on the roast level. Darker roasts are more porous and brittle, so they degas much faster. Lighter roasts are denser and hold onto their CO2 for longer. By actively managing the process, you can significantly cut down the waiting time.
| Roast level | Typical degassing period (for espresso) | Target with active management |
|---|---|---|
| Light roast | 7 – 14 days | 3 – 5 days |
| Medium roast | 5 – 10 days | 2 – 4 days |
| Dark roast | 2 – 5 days | 1 – 2 days |
Your action plan: On day one post-roast, use the “burping” and agitation methods. On day two (for dark/medium) or three (for light), try pulling a shot. If it’s still gassy and channeling, switch to the “pre-grind dose” method. Let your grounds rest for an hour before pulling your next shot. By tasting each day, you’ll find the perfect window where the excess gas is gone, but the vibrant, fresh flavors are at their peak. Once your beans are in that sweet spot, stop the active degassing and store them normally.
Conclusion
Waiting for coffee beans to degas can feel like a test of patience, especially when you’re eager to taste a new roast. However, understanding that this is a critical process for high-quality espresso is the first step. By moving beyond passively waiting and adopting an active management approach, you can take control of the timeline. Techniques like burping your coffee bag, agitating the beans, and pre-grinding single doses allow you to safely and effectively accelerate CO2 release without exposing your precious beans to the flavor-killing effects of oxidation. The goal is balance. Mastering these simple methods will shorten your wait, reduce waste from failed shots, and ultimately empower you to consistently brew a more delicious, balanced, and perfect espresso.

 No products in the cart.