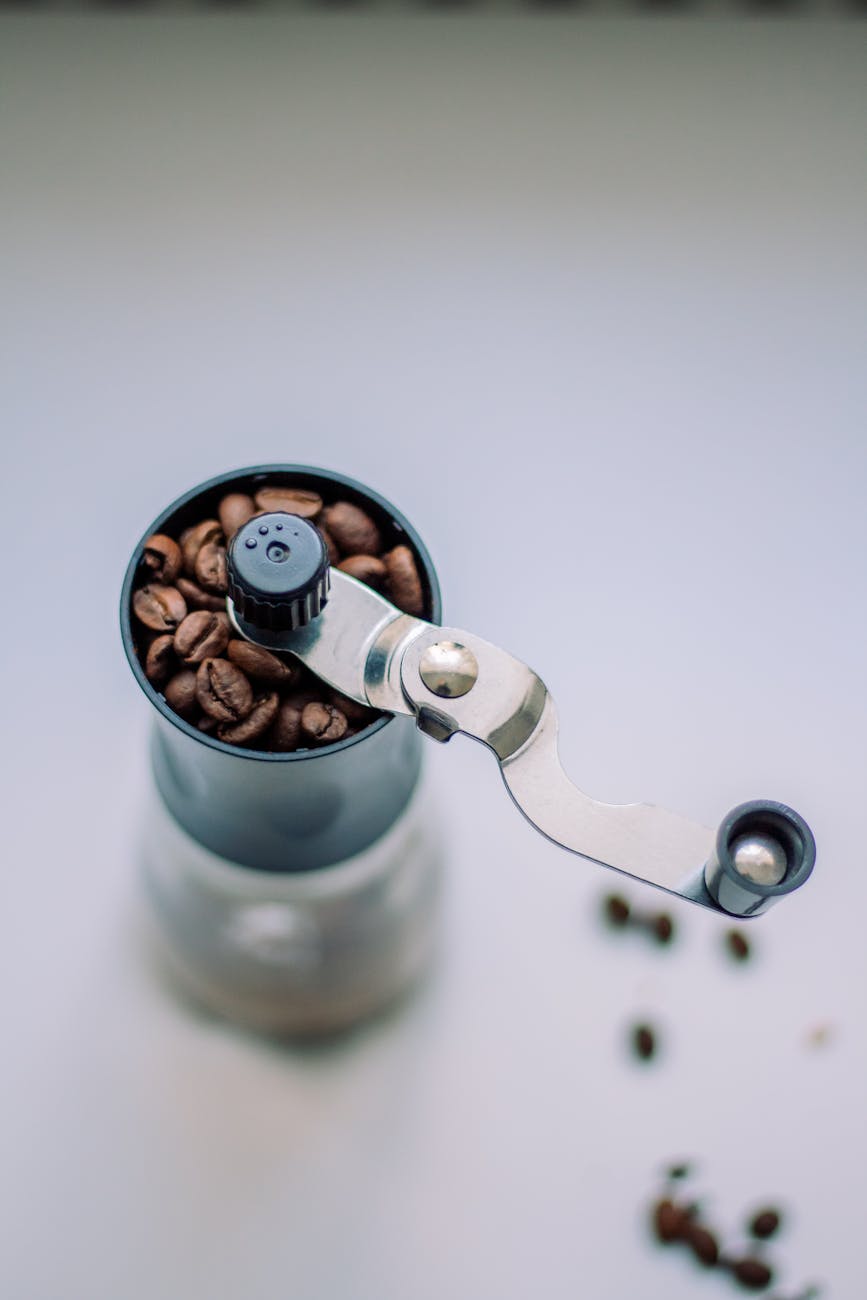
The pursuit of the perfect espresso shot is a journey many coffee lovers embark on. We invest in high-quality beans, precise scales, and gleaming espresso machines. Yet, a common saboteur lurks in plain sight, silently ruining the flavor of our carefully prepared coffee: a dirty grinder. Over time, coffee oils and microscopic grounds build up on the burrs, turning rancid and imparting stale, bitter flavors into every subsequent shot. This article will serve as your comprehensive guide to banishing these unwanted tastes. We will explore why cleaning your burrs is essential, outline the different methods available, provide a detailed step-by-step process for a deep clean, and help you establish a routine to ensure your coffee always tastes fresh and vibrant.
Why cleaning your grinder burrs is non-negotiable
Think of your grinder burrs as the engine of your coffee’s flavor. When new, they are sharp and precise, shattering coffee beans into uniform particles to allow for a balanced extraction. However, with every use, a residue of coffee oils and tiny particles, known as fines, clings to the metal surfaces. Initially, this isn’t a problem, but coffee oils are volatile. Exposed to air, they oxidize and quickly become rancid. This rancid oil buildup is the primary cause of stale, bitter, and even sour notes that can overpower the delicate flavors of your expensive single-origin beans. It creates a muddy flavor profile, masking the very characteristics you seek. Beyond flavor, this buildup also impacts your grinder’s performance, leading to inconsistent grind sizes and clumping, which can cause channeling in your espresso puck and result in a poorly extracted, disappointing shot.
The tools and two primary cleaning methods
Before you begin, it’s essential to gather the right tools. A basic cleaning kit will make the process much more efficient. You will likely need:
- A stiff-bristled brush (a grinder-specific brush or a clean paintbrush works well)
- A vacuum cleaner with a narrow hose attachment
- A screwdriver that fits your grinder’s screws
- Wooden or plastic picks (like a toothpick or skewer) for stubborn residue
- Grinder cleaning tablets (optional, for maintenance)
With your tools ready, you can choose between two primary cleaning methods. The first is a quick maintenance clean using specialized grinder cleaning tablets. These are food-safe pellets, often made from grains and cereals, that you simply run through your grinder like coffee beans. They absorb oils and dislodge old grounds, providing a fast and easy refresh. The second, more thorough method is the manual deep clean. This involves unplugging the grinder, disassembling the burr set, and manually scrubbing and vacuuming every part. While the tablets are excellent for weekly upkeep, a deep clean is necessary every few months to remove the caked-on residue that the tablets can’t reach.
A step-by-step guide to a deep burr clean
A deep clean might sound intimidating, but it’s a straightforward process that ensures your grinder is in peak condition. Always consult your grinder’s manual, as disassembly can vary slightly between models.
Step 1: Safety first
Always unplug your grinder from the power source before starting any cleaning. This is the most crucial step to prevent accidental injury.
Step 2: Empty the grinder
Remove the bean hopper and pour out any remaining beans. Run the grinder for a few seconds to purge any grounds left in the chamber. Once empty, you can often remove the hopper for easier access.
Step 3: Access and remove the burrs
This is where your manual is handy. Typically, you will unscrew the grind adjustment collar or a few screws to release the upper burr carrier. Carefully lift it out, exposing the lower burr and the grind chamber. Take a photo with your phone at each step of disassembly if you’re worried about remembering how to put it back together.
Step 4: Scrub and vacuum
Using your stiff brush, thoroughly scrub the upper and lower burrs to dislodge all visible coffee grounds and caked-on residue. Pay special attention to the screw holes and crevices. Use your vacuum’s hose attachment to suck up all the loose particles from the burrs, the grind chamber, and the exit chute. For stubborn bits, gently use a wooden toothpick. Never use water, as it will cause the burrs to rust instantly. Also, avoid using metal picks that could scratch the burr surfaces.
Step 5: Reassemble and calibrate
Carefully reassemble the grinder in the reverse order you took it apart. Once it’s back together, you’ll need to re-calibrate your grind setting. With the grinder running, slowly adjust the burrs finer until you hear a light “chirping” sound as they touch. This is your zero point. Immediately back off the setting to a coarser level. Finally, run a small amount of beans through to season the burrs and dial in your desired grind size for espresso.
Establishing a cleaning routine for consistent flavor
Cleaning isn’t a one-time fix; it’s an ongoing practice. The key to consistently delicious coffee is integrating grinder maintenance into your regular routine. The ideal frequency depends heavily on your usage, the roast level of your beans (darker roasts are oilier), and your grinder model. However, a general schedule can provide a great starting point for any home barista. A consistent routine prevents significant buildup, making each cleaning session faster and less labor-intensive while guaranteeing that the flavor of your beans is never compromised by a dirty machine.
| Frequency | Task | Purpose |
|---|---|---|
| Daily | Purge a few grams of beans | Removes stale grounds left over from the previous day. |
| Weekly | Use grinder cleaning tablets | Absorbs excess oils and dislodges fines for quick maintenance. |
| Every 1-3 Months | Perform a manual deep clean | Removes all caked-on residue for optimal flavor and performance. |
In conclusion, cleaning your espresso grinder burrs is one of the most impactful yet often overlooked steps in brewing exceptional coffee. It is not merely a maintenance task but a fundamental part of honoring the quality of your beans. Stale, rancid oils and compacted grounds are a direct barrier between you and the true flavor profile of your coffee, leading to bitterness and disappointment. By understanding the importance of a clean grinder, familiarizing yourself with both quick and deep cleaning methods, and establishing a consistent routine, you take control over a crucial variable in the brewing process. Making burr cleaning a regular part of your coffee ritual ensures that every shot you pull is as fresh, vibrant, and delicious as the roaster intended.

 No products in the cart.