Finding the true zero point: A guide to calibrating your coffee grinder
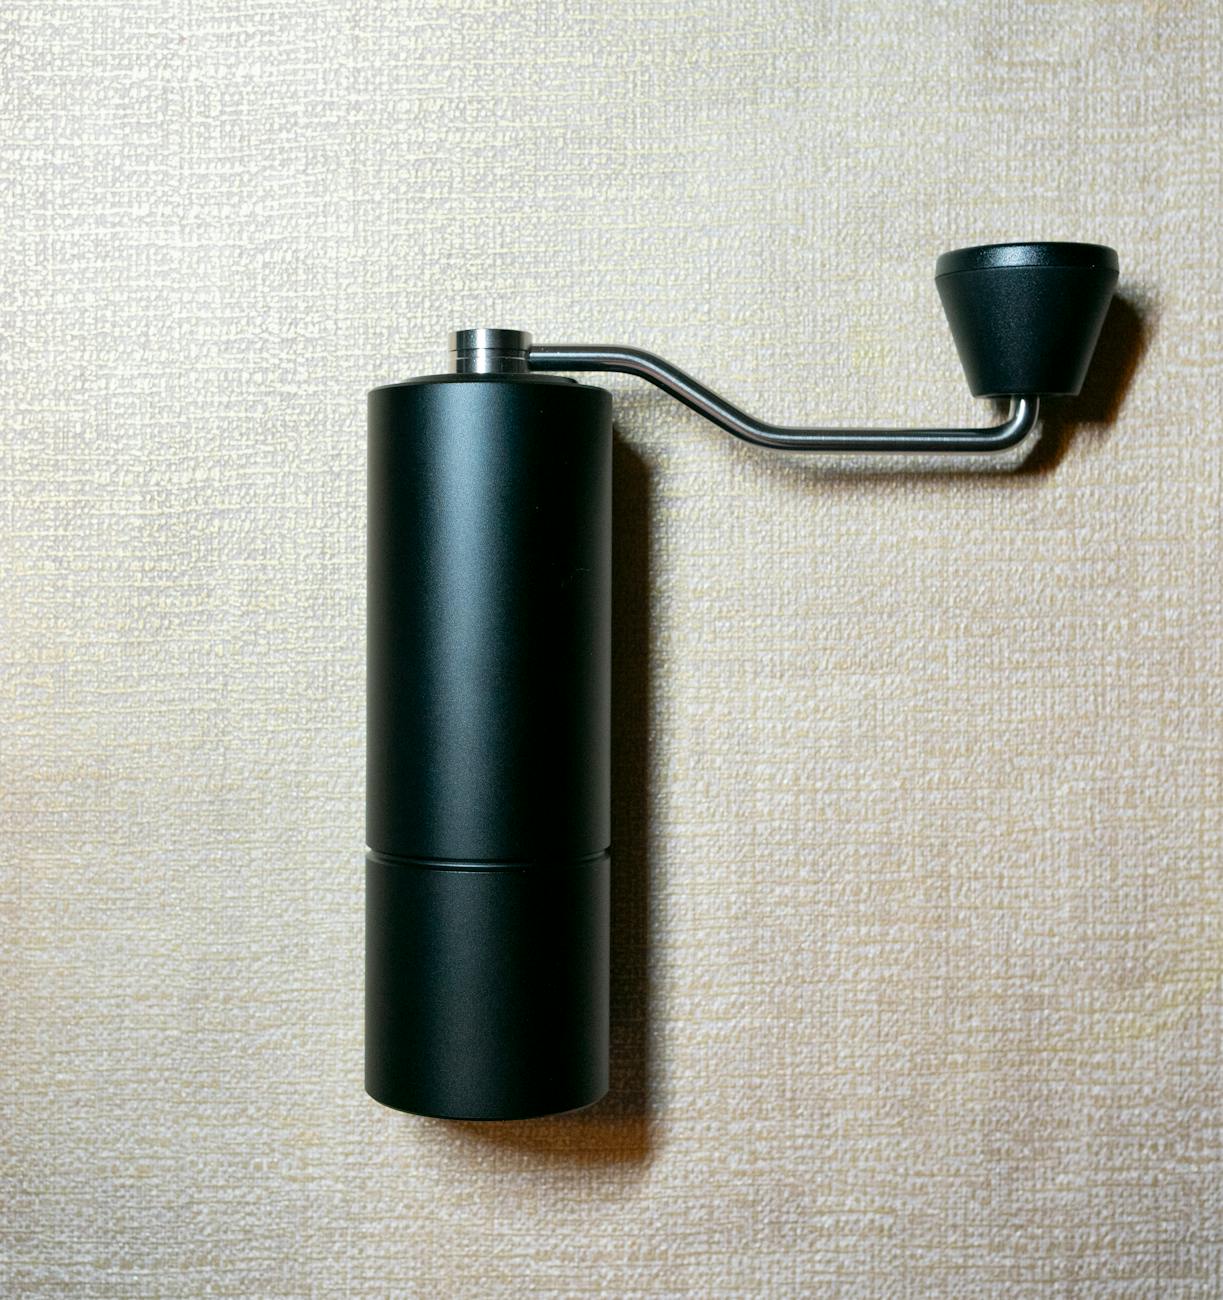
For any coffee enthusiast, the grinder is the heart of the setup. It’s the single most important piece of equipment for achieving a delicious and consistent extraction. Yet, many of us use our grinders without ever truly understanding their full potential. The numbers on your adjustment dial are often just arbitrary markers, not an accurate reflection of the burr position. Finding the true zero point—the exact setting where the burrs first make contact—is the key to unlocking precision. This process, known as calibration, transforms your grinder from a tool of approximation into an instrument of accuracy. This guide will walk you through the simple steps to find your grinder’s true zero, giving you ultimate control over your grind size and your final cup.
Why finding the true zero matters
Before we dive into the “how,” let’s explore the “why.” The true zero point is your grinder’s absolute baseline. It’s not a setting you will ever grind coffee at, but rather a crucial reference point from which all other settings are measured. Knowing this point provides several significant advantages:
- Repeatability: Once you know your true zero, you can dial in your coffee with scientific precision. A setting is no longer “around 3 on the dial;” it becomes “10 clicks from zero.” This makes it incredibly easy to return to the perfect grind setting for a specific bean or brew method time and time again.
- Precision adjustments: When you understand your grinder’s full range, you can make micro-adjustments with confidence. If your espresso shot is running a few seconds too fast, you know exactly how many clicks finer you can go without risking burr damage.
- Understanding your grinder’s range: Calibration reveals the total number of adjustment steps your grinder offers. This helps you understand its capabilities and quickly find the right ballpark for any brewing method, from fine espresso to coarse French press.
- Better communication: When you discuss brew recipes or troubleshoot with fellow coffee lovers online, you can share exact, meaningful information. “Try grinding at 14 clicks from zero” is far more helpful than “a little finer than for pour-over.”
Ultimately, calibrating your grinder is about moving from guesswork to intentionality, ensuring every coffee you brew is the best it can be.
Preparing your grinder for calibration
A successful calibration starts with a little preparation. Taking a few minutes to get your grinder ready will ensure you find an accurate zero point without any issues. The most important step is to remove any old coffee grounds that could interfere with the process.
First and foremost: unplug your grinder from the power source. Safety should always be your top priority when working with your equipment. With the grinder unplugged, remove the hopper and any beans inside. It’s a good idea to run a small dose of beans through before unplugging to purge most of the coffee from the grind chamber.
Next, give the burrs a thorough cleaning. You don’t need to perform a full disassembly, but you must remove any residual coffee grounds and chaff from the burrs and the surrounding area. A stiff brush and a vacuum cleaner are your best friends here. Old coffee particles can prevent the burrs from touching properly, giving you a “false zero” and defeating the purpose of calibration. A clean machine will give you a crisp, clear sound to listen for.
The step-by-step calibration process
With your grinder clean and ready, it’s time to find the true zero point. This process relies on sound, so it’s best to do it in a quiet environment. The goal is to listen for the very first moment the burrs touch while the motor is running.
- Make sure the grinder is completely empty of coffee.
- Set the grind adjustment collar to a very coarse setting. This ensures the burrs are far apart before you begin.
- Plug the grinder in and turn on the motor.
- With the grinder running, begin to slowly and carefully adjust the setting finer. Move the collar in small, deliberate increments.
- Listen intently. As you get closer to the zero point, the sound of the motor will change slightly. You are listening for a faint, high-pitched “chirp” or a soft metallic ringing. This is the sound of the burr edges just kissing each other.
- Stop adjusting immediately as soon as you hear this sound. Continuing to grind finer can damage your burrs.
- Turn off the grinder and take note of the number or marker on the adjustment dial. This is your true zero point. It might be “1,” “0,” or even a point between two numbers. This is your new, accurate baseline.
Using your new zero point to dial in
Now that you’ve found your true zero, you’ve unlocked a new level of control. Remember, this point is a reference, not a grinding setting. You should never operate the grinder with coffee beans at or below this point.
To use your new reference, you will always “back off” or adjust coarser from your true zero. This is where you can start to build a personal grind setting chart. For example, your ideal espresso setting might be 8 to 15 clicks away from zero, while a pour-over could be 25 to 35 clicks away. You can create a simple table to track what works for different beans and brew methods.
| Brew Method | Example Clicks from True Zero | Notes |
|---|---|---|
| Espresso | 8 – 15 | Fine, like powdered sugar. Adjust based on shot time. |
| Aeropress | 18 – 25 | Medium-fine, like table salt. |
| V60 / Pour-over | 25 – 35 | Medium, like coarse sand. |
| French Press | 40 – 50 | Coarse, like cracked pepper. |
Keep in mind that your grinder’s zero point can shift slightly over time, especially after a deep cleaning or if you move the machine. It’s good practice to re-check your calibration every couple of months to ensure your settings remain consistent and accurate.
Conclusion
Calibrating your grinder to find its true zero point is one of the most impactful things you can do to improve your coffee brewing. It’s a simple, quick process that moves you away from the ambiguity of factory-set numbers and into a world of precision and control. By establishing an absolute baseline, you gain the ability to make repeatable, intentional adjustments, troubleshoot with ease, and truly understand the capability of your equipment. This isn’t an esoteric trick for professional baristas; it’s a fundamental step for anyone who is serious about their coffee. Take ten minutes to get to know your grinder on a deeper level. Your consistent, delicious, and perfectly extracted morning cup will be the ultimate reward.


 No products in the cart.