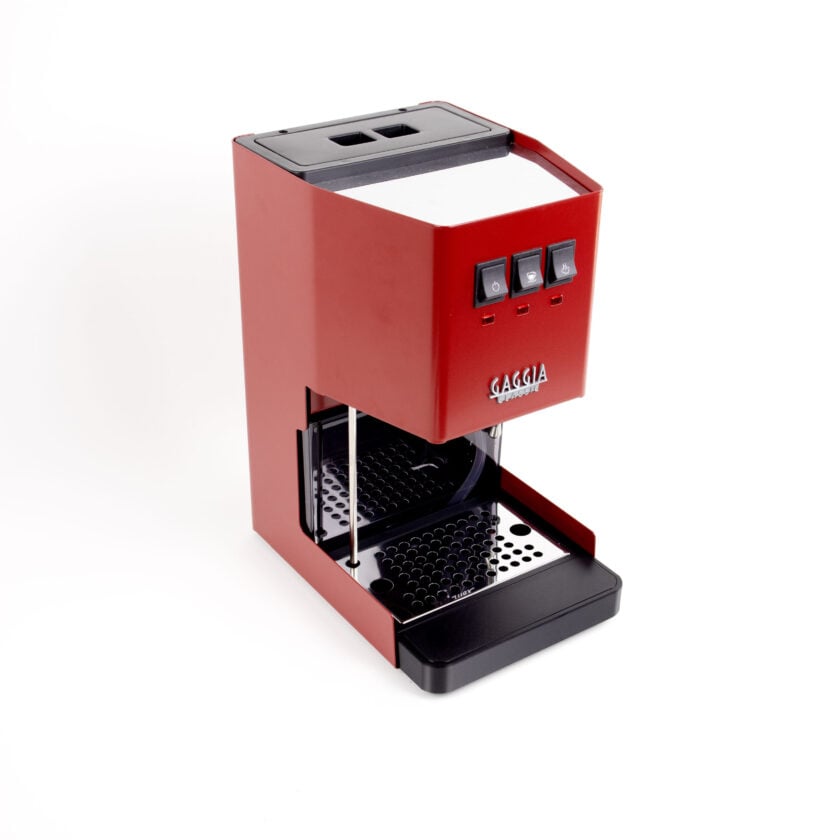



Workflow tips for the Gaggia Classic Pro: From power-on to first sip
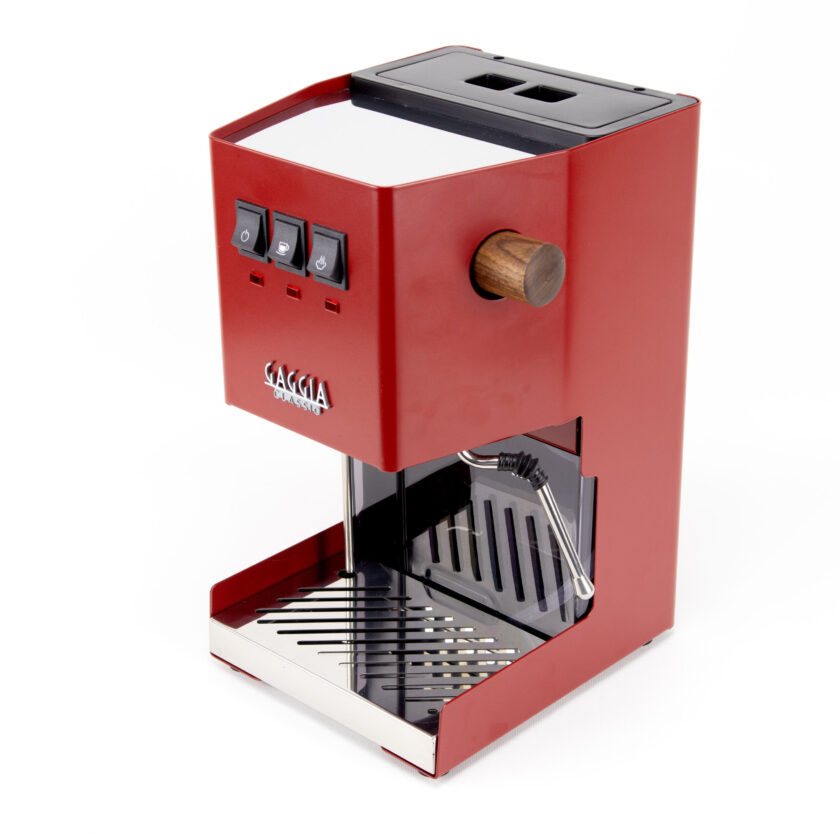
The Gaggia Classic Pro is a capable single-boiler espresso machine that rewards a methodical and stable workflow. For experienced home baristas, achieving consistent, high-quality extractions is not about secret techniques but rather the precise execution of a well-understood process. This machine, while straightforward in design, has thermal characteristics that require user intervention to manage effectively. An optimized workflow minimizes variables, allowing the user to focus on the elements that matter most: grind size, dose, and yield. By establishing a repeatable routine from the moment the machine is powered on, you create a stable foundation for exceptional espresso. This guide outlines a practical workflow designed for clarity and technical accuracy.
Machine and portafilter preheating
Proper thermal stability is fundamental to espresso extraction. The Gaggia Classic Pro, with its aluminum group head and compact boiler, requires adequate time to heat soak. Powering on the machine at least 20 minutes before you intend to pull your first shot is a critical first step. This duration allows the boiler, group head, and internal pathways to reach a stable baseline temperature. During this time, ensure the portafilter is locked into the group head so it heats to the same temperature as the machine. A cold portafilter can drastically reduce the temperature of the brew water upon contact, leading to sour, under-extracted shots. It is also good practice to check that the water reservoir is adequately filled with filtered water to avoid running the pump dry.
Puck preparation and consistency
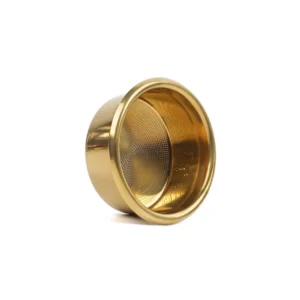
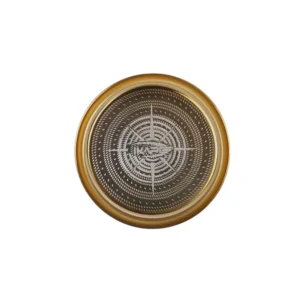
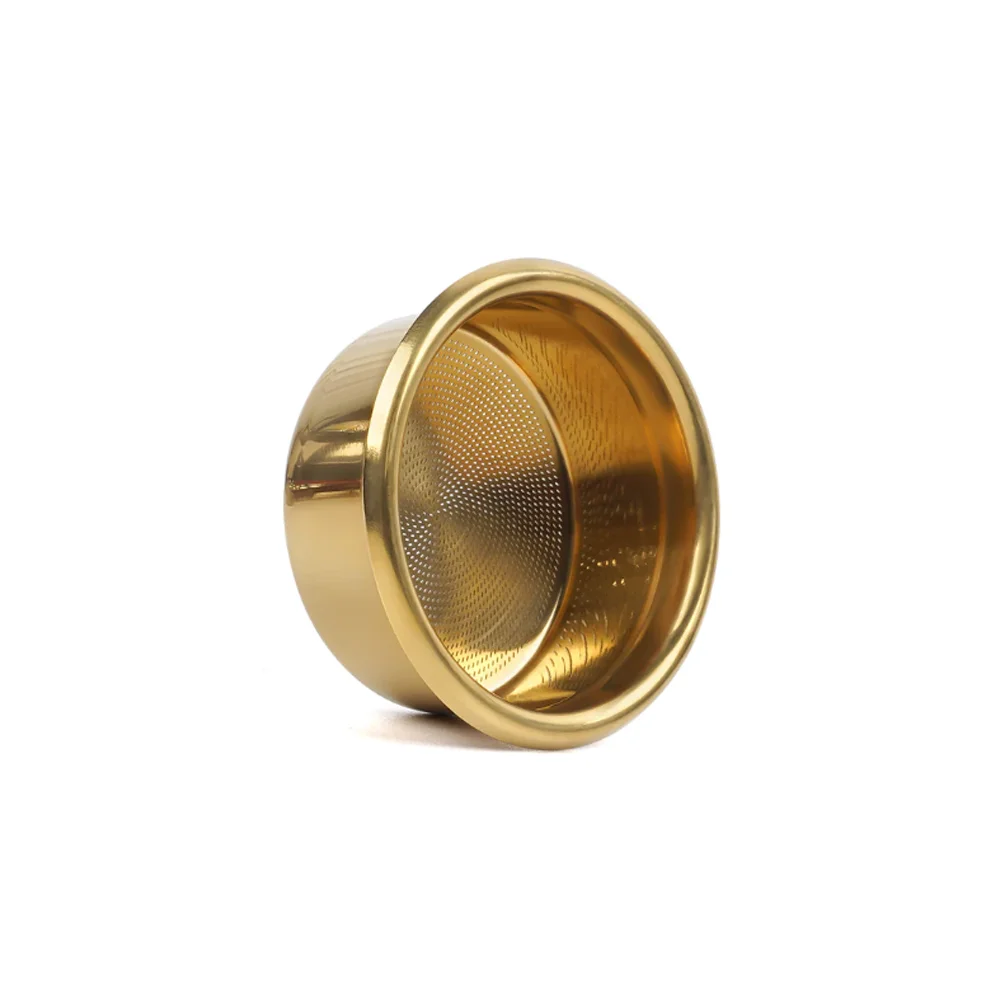
With the machine preheating, attention turns to preparing the coffee puck. The goal is to create a homogenous bed of coffee grounds with uniform density to prevent channeling, where water exploits paths of least resistance, leading to uneven extraction. Start by weighing your whole beans to your desired dose, typically between 17 and 19 grams for a standard double basket. After grinding, the grounds should be settled in the portafilter basket. A simple vertical tap on the counter can help collapse any air pockets. Distribute the grounds evenly to ensure a level surface before tamping. A level and consistent tamp with firm pressure completes the puck preparation. The entire process, from dosing to tamping, should be performed with care to create a puck that can withstand the pressure of extraction without fracturing.
Temperature management and surfing
The single boiler in the Gaggia Classic Pro serves both brewing and steaming, controlled by a simple thermostat with a deadband—a temperature range in which it does nothing. This design causes the temperature to fluctuate. To achieve a consistent brew temperature, a technique known as temperature surfing is necessary. The goal is to initiate the brew cycle at the same point in the heating cycle every time. A common method involves activating the steam switch for a few seconds to force the heating element on, then turning it off and waiting for the brew-ready light to turn on and then off again. Purging water through the group head just before brewing can help stabilize the temperature at the group. This purges overheated water and brings the group to a more predictable starting point for the extraction.
Executing the extraction
With a prepared puck and a temperature-surfed machine, you are ready to brew. Lock the portafilter into the group head, place your scale and cup underneath, and start the shot. Many users employ a form of manual pre-infusion to help saturate the puck gently before applying full pressure. This can be achieved by opening the steam valve slightly while activating the brew switch for a few seconds. This diverts some water pressure, allowing for a slower, lower-pressure saturation of the coffee bed. Close the steam valve to apply full pressure. Aim for your target brew ratio, which for classic espresso is typically around 1:2 (e.g., 18 grams of coffee yielding a 36-gram beverage) in a timeframe of 25 to 35 seconds. Stopping the shot based on mass (yield) rather than volume provides greater accuracy.
Machine warm-up and thermal stabilization
Properly heating the Gaggia Classic Pro is the first critical step. The machine’s small boiler and large metal group head require sufficient time to reach thermal equilibrium. A common mistake is to pull a shot as soon as the brew-ready indicator light turns off. This initial heating cycle only indicates that the water in the boiler has reached temperature, not that the portafilter, group head, and internal pathways are stable. A thoroughly heated machine provides a more stable brewing environment, preventing a sharp drop in temperature when the brew water contacts the cooler components. A minimum warm-up time of 15 to 20 minutes with the portafilter locked in is recommended. Running a blank shot through the system just before preparing your first puck can also help to normalize the temperature of the entire brew path.
Executing the shot and evaluating the result
With the puck prepared and the machine at the target temperature, the final step is pulling the shot. Engage the brew switch and start a timer simultaneously. Observe the first drops of espresso; they should appear after several seconds, forming slowly and uniting into a steady, viscous stream. Your target is a specific brew ratio, such as 1:2 (e.g., 18 grams of ground coffee yielding 36 grams of liquid espresso), typically achieved within 25 to 35 seconds. Using a scale to measure the liquid yield in the cup is the most accurate way to maintain consistency. After stopping the shot, analyze the result. Note the flavor, aroma, and mouthfeel. A balanced shot will harmonize sweetness, acidity, and bitterness. If the shot is sour, it may be under-extracted; if it is bitter, it may be over-extracted. This feedback loop is essential for making informed adjustments to your next shot, primarily by changing the grind size.
Conclusion
Mastering the Gaggia Classic Pro is an exercise in managing variables. A disciplined workflow is the most effective tool for achieving this. From ensuring complete thermal saturation during preheating to meticulous puck preparation and active temperature management, each step builds upon the last. By turning these actions into a consistent routine, the home barista can eliminate guesswork and produce high-quality, repeatable espresso shots. The process transforms the machine from a simple appliance into a precise instrument. While the techniques require attention to detail, they are not complex. The resulting control over the final cup is well worth the effort. For those looking to refine their process, a selection of relevant tools and accessories can often be found at retailers like papelespresso.com.