



Best practices for traveling with or moving your Gaggia Anima
Transporting a super-automatic espresso machine like the Gaggia Anima requires careful preparation to prevent damage to its internal components. Unlike simpler manual devices, the Anima contains a grinder, a brew group, and a thermoblock, all of which are sensitive to vibration, impact, and improper handling. For the experienced home barista, ensuring this equipment arrives safely is not just about protecting an investment; it is about preserving the heart of a daily ritual. This guide provides a clear, technical framework for packing your Gaggia Anima, ensuring it is ready to perform reliably at its new destination. The process focuses on mitigating the primary risks: water damage from incomplete draining, mechanical shock to the brew unit, and damage to external parts.
Initial cleaning and system preparation
Before packing, the first step is to thoroughly clean the machine. This is not just for hygienic reasons but also to prevent residual coffee grounds and oils from solidifying in the mechanical parts during transit. Begin by emptying the dregs drawer and the internal drip tray. Remove the brew group and rinse it with lukewarm water, allowing it to air dry completely before re-inserting it. It is crucial not to use soap on the brew group, as this can strip the necessary lubrication and impair its function. Wipe down the interior of the machine to remove any stray grounds. Run a final cleaning cycle if your routine allows, as this ensures the water circuit is free of coffee residue before you begin the draining process.
Purging water from the internal circuits
The single most critical step before moving your Gaggia Anima is to remove all water from its internal systems. Water left in the thermoblock or boiler can cause significant damage if it freezes or leaks during transport. The Anima does not have a simple drain plug, so you must purge the water by running the hot water and steam functions until the system is empty. First, empty the water tank. Then, turn the machine on and dispense hot water through the steam wand until the display indicates that the tank is empty and water flow ceases. Next, attempt to run a steam cycle for a few seconds to force any remaining water out of the steam circuit. This process ensures the boiler and associated tubing are as dry as possible, minimizing risk.
Securing the grinder and removable components
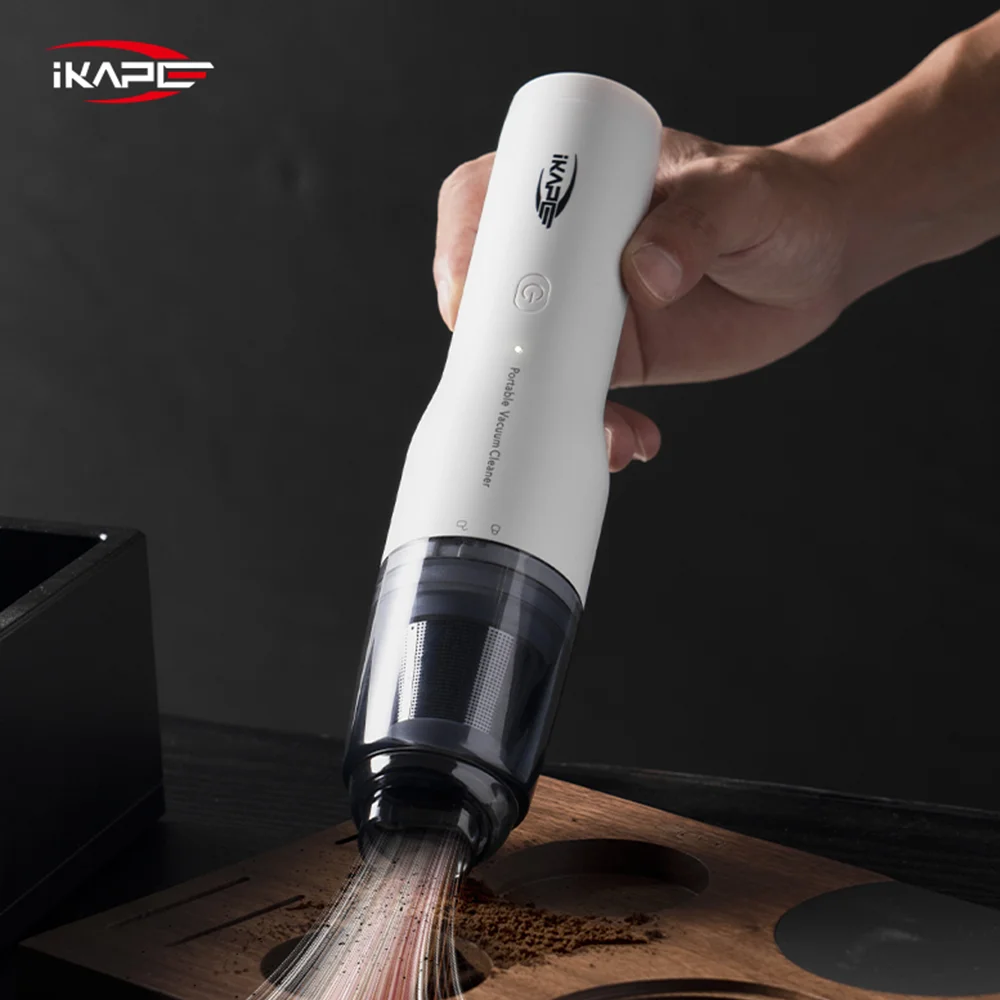
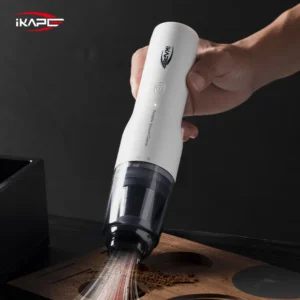
With the machine cleaned and drained, focus on securing its moving parts. Empty the bean hopper completely. Use a vacuum to carefully remove any remaining beans and coffee dust from the grinder chamber. This prevents the ceramic burrs from shifting or being damaged by loose beans during transit. Leaving beans in the hopper adds unnecessary weight and creates a risk of them becoming lodged in the grinder mechanism. Remove all detachable components, including the water tank, drip tray, and dregs drawer. These should be packed separately to prevent them from detaching and causing damage to themselves or the main unit. Wrap them individually in soft packing material.
Packing the main unit for transport
The main chassis of the Gaggia Anima requires robust protection against shock and vibration. If you still have the original manufacturer’s box and foam inserts, this is the ideal solution, as it was designed to hold the machine securely. If the original packaging is unavailable, select a sturdy, double-walled cardboard box that provides at least three to four inches of clearance on all sides. Create a protective base using dense foam or tightly packed bubble wrap. Carefully place the machine in the center of the box. Fill the surrounding voids with high-quality packing material, such as sealed air cushions or foam inserts, ensuring the machine cannot shift in any direction. Avoid using packing peanuts, as they can generate static and allow the machine to settle and move during transit.
In conclusion, preparing your Gaggia Anima for a move is a methodical process that prioritizes the protection of its core systems. The essential steps are a thorough cleaning, the complete purging of all internal water circuits, and the careful securing of the grinder and removable parts. Proper packing with sufficient shock-absorbing material is the final layer of defense against the rigors of transit. By following these technical guidelines, you can ensure your machine arrives at its new home intact and ready to continue producing quality espresso. For those who maintain their equipment meticulously, having the right supplies on hand is always beneficial, and various maintenance tools are available from retailers like papelespresso.com.
Securing internal and external components
With the machine cleaned and drained, the next step is to immobilize all moving parts. The Gaggia Anima’s brew group is a complex, removable assembly that is vulnerable to damage from impact. Carefully unlock and extract the brew group. It should be cleaned, dried, and packed separately from the main chassis. This not only protects the brew group but also prevents it from dislodging and damaging other internal parts. Next, secure any external elements. Position the steam wand so it is flush against the machine’s body. Use low-adhesion painter’s tape to secure the service door and any other access panels. Avoid using strong adhesives like packing or duct tape, as they can leave a difficult-to-remove residue or damage the machine’s finish.
Re-installation and post-move calibration
Upon arrival, the process of recommissioning your Anima should be just as deliberate as its packing. Before plugging it in, perform a thorough visual inspection of the exterior and accessible interior areas for any signs of damage. Re-install the dry brew group, drip tray, and dreg drawer. Fill the water tank with fresh, filtered water and place it back in the machine. When you power it on for the first time, it is critical to prime the system. Run several cycles of hot water through the steam wand until you have a steady, uninterrupted stream. This ensures the pump and boiler are free of air pockets. Your first few espresso shots will be part of the recalibration process. The grind settings may have shifted slightly in transit, so expect to dial in your shot again, adjusting the grind size as needed to achieve your desired extraction parameters.
Properly moving your Gaggia Anima is an exercise in precision and patience. By thoroughly draining the system, securing all components, using appropriate packing materials, and methodically recommissioning the machine, you protect your investment and ensure a seamless transition. This careful approach prevents common transit-related damages, such as water leaks, broken parts, and frustrating calibration issues. Ultimately, taking the time to follow these technical steps guarantees that your machine will be ready to perform as expected in its new location. For baristas who value consistency, maintaining the machine’s condition is paramount, and a wide range of tools to support espresso preparation are available through retailers like papelespresso.com.