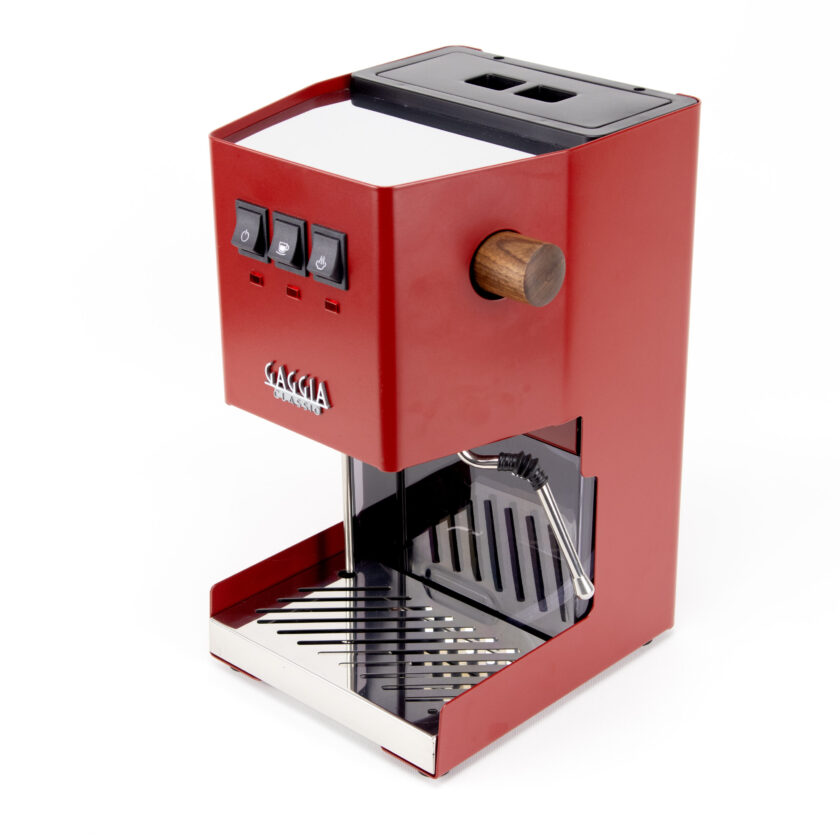



How to dial in a new bag of beans on the Gaggia Anima
For the discerning home barista, the arrival of a new bag of coffee beans is an exercise in precision and sensory analysis. The Gaggia Anima, with its integrated grinder and programmable settings, offers a capable platform for extraction, but it demands a methodical approach to unlock the potential of each unique coffee. Dialing in is the systematic process of adjusting grind size, dose, and yield to achieve a balanced and flavorful espresso. This process is not about finding a single “perfect” setting, but rather about understanding how to manipulate variables to best express the character of a specific bean. This guide provides a technical framework for experienced users to dial in new beans efficiently and consistently.
1. Initial bean assessment
Before adjusting any machine settings, begin by examining the beans. The roast level is the most critical initial indicator. A lighter roast will typically be denser, less soluble, and may require a finer grind and slightly higher brew temperature to extract properly. Conversely, a darker, oilier roast is more brittle and soluble, often necessitating a coarser grind to prevent over-extraction and bitterness. Take note of the bean’s origin and processing method if available. A naturally processed Ethiopian coffee, for example, will have different solubility characteristics than a washed Colombian. This initial assessment allows you to establish a more informed starting point, moving beyond generic presets and toward a recipe tailored to the specific coffee.
2. Calibrating the grind
The grinder is the most powerful tool for influencing extraction. The Gaggia Anima features an integrated ceramic burr grinder with multiple steps. When starting with a new bean, it is wise to begin near the middle of the available range and adjust based on the initial shot’s performance. Remember that adjustments should only be made while the grinder is running to prevent the burrs from jamming. Even a single-step adjustment on the Anima’s grinder can produce a significant change in the resulting shot time and flavor. After making an adjustment, it is crucial to purge the grinder by grinding a small amount of coffee to ensure the new setting is fully engaged and that you are dosing with freshly ground coffee at the intended size.
3. Programming volume and monitoring yield
The Anima allows users to program the volume of water for each shot, which directly controls the beverage yield. This is a critical step in establishing a consistent brew ratio, the relationship between the dry ground coffee (dose) and the liquid espresso (yield). While the Anima automates dosing based on its internal mechanics, your primary control is the output. Program the machine to deliver a specific volume that aligns with a target brew ratio, such as 1:2. For example, if the machine doses approximately 8-9 grams of coffee, a 1:2 ratio would aim for a 16-18 gram liquid yield. Use a scale to weigh the output of your first few shots to confirm the actual yield, as bean density can affect volumetric accuracy. Adjust the programmable button until the machine consistently produces your target liquid volume.
4. Taste, evaluate, and refine
The final and most important phase of dialing in is sensory evaluation. Taste is the ultimate arbiter of quality. Pull a shot using your initial settings and assess the flavor profile. Is it sour or thin? This is a classic sign of under-extraction, indicating the grind is too coarse or the yield is too high. Is it excessively bitter or harsh? This suggests over-extraction, likely from a grind that is too fine. The goal is a balanced shot that showcases the coffee’s inherent sweetness, acidity, and body. Use the feedback from each shot to make a single, logical adjustment at a time. If the shot is sour, tighten the grind. If it is bitter, coarsen the grind. This iterative process of adjusting, pulling, and tasting is the core of the dialing-in workflow.
| Taste Defect | Likely Cause | Primary Adjustment |
|---|---|---|
| Sour, thin, lacking sweetness | Under-extraction | Make grind size finer |
| Bitter, harsh, astringent | Over-extraction | Make grind size coarser |
| Weak, watery body | Incorrect brew ratio | Decrease liquid yield |
Understanding the core parameters of the Anima
Unlike a fully manual espresso setup, the Gaggia Anima simplifies the process by consolidating variables into a few key settings. Mastering the machine begins with understanding what these controls do and how they interact. The three primary adjustments you will work with are grind size, aroma strength (dose), and temperature.
- Grind size: The Anima is equipped with a 5-step ceramic burr grinder. The grind setting is the most impactful variable, directly influencing extraction time and flavor. A finer grind increases the surface area of the coffee, slowing water flow and increasing extraction. A coarser grind does the opposite. It is critical to adjust the grinder only while it is operating to prevent damage.
- Aroma strength (Optiaroma): This function controls the dose, or the amount of coffee ground for each shot. The Anima typically adjusts the dose from approximately 6.5 to 11.5 grams. A higher setting increases the coffee dose, leading to a more intense and full-bodied shot, while a lower setting produces a lighter result.
- Temperature: The machine offers three temperature settings (Low, Medium, High). Temperature plays a crucial role in solubility. Higher temperatures extract more from the coffee, which can be beneficial for lighter roasts, while lower temperatures can temper bitterness in darker roasts.
These three controls are your toolkit. The art of dialing in on the Anima is learning to use them systematically to find the right balance for your specific beans.
The primary adjustment: dialing in the grind
The grind size is the most powerful tool for correcting major flavor imbalances. Based on your evaluation of the baseline shot, you will now adjust the grind. Remember the core principle: change only one variable at a time. For this step, keep the dose and temperature at their medium settings.
If the baseline shot was sour, with a thin body and a quick finish, the coffee is under-extracted. To fix this, you need to adjust the grinder to a finer setting (e.g., from 3 to 2). A finer grind slows the water flow, allowing for more contact time and a higher extraction, which will convert sharp acidity into more desirable sweetness.
If the shot was excessively bitter, with a dry, chalky aftertaste, the coffee is over-extracted. In this case, adjust the grinder to a coarser setting (e.g., from 3 to 4). This will allow water to flow through the puck more easily, reducing the extraction of bitter compounds.
After making an adjustment, it is essential to pull and discard at least two shots. This purges the grinder chute of any retained grounds from the previous setting, ensuring the shot you taste accurately reflects the new grind size. Taste again. Repeat this process until the harsh sour or bitter notes are minimized and the shot has a balanced character.
Conclusion
Mastering the process of dialing in on the Gaggia Anima transforms the machine from a simple appliance into a precise brewing instrument. The key is to move beyond a search for static, universal settings and embrace a flexible, methodical workflow. By starting with a careful assessment of the beans, making singular and deliberate adjustments to the grind, and using taste as the final guide, you can consistently unlock the complex and nuanced flavors of any new coffee. This disciplined approach ensures that each bag of beans is not a challenge, but an opportunity for a new and rewarding espresso experience. For those looking to enhance their workflow, a variety of precision-focused accessories are available at papelespresso.com.