Dialing in light roast espresso on the Gaggia Classic: Temperature challenges
The Gaggia Classic is a legendary entry-point into the world of home espresso. Its robust build and simple design have made it a favorite for decades. However, as enthusiasts venture beyond traditional dark roasts into the bright, acidic, and complex world of light roast specialty coffee, they often hit a wall. Pulling a delicious shot of light roast espresso presents a unique set of challenges, with temperature control being the primary obstacle. The Gaggia Classic, in its stock form, struggles to deliver the high and, more importantly, stable temperatures required for proper extraction of these denser beans. This article will delve into why this is the case, explore manual techniques to manage the machine’s temperature, and discuss the definitive upgrade for conquering light roasts.
Why light roasts are so demanding
To understand the Gaggia Classic’s limitations, we first need to understand the nature of a light roast bean. Unlike their darker counterparts, which are roasted longer until they are brittle and porous, light roast beans are significantly denser and less soluble. The roasting process has not broken down the bean’s cellular structure as much, meaning the desirable flavor compounds—the bright fruit notes, delicate florals, and vibrant acidity—are locked away more tightly.
Extracting these compounds requires more energy. In espresso, that energy comes primarily from heat. Water that is too cool will fail to dissolve these flavors effectively, resulting in an under-extracted shot. This is the dreaded “sour” shot, which tastes thin, grassy, and unpleasantly acidic, completely missing the sweetness and complexity the roaster intended. While a darker roast might be forgiving at 90°C (194°F), a light roast often needs a much higher temperature, typically in the 94-96°C (201-205°F) range, to achieve a balanced and sweet extraction.
The Gaggia’s temperature instability
The core of the problem lies in the Gaggia Classic’s simple bimetallic thermostat. It operates like a basic thermostat in a home oven: it turns the heating element on until the water in the small boiler reaches a set temperature, then it turns off. The water then begins to cool until it drops below a certain threshold, at which point the thermostat kicks the heater back on. This creates a significant temperature swing.
While the machine is “idle,” the boiler water temperature can fluctuate by as much as 10-15°C (20-30°F). This is a huge variable when trying to dial in espresso. A shot started at the peak of the heating cycle will taste completely different from one started at the bottom. For a light roast that needs a precise, high temperature, this inconsistency makes achieving a repeatable, delicious shot feel like a game of chance. You might pull one great shot, but the next three are sour and disappointing, even with the exact same grind size and dose. This is where active temperature management becomes essential.
Temperature surfing: A manual workaround
Since the stock machine lacks precision, the user has to create it. This is done through a technique called temperature surfing. The goal is to “catch the wave” of the heating cycle at a consistent and predictable point, ensuring your brew water is at a similar, and hopefully optimal, temperature for every shot. While it requires practice, it’s a free way to dramatically improve your light roast extractions.
Here is a common temperature surfing routine for the Gaggia Classic:
- Warm up properly. Turn the machine on with the portafilter locked in for at least 20 minutes. This ensures the group head and portafilter are thoroughly heated.
- Trigger the heating cycle. With your coffee ground and ready, flick the brew switch and run a few ounces of water through the group head until the “ready” light turns on. This purges cooler water and tells the thermostat the boiler is cold, forcing the heating element to engage.
- Wait for the peak. Now, wait for the “ready” light to turn off. This indicates the thermostat has cut power because the boiler has reached the top of its temperature range.
- Time and pull. This is the crucial step. As soon as the light turns off, start a timer. The water is now at its hottest and will begin to cool. For light roasts, you typically want to start your shot between 10 and 20 seconds after the light goes off. Experiment within this window to find the sweet spot for your specific beans.
This method doesn’t give you perfect stability, but it gives you repeatability, which is the key to dialing in any coffee.
| Method | Pros | Cons | Best For |
|---|---|---|---|
| Stock Thermostat (No Surfing) | Simple, no effort required. | Extremely inconsistent; massive temperature swings; shots are a lottery. | Beginners using forgiving, darker roast coffees. |
| Temperature Surfing | Free; dramatically improves consistency; allows for higher brew temps. | Requires practice and a strict routine; still not perfectly stable. | Enthusiasts on a budget wanting to improve their light roast shots. |
| PID Controller | Rock-solid temperature stability (+/- 1°); precise temperature selection; unlocks the machine’s full potential. | Costs money; requires a DIY installation. | Serious home baristas dedicated to extracting the best from light roasts. |
The ultimate upgrade: Installing a PID controller
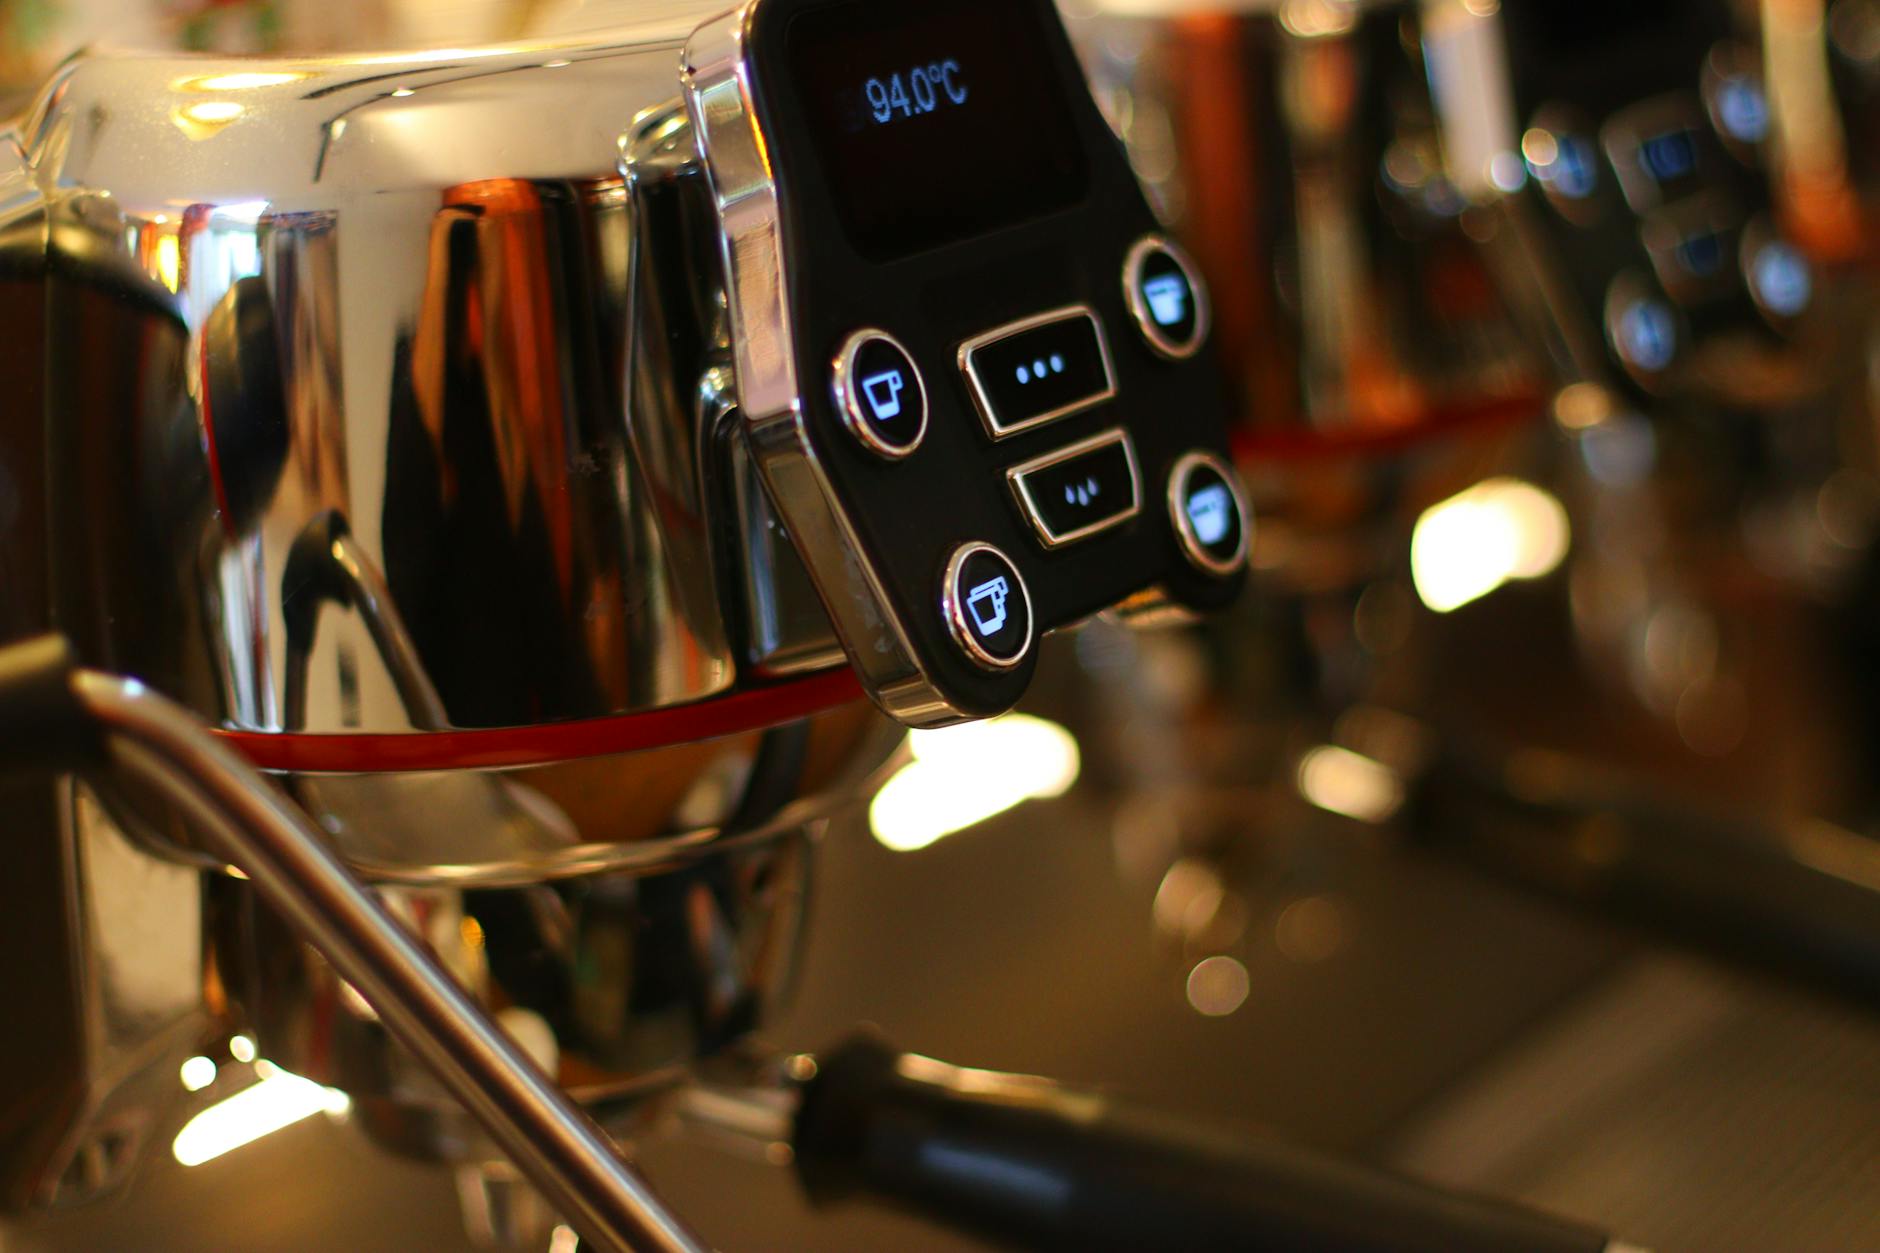
While temperature surfing is a fantastic skill, it is ultimately a workaround. The definitive solution to the Gaggia Classic’s temperature problem is installing a PID (Proportional-Integral-Derivative) controller. This small electronic device replaces the machine’s crude thermostat with a smart microprocessor and a precise temperature sensor. The PID constantly monitors the boiler temperature and makes tiny, rapid adjustments to the heating element to hold the water at a precise temperature you set, often with a stability of less than one degree.
For light roast espresso, a PID is a complete game-changer. It eliminates the temperature swing entirely. You can confidently set your machine to 95°C and know that every single shot will be pulled at that exact temperature. This removes the biggest variable from the equation, allowing you to focus purely on grind size, dose, and puck prep to dial in those delicate flavors. While it requires a bit of an investment and some DIY spirit to install, adding a PID elevates the Gaggia Classic from a capable entry-level machine to a specialty coffee powerhouse.
In conclusion, while the Gaggia Classic’s stock thermostat presents a significant hurdle for light roast espresso lovers, it is not an insurmountable one. Understanding the bean’s need for higher, stable temperatures is the first step. By mastering the manual technique of temperature surfing, you can introduce a level of consistency that makes pulling delicious, bright, and sweet shots possible. This method requires diligence and a repeatable workflow but rewards the user with a much better cup. For those who are truly dedicated to exploring the nuances of specialty light roasts, however, the installation of a PID controller is the ultimate upgrade. It transforms the machine, providing the unwavering stability needed to consistently unlock the complex and beautiful flavors hidden within those dense beans.


 No products in the cart.