Title: Why weighing your steamed milk leads to more consistent daily results
For any coffee enthusiast, the quest for the perfect cup is a daily ritual. We meticulously weigh our coffee beans, time our espresso shots down to the second, and debate the merits of different water temperatures. Yet, for milk-based drinks like lattes and cappuccinos, many of us still rely on guesswork, simply filling our pitcher to a “good enough” line. This introduces a massive variable that can sabotage our otherwise precise routine. If you’ve ever wondered why your flat white tastes perfect one day and disappointingly milky the next, the answer might not be in your espresso puck. This article will explore why incorporating a simple scale into your milk steaming workflow is the missing piece of the puzzle for achieving true, repeatable consistency every single day.
The illusion of volume
The most common way baristas, both at home and in cafes, measure milk is by volume. We use the spout of the pitcher as a guide or eyeball a specific level before steaming. While this feels intuitive, it’s an inherently flawed method. The problem is that the volume of milk is not a constant. Its density can change based on factors like fat content (whole milk is denser than skim) and, more importantly, its temperature. Cold milk is denser than warm milk.
Relying on a visual cue inside a pitcher ignores these variables. This means that your “half-full” pitcher might contain 180 grams of milk one day and 195 grams the next. This might not sound like a huge difference, but as we’ll see, that 15-gram variance is more than enough to completely change the final character of your drink. Grams are an absolute measure of mass, unaffected by temperature or density. By switching from milliliters to grams, you eliminate a significant variable and take your first concrete step toward repeatable results.
Nailing the golden ratio for taste
Every classic milk-based coffee drink is defined by its ratio of coffee to milk. A cortado is a balanced 1:1 ratio, a cappuccino is roughly 1:3, and a latte is a milkier 1:5 or more. These ratios are the blueprint for the drink’s flavor profile. When you get the ratio right, the sweetness of the milk perfectly complements the complex notes of the espresso. When you get it wrong, the balance is lost.
Imagine you’ve pulled a perfect 36-gram shot of espresso. If you’re making a cappuccino and you accidentally add 140 grams of milk instead of your target 110 grams, you’ve fundamentally created a different drink. The delicate acidity and sweetness of your coffee will be diluted, resulting in a flat, milky beverage. Weighing your milk before you steam it ensures you are using the exact amount required for your recipe. This means that your cappuccino will taste like your cappuccino, every single time. It transforms your drink-making process from an approximation into a precise science, allowing you to replicate that one “perfect” coffee you made last Tuesday.
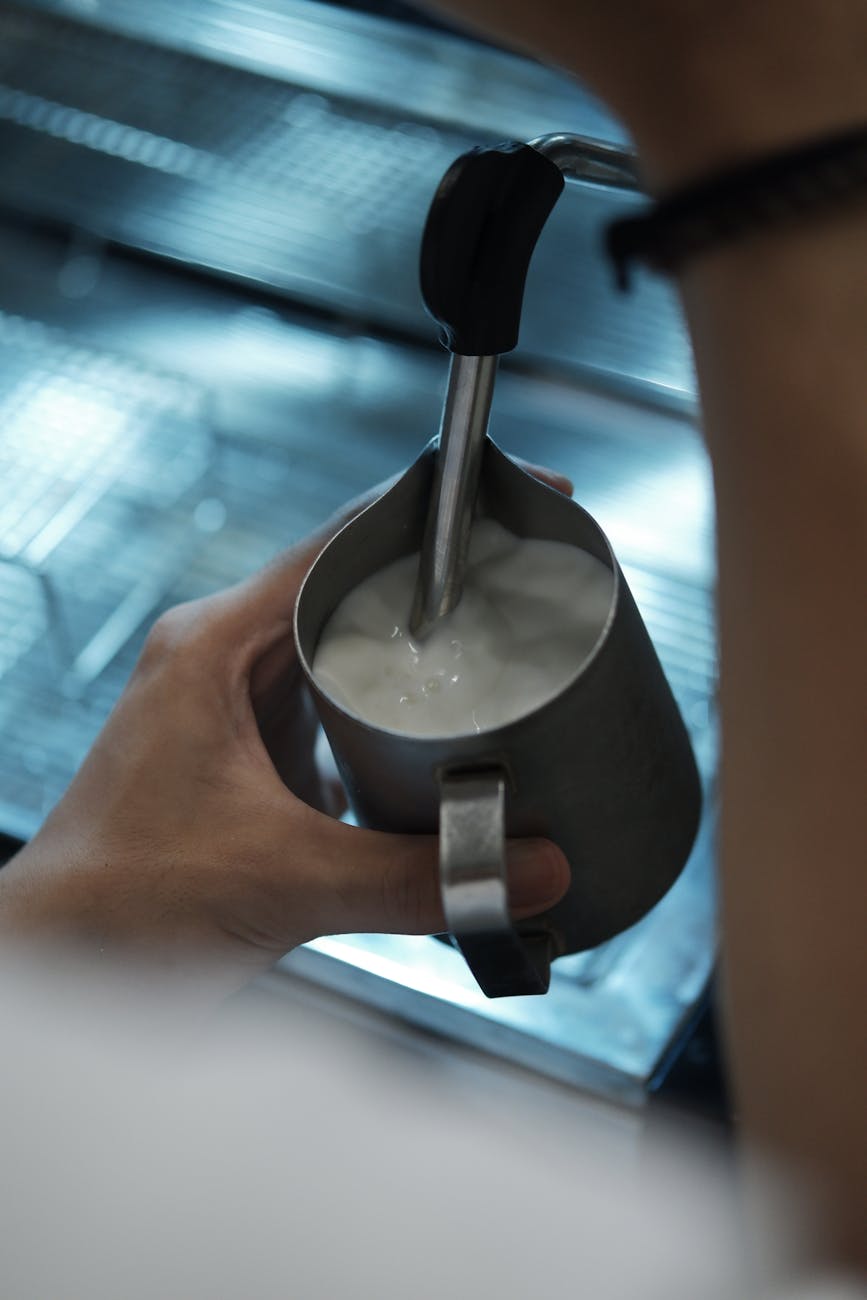
Control over texture and reducing waste
Consistency in milk steaming isn’t just about taste; it’s also about texture. The quality of your microfoam, essential for both mouthfeel and latte art, is directly influenced by how much milk you start with. When you use the same weight of milk for every steam, you develop a reliable muscle memory for the process. You’ll learn exactly how long to aerate (or “stretch”) the milk to introduce the right amount of air and precisely how long it takes to heat to the ideal temperature of around 60-65°C (140-150°F).
Starting with an inconsistent amount of milk throws this entire process off. Too little milk can heat up too quickly, scalding before it’s properly textured. Too much milk takes longer to heat and can be difficult to aerate evenly, leading to bubbly, unstable foam. Furthermore, weighing your milk drastically reduces waste. Instead of overfilling your pitcher “just in case” and pouring the excess down the drain, you measure exactly what you need for the drink you’re making. This is not only more economical but also more sustainable.
Putting it into practice: A simple workflow
Integrating this technique into your morning routine is incredibly simple and adds less than ten seconds to your prep time. All you need is a basic digital coffee scale.
Here is a step-by-step guide:
- Step 1: Place your empty, clean milk pitcher on the scale.
- Step 2: Press the ‘tare’ or ‘zero’ button to reset the scale to zero.
- Step 3: Pour your cold milk directly into the pitcher until you reach your desired weight.
- Step 4: Steam your milk as you normally would, and then pour it into your espresso.
That’s it. You’ve just eliminated the biggest variable in your milk preparation. To get you started, here is a table with some common drink recipes and suggested starting milk weights. Remember that steaming adds a small amount of water weight, and some milk remains in the pitcher, so you’ll want to start with more milk than your final target ratio requires.
| Drink (8 oz / 240 ml cup) | Espresso Yield | Target Milk in Drink | Suggested Starting Milk Weight |
|---|---|---|---|
| Cortado / Piccolo | 36g | 40-60g | 80-100g |
| Cappuccino / Flat White | 36g | 110-130g | 150-170g |
| Latte | 36g | 160-180g | 200-220g |
Note: These are starting points. Adjust them to fit the size of your cup and your personal taste preferences.
In the world of specialty coffee, precision is paramount. We chase consistency in our grind size, brew time, and espresso yield because we know these details are what separate a good coffee from a truly exceptional one. It’s time we applied that same level of intention to our milk. Moving away from the unreliable method of measuring by volume and embracing the accuracy of weight is a simple yet transformative step. By weighing your milk, you gain absolute control over your coffee-to-milk ratios, ensuring a balanced taste every time. You also improve your ability to create silky, perfect microfoam and reduce costly milk waste. Grab your scale tomorrow morning; it’s the easiest upgrade you can make to your coffee routine for guaranteed consistency.

 No products in the cart.