How to clean your espresso machine shower screen for better flow
That perfect shot of espresso—rich, syrupy, with a beautiful crema—is the goal of every home barista. You’ve dialed in your grind, perfected your tamp, and timed your shot, but something is still off. The culprit might be a small, often-overlooked component: the shower screen. This humble metal disc is responsible for distributing water evenly over your coffee puck, and when it gets clogged with old coffee oils and fine grounds, it can wreak havoc on your extraction. A dirty screen leads to channeling, uneven flow, and bitter, disappointing coffee. This guide will walk you through the simple yet essential process of cleaning your shower screen, a crucial step toward unlocking consistently delicious espresso and extending the life of your machine.
Why a clean shower screen matters for your coffee
Before we grab the screwdriver, it’s important to understand what the shower screen actually does and why its cleanliness is non-negotiable for quality espresso. Think of it as the head of a watering can. Its job is to take the pressurized water from the machine and gently and evenly shower it over the surface of your coffee grounds. When it’s clean, every particle of coffee gets saturated at the same time, leading to a balanced and uniform extraction.
However, after just a few shots, a sticky residue of coffee oils and microscopic grounds begins to build up. This grime clogs the tiny holes in the screen, causing several problems:
- Uneven extraction and channeling: With some holes blocked, water is forced through the open ones with greater pressure. This creates “channels” or small tunnels through the coffee puck, over-extracting the coffee along that path (making it bitter) while under-extracting the rest (making it sour). The result is a shot that is both bitter and sour.
- Rancid flavors: The coffee oils left on the screen go rancid over time. When you pull your next shot, this stale, foul-tasting oil is washed directly into your fresh coffee, tainting its flavor.
- Reduced flow and machine strain: A severely clogged screen can restrict water flow, affecting your shot time and putting unnecessary strain on your machine’s pump and internal components.
In short, a dirty shower screen is a direct barrier between you and a great cup of coffee. Cleaning it is one of the highest-impact maintenance tasks you can perform.
Gathering your cleaning tools and supplies
The good news is that you don’t need a professional workshop to perform this essential task. The process is straightforward, and the required tools are simple. Having everything ready before you start will make the job quick and easy. Here’s what you’ll need:
Essential items:
- A flat-head or Phillips screwdriver: Check your machine’s group head to see which type you need for the central screw.
- A group head brush: This is a stiff-bristled brush, often with an angled head, designed specifically for cleaning the nooks and crannies of the group head.
- A small bowl: This will be used for soaking the screen and screw.
- Espresso machine cleaning powder: Products like Cafiza or Puly Caff are specifically formulated to dissolve coffee oils. Do not substitute with dish soap, as it can leave a residue and is not designed for this purpose.
- A non-abrasive cloth or sponge: For wiping down the group head and drying the components.
Optional but helpful tools:
- A small pick or pin: A paperclip or a SIM card tool works perfectly for clearing any particularly stubborn blockages in the screen’s holes.
- A blind basket: This is a portafilter basket with no holes. It’s used for backflushing, a related cleaning process you can perform at the same time.
The step-by-step deep cleaning guide
With your tools assembled, you’re ready to give your shower screen the deep clean it deserves. Set aside about 30 minutes for the entire process, most of which is just soaking time. Always consult your machine’s manual first, as some models may have specific instructions.
Step 1: Safety first
Turn off and unplug your espresso machine. If you’ve recently used it, allow it to cool down for at least 30 minutes to avoid any risk of burns.
Step 2: Remove the screen and dispersion block
Using your screwdriver, carefully turn the central screw counter-clockwise to loosen it. Hold the screen with your other hand so it doesn’t fall. Once the screw is out, the shower screen should come off easily. Behind it, you may also find a brass or steel dispersion block; remove this as well if it’s a separate piece.
Step 3: Prepare the cleaning solution and soak
In your small bowl, mix about half a teaspoon of espresso machine cleaning powder with very hot (but not boiling) water. Stir until it dissolves. Place the shower screen, screw, and dispersion block into the solution. You will almost immediately see the water turn a murky brown as the powerful detergent gets to work dissolving the built-up coffee oils. Let the parts soak for 20-30 minutes.
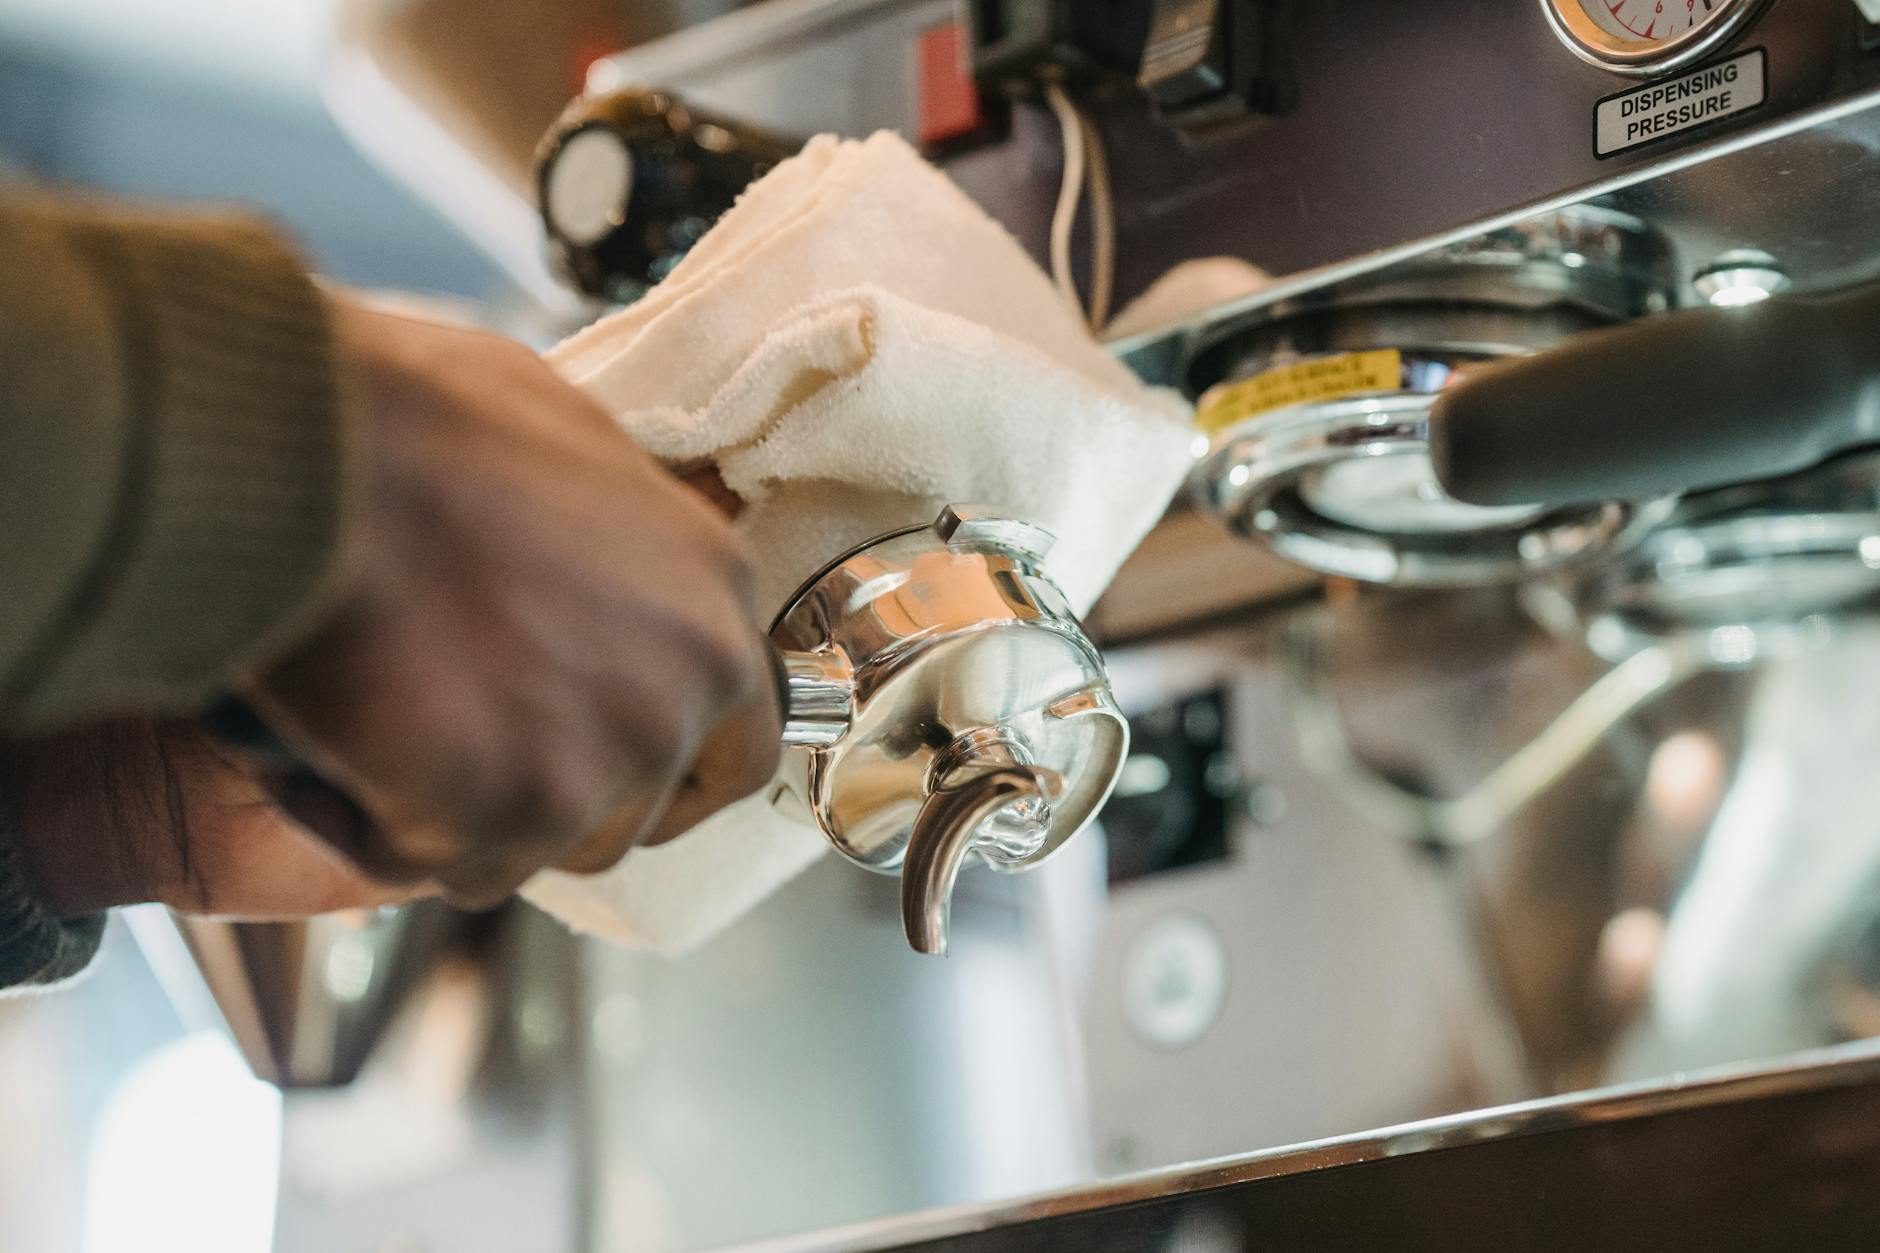
Step 4: Clean the group head
While your components are soaking, it’s the perfect time to clean the group head itself. Use your group head brush and a damp cloth to scrub away any coffee grounds and oily residue from around the gasket and the area where the screen sits.
Step 5: Scrub, rinse, and inspect
After soaking, remove the parts from the cleaning solution. Use your brush to scrub away any remaining residue. Hold the screen up to a light to inspect the holes. If any are still clogged, use your pick or pin to gently clear them. Finally, rinse all components thoroughly under warm, running water to ensure every trace of the cleaning solution is gone.
Step 6: Reassemble
Dry the screen, dispersion block, and screw completely. Carefully place them back into the group head and tighten the screw until it is snug. Do not overtighten, as this can damage the screw or the group head.
Establishing a consistent cleaning routine
A one-time deep clean is great, but consistency is the key to maintaining a healthy machine and brewing delicious coffee every day. The ideal frequency of your cleaning routine depends heavily on how often you use your machine. A daily coffee drinker will need to clean more often than someone who only uses their machine on weekends. Here is a sample routine you can adapt to your needs.
| Frequency | Task | Purpose |
|---|---|---|
| After each session | Run a quick water flush through the group head (without the portafilter). Wipe the screen with a cloth. | Removes fresh coffee grounds before they have a chance to bake on and become difficult to remove. |
| Weekly | Use a group head brush to scrub the screen and gasket. Perform a water-only backflush (if your machine has a 3-way solenoid valve). | Dislodges more stubborn grounds and oils from the screen and internal pathways. |
| Every 2-4 weeks | Perform the full deep clean: remove and soak the shower screen and dispersion block in a cleaning solution. | This is the essential deep clean that removes the rancid, built-up oils that brushing alone cannot. |
By integrating these simple tasks into your coffee-making ritual, you transform machine maintenance from a chore into a simple habit. This proactive approach prevents major buildup and ensures your machine is always ready to perform at its best.
Conclusion: Better coffee through simple maintenance
Cleaning your espresso machine’s shower screen is not just a tedious chore; it’s one of the most effective ways to improve the quality and consistency of your coffee. As we’ve seen, a clean screen ensures even water distribution, preventing the channeling and uneven extraction that lead to unbalanced, disappointing shots. By taking 30 minutes every few weeks to remove, soak, and scrub this critical component, you eliminate the rancid oils and caked-on grounds that taint the flavor of your espresso. Establishing a simple routine of daily flushes, weekly brushing, and a monthly deep clean will not only reward you with better-tasting coffee but also protect your investment by keeping your machine in peak working condition. It’s a small effort for a huge return in every single cup.


 No products in the cart.