Dialing in CBTL decaf espresso for a perfect late-night shot
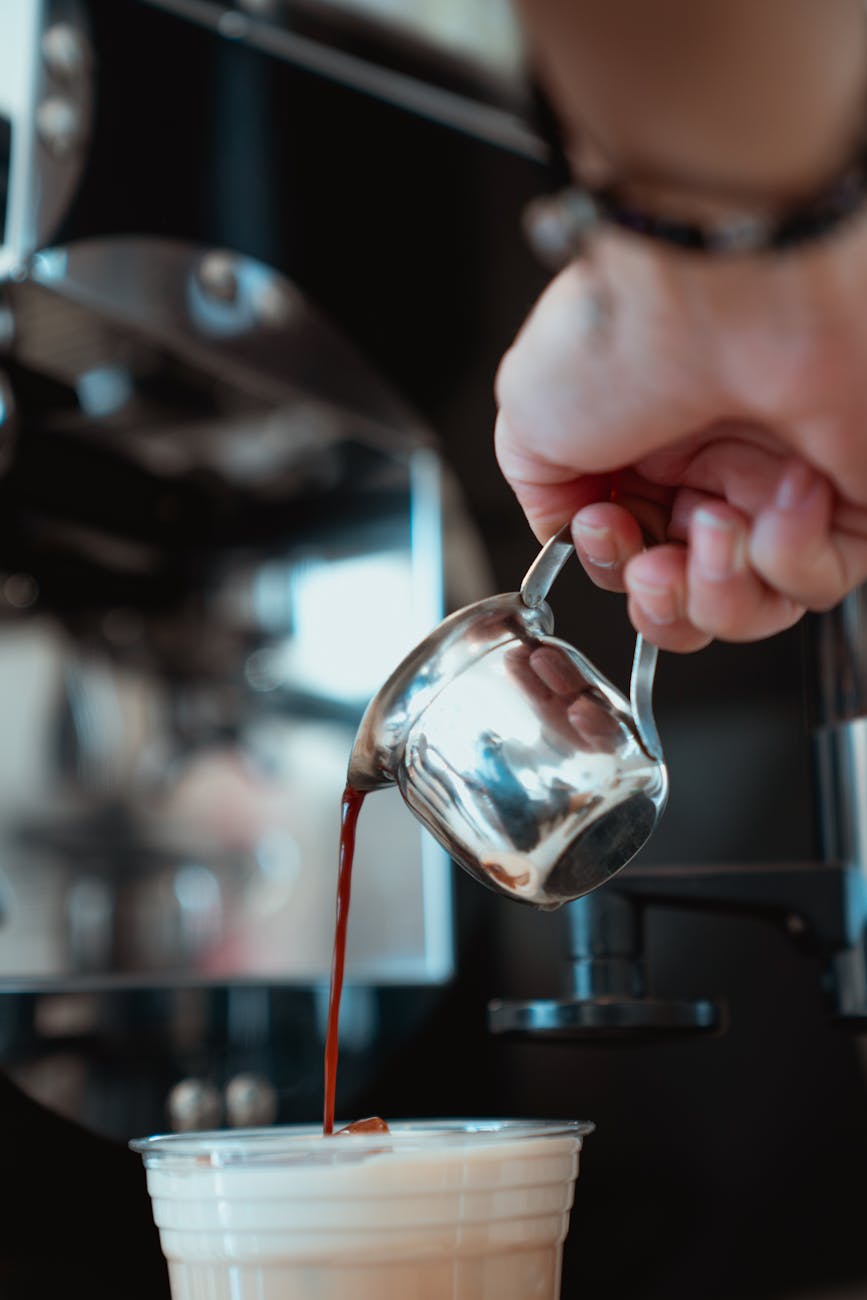
There’s a unique comfort in the ritual of preparing an espresso. The aroma, the sound of the grinder, the sight of a rich, syrupy shot. But what about when that craving hits late at night? The fear of a sleepless night often keeps us from our favorite coffee ritual. This is where a quality decaf comes in, and The Coffee Bean & Tea Leaf (CBTL) offers a popular option. However, many home baristas quickly discover that decaf beans don’t behave like their caffeinated counterparts. They can be tricky, often leading to fast, sour shots. This guide is here to change that. We will walk you through a methodical process to dial in your CBTL decaf espresso, ensuring you can pull a delicious, balanced shot worthy of any evening.
Understanding the unique challenge of decaf beans
Before you even touch your grinder, it’s crucial to understand why decaf espresso can be so frustrating. The key lies in the decaffeination process. Methods like the Swiss Water Process, which is commonly used for high-quality beans, involve soaking the green coffee beans to extract the caffeine. While this process is excellent at preserving flavor, it also fundamentally alters the bean’s physical structure. Decaf beans often become more brittle and less dense than regular beans.
This structural change has a direct impact on brewing. When you grind these more fragile beans, the resulting grounds can be less uniform. More importantly, their lower density means they don’t provide as much resistance to the water pressure from your espresso machine. This is why the most common problem with decaf is a “gusher” – a shot that runs way too fast, resulting in a thin, sour, and unsatisfying cup. Understanding this core issue is the first step to solving it.
Your starting line: Gear and baseline parameters
Consistency is the name of the game when dialing in any espresso, and especially a tricky decaf. Before we start pulling shots, let’s ensure you have the right tools and a solid starting point. Chasing a good shot without the right gear is like trying to navigate without a map.
Essential equipment:
- A quality burr grinder: This is non-negotiable. Blade grinders produce inconsistent particle sizes, making a good espresso shot nearly impossible. A burr grinder gives you the control needed for fine adjustments.
- A digital scale (0.1g accuracy): You need to weigh your coffee dose (the grounds in) and your liquid yield (the espresso out). Volume is not a reliable measure.
- A timer: Your phone’s stopwatch is perfect for this.
- Fresh CBTL decaf espresso beans: Of course!
With your gear ready, you need a starting recipe. A great universal baseline for espresso is a 1:2 brew ratio. This simply means for every one gram of coffee grounds, you want two grams of liquid espresso in your cup. Let’s establish a concrete starting point:
- Dose: 18 grams of ground coffee
- Yield: 36 grams of liquid espresso
- Time: Aim for 25-30 seconds
This recipe is our North Star. In the next section, we will pull a shot using these parameters and use the results to make our first, most important adjustment.
The step-by-step dialing-in method
This is where theory meets practice. The key to this process is changing only one variable at a time. Since we know decaf tends to run fast, our primary variable will be the grind size.
Step 1: Grind finer than usual
Based on what we know about decaf beans, your first move should be to adjust your grinder to a finer setting than you would for a regular espresso bean. This is our proactive measure to counteract the bean’s tendency to produce a fast shot. Don’t be afraid to go a few clicks finer than your normal setting.
Step 2: Pull your first shot
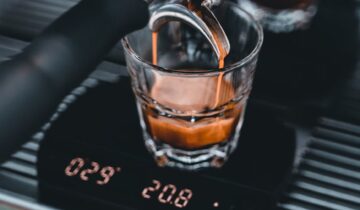
Use your scale to measure out exactly 18g of your finely ground CBTL decaf. Prepare your portafilter as you normally would, ensuring a level tamp. Place your cup on the scale, tare it to zero, and start your shot and your timer simultaneously. Stop the shot when the scale reads 36g. Now, note the time.
Step 3: Taste and analyze
This is the most important step. How did the shot taste, and what was the time?
- Did it run very fast (e.g., 15-20 seconds) and taste sour or acidic? This is a classic sign of under-extraction and the most likely outcome. The water passed through the coffee too quickly to pull out the sweet flavors. Your action: Keep the dose (18g) and yield (36g) the same, but adjust your grinder to an even finer setting. This will create more resistance and slow the shot down.
- Did it run very slow (e.g., 35-40 seconds) and taste bitter or burnt? This is over-extraction. It’s less likely with decaf on the first try, but possible if you went too fine. Your action: Keep the dose and yield the same, but adjust your grinder coarser to speed the shot up.
Repeat this process of pulling a shot and adjusting your grind size until you hit that sweet spot of 25-30 seconds. Once your time is in the right range, you should find the taste is much more balanced.
Fine-tuning for the perfect cup
Once you’ve used your grind size to get your shot time in the 25-30 second window, you’re 90% of the way there. Now, you can make small tweaks to perfect the shot for your personal preference. This is where you can play with the brew ratio to alter the strength and body of the espresso.
Let’s say your 18g in and 36g out shot in 28 seconds tastes good, but a little weak. To get a more intense, syrupy shot, you can try a shorter ratio. Aim for a 1:1.75 ratio, which would be 18g in and 31.5g out. You might need to grind slightly finer again to keep the time in range. Conversely, if you find the standard shot too intense, try a longer 1:2.25 ratio (18g in, 40.5g out) for a slightly lighter body. Puck preparation, using a tool like a WDT to break up clumps before tamping, is also extra helpful with brittle decaf grounds to ensure water flows evenly and prevents channeling.
Here is a simple table to help you troubleshoot:
| Problem | Taste Profile | Likely Cause | Primary Solution |
| Shot runs too fast (<22s) | Sour, acidic, thin body | Under-extraction | Grind finer |
| Shot runs too slow (>35s) | Bitter, harsh, burnt | Over-extraction | Grind coarser |
| Shot time is right but tastes weak | Watery, lacks depth | Brew ratio is too long | Decrease yield (e.g., from 36g to 32g) |
| Shot time is right but tastes too strong | Overpowering, overly intense | Brew ratio is too short | Increase yield (e.g., from 36g to 40g) |
Conclusion
Dialing in CBTL decaf espresso for a late-night treat doesn’t have to be a source of frustration. By understanding that the decaffeination process makes the beans more prone to fast, under-extracted shots, you can take a proactive approach. The solution almost always begins with a finer grind setting than you’re used to. From there, it’s a methodical process of tasting and tweaking. Remember to lock in your dose, use grind size to control your time, and only then play with your yield to adjust for strength. With a scale, a timer, and a little patience, you can reliably pull a rich, balanced, and delicious shot of decaf espresso, allowing you to enjoy your favorite coffee ritual at any hour without compromise.
 No products in the cart.