A great cappuccino is a symphony of textures and flavors, where rich, intense espresso harmonizes perfectly with sweet, velvety steamed milk. Too often, however, the coffee element gets lost, resulting in a drink that’s little more than hot, milky coffee. The secret to a truly memorable cappuccino lies not just in the milk texturing, but in crafting an espresso shot specifically designed to shine through it. A standard espresso shot, perfect on its own, can become timid and washed out when combined with five or six ounces of milk. This guide will walk you through the art and science of dialing in a dedicated espresso shot, a concentrated and powerful base that will make your cappuccino recipes sing with clarity and depth.
Understanding the goal: Why a cappuccino shot is different
Before we touch the grinder, it’s crucial to understand why we need a special approach for a cappuccino. A standard espresso shot, often pulled at a 1:2 or 1:2.5 ratio (e.g., 18 grams of coffee grounds yielding 36-45 grams of liquid espresso), is balanced for drinking on its own. It has a delicate interplay of acidity, sweetness, and bitterness.
However, when you introduce steamed milk, the game changes. Milk contains fats and sugars (lactose) that do two things:
- Mask Flavors: The richness of the milk can easily overpower the more subtle, acidic, and floral notes of a standard espresso.
- Enhance Flavors: Milk’s sweetness naturally complements and amplifies notes of chocolate, caramel, and nuts in the coffee.
Therefore, our goal is not to pull a “normal” shot. We need to create an espresso that is more concentrated and intense, with a flavor profile that is bold enough to cut through the milk’s sweetness and fat. We are aiming for a shot that has a heavy body and deep, rich flavors that are naturally complementary to milk, ensuring the final cappuccino is balanced and coffee-forward.
Choosing your coffee and baseline recipe
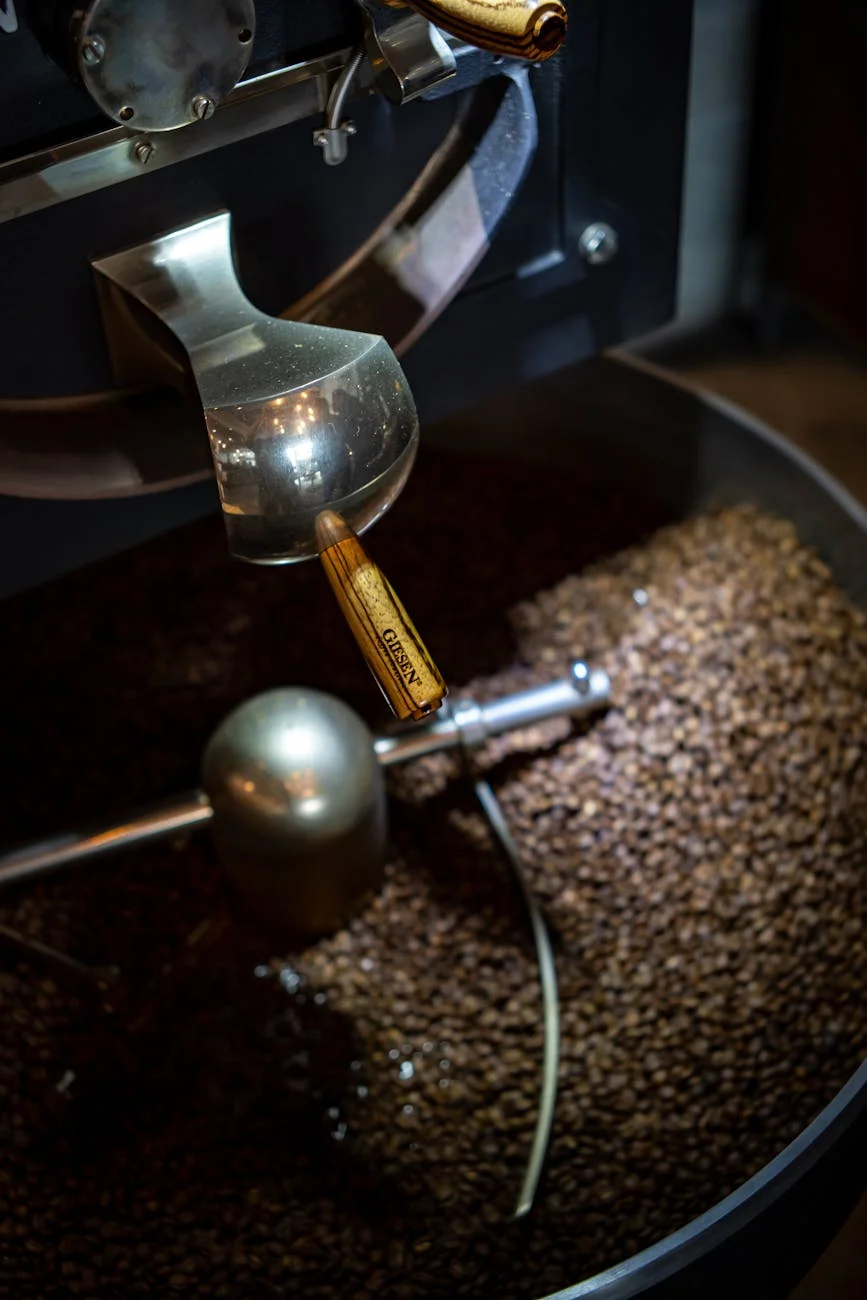
The foundation of any great espresso is the coffee bean itself. While you can make a cappuccino with any coffee, some profiles are better suited to pair with milk. Medium to dark roasts are often a classic choice because the roasting process develops deep flavors of chocolate, nuts, and caramelized sugar while mellowing out the bright acidity that can sometimes taste sour in milk. Classic Italian-style espresso blends or single-origin coffees from places like Brazil or Sumatra are excellent starting points.
With our coffee selected, we need a starting recipe. For cappuccinos, we lean towards a ristretto or “restricted” style of shot. This means we use a tighter brew ratio to create a more concentrated, syrupy espresso. A great baseline to start dialing in from is:
- Dose: 18 grams of coffee grounds
- Yield: 27 grams of liquid espresso
- Ratio: 1:1.5
- Time: 25-30 seconds
This 1:1.5 ratio is the sweet spot. It’s concentrated enough to stand up to the milk but extracted enough to avoid the sharp, sour notes of an under-extracted shot. This recipe will be our anchor as we move into the dialing-in process.
The dialing-in process: Adjusting the variables
This is where art meets science. With our target recipe (18g in, 27g out, in 25-30 seconds), our main variable for adjustment is the grind size. Your goal is to adjust the grind so that the shot finishes within that time window. This is the most critical step in achieving a balanced extraction.
Start by grinding your 18g dose and pulling a shot, timing it from the moment you press the button to when you hit your 27g yield.
- If the shot runs too fast (e.g., under 22 seconds), it’s under-extracted. The flavor will be sour and thin. You need to make your grind size finer. This creates more resistance, slowing down the water flow and increasing extraction time.
- If the shot runs too slow (e.g., over 35 seconds), it’s over-extracted. The flavor will be bitter, harsh, and dry. You need to make your grind size coarser. This reduces resistance, allowing the water to flow more freely and decreasing extraction time.
Make one small adjustment at a time. Taste the espresso on its own. You’re looking for a shot that tastes sweet, concentrated, and heavy, with minimal sourness or bitterness. Once you’ve hit your time and volume targets and the shot tastes balanced, you’re ready to add milk.
| Problem | Likely Cause | Solution |
|---|---|---|
| Shot tastes sour and weak | Under-extraction (shot ran too fast) | Make the grind finer to slow the shot down. |
| Shot tastes bitter and harsh | Over-extraction (shot ran too slow) | Make the grind coarser to speed the shot up. |
| Shot is both sour and bitter | Uneven extraction (channeling) | Focus on puck prep: distribute grounds evenly and tamp level. |
Fine-tuning for the perfect cappuccino
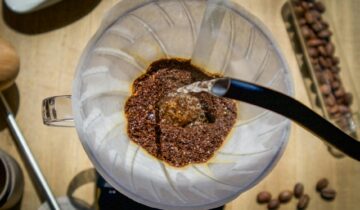
You’ve pulled a beautiful, concentrated shot that tastes great on its own. Now it’s time for the final test: making the cappuccino. Steam your milk to a velvety microfoam and combine it with your specialized espresso shot. Now, taste the completed drink.
How does it taste? Is the coffee flavor distinct and pleasant, or does it vanish behind the milk? This final tasting may require one last tweak to your recipe.
- If the coffee flavor is still weak: Your shot needs more concentration. Try tightening the ratio slightly, aiming for a 1:1.2 yield (e.g., 18g in, 22g out). You will need to grind a little finer to keep the shot time in the 25-30 second range.
- If the coffee flavor is too aggressive or bitter: Your shot might be a little too concentrated. Try loosening the ratio slightly to a 1:1.7 (e.g., 18g in, 30g out). You will likely need to grind a bit coarser to maintain your target shot time.
This final adjustment is about personal preference. The goal is a perfect marriage between coffee and milk where both elements are clearly present and beautifully balanced. Don’t be afraid to experiment with small changes until you find the exact recipe that makes your ideal cappuccino.
Mastering the cappuccino espresso shot is a transformative step for any home barista. It moves you beyond a one-size-fits-all approach and into the world of intentional coffee crafting. By understanding that a cappuccino requires a more concentrated, powerful espresso, you can begin the process of dialing one in. Remember the core principles: select a complementary coffee, start with a ristretto-style ratio like 1:1.5, and use your grind size to hit your time and yield targets for a balanced extraction. The final, crucial step is to taste the drink with milk and make small, final adjustments to perfect the harmony. This dedicated process is what separates a good, milky coffee from an exceptional cappuccino, where every sip offers a rich, balanced, and truly memorable flavor experience.


 No products in the cart.