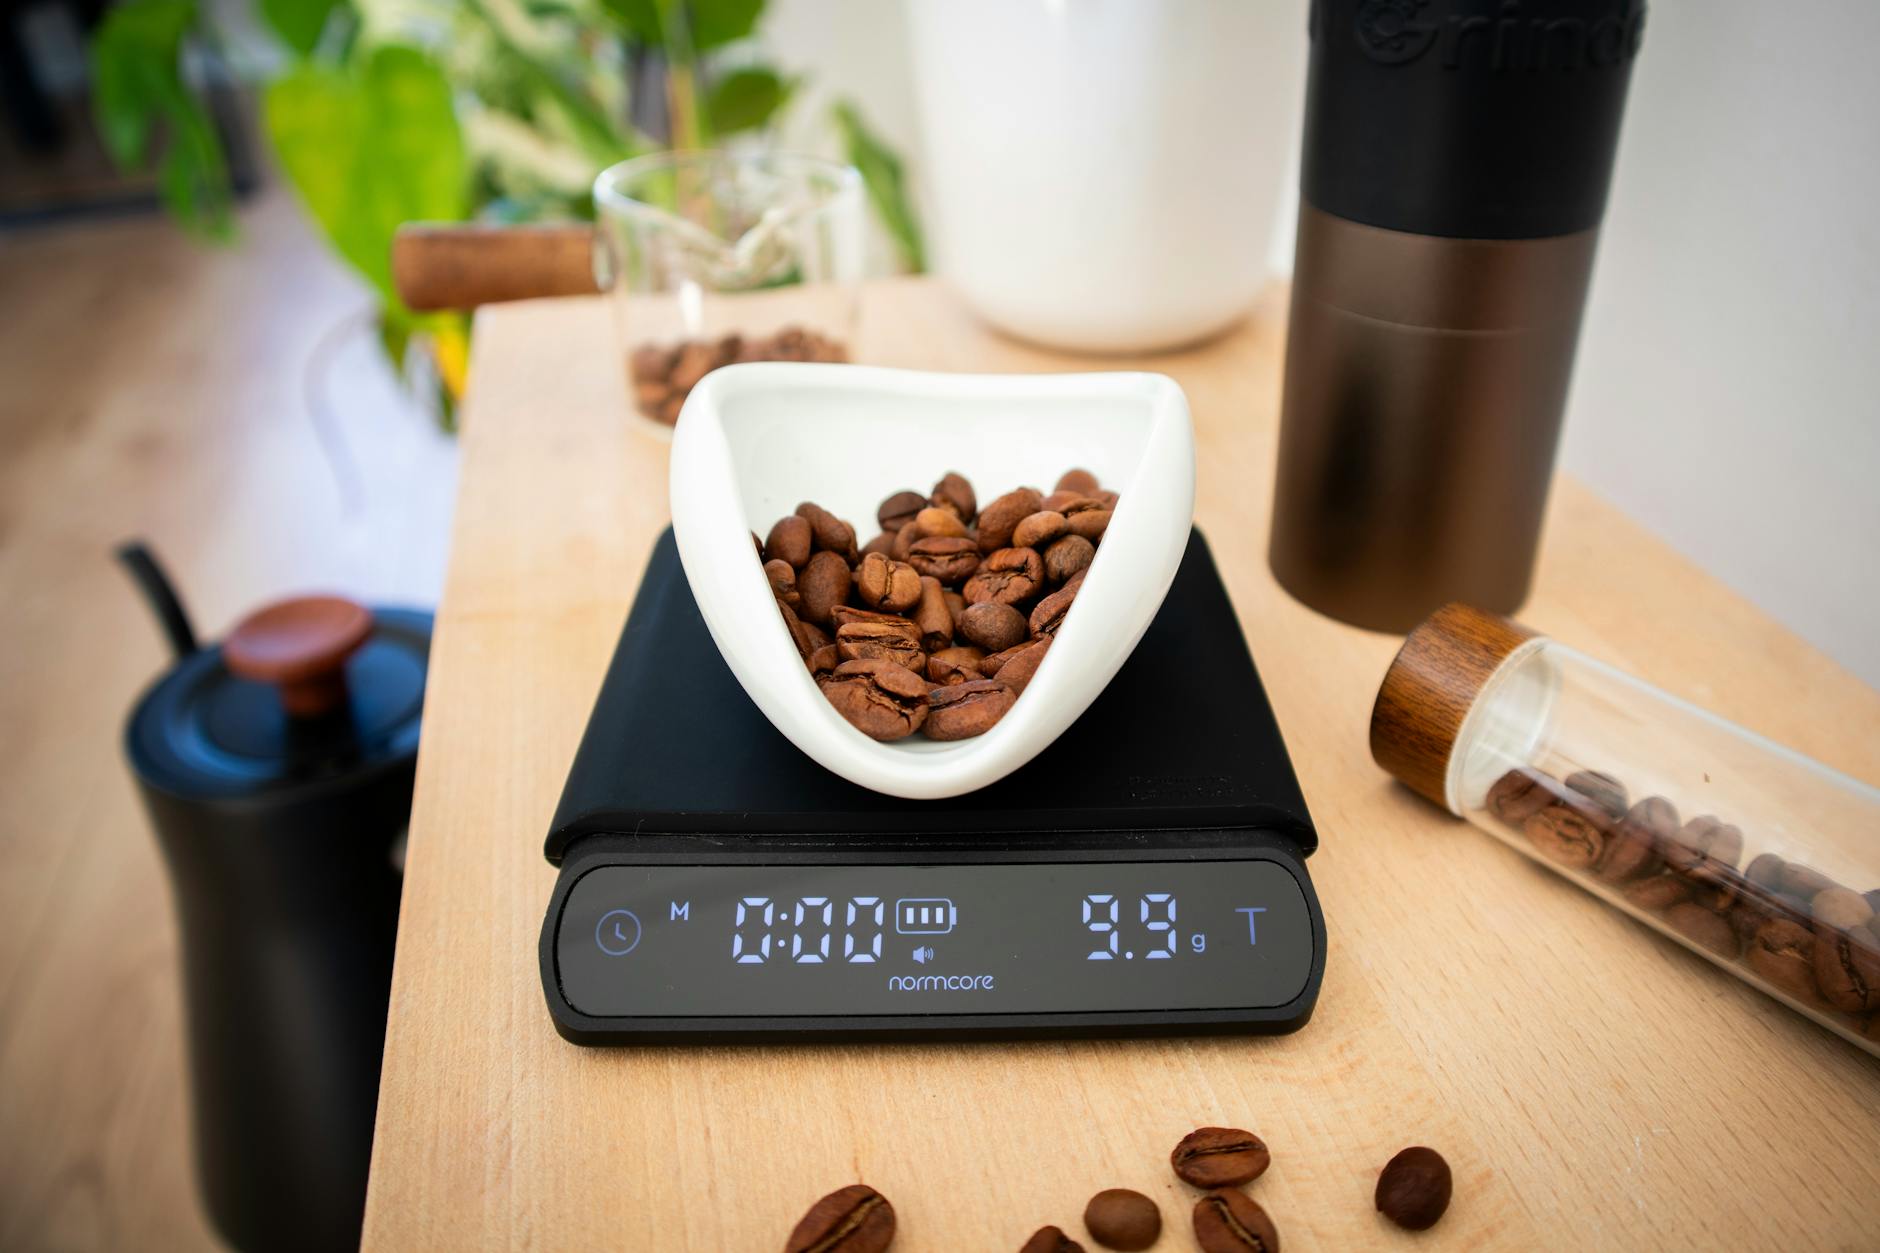
The AeroPress stands out in the world of coffee brewing for its simplicity, portability, and incredible versatility. While brewers debate grind size, water temperature, and brew ratios, one crucial variable often gets overlooked: agitation. It’s the simple act of stirring or swirling the coffee slurry, but its impact is profound. Far from a random motion, agitation is a scientific principle that directly controls the speed and evenness of your coffee’s extraction. Understanding the science behind it can transform a good cup of AeroPress coffee into a great one. This guide will explore the physics of agitation, how it influences flavor, and how you can manipulate it to unlock the perfect brew for your palate, moving beyond guessing to intentional, repeatable results.
What is agitation and why does it matter?
At its core, coffee brewing is a process of extraction—dissolving soluble flavor compounds from ground coffee into water. Agitation is simply the physical disturbance of this coffee and water mixture. This can be the initial turbulence from pouring water, a deliberate stir with the paddle, or a swirl of the entire brew chamber. But why is this simple action so important? It all comes down to two key scientific principles: diffusion and convection.
Think of a coffee ground as a tiny, flavor-packed sponge. When water touches it, diffusion begins. Soluble compounds move from an area of high concentration (the coffee particle) to an area of low concentration (the water). However, without agitation, the water immediately surrounding the coffee ground quickly becomes saturated with these compounds, creating a “boundary layer” that slows down further extraction dramatically. Agitation breaks up this boundary layer. It introduces fresh, less-saturated water to the surface of the grounds, creating a steeper concentration gradient and accelerating the rate of diffusion. This ensures that extraction continues efficiently throughout the brew time, preventing a weak or “hollow” tasting coffee.
The fine line between extraction and over-extraction
Agitation is a powerful tool, but it must be wielded with care. Its primary effect is to increase the rate and efficiency of extraction. This is crucial for achieving a balanced cup and avoiding the dreaded pitfalls of under-extraction and over-extraction.
- Under-extraction: This occurs when not enough soluble compounds have been pulled from the coffee. The resulting cup often tastes sour, thin, and vegetal. This is a common result of insufficient agitation, where grounds are not evenly saturated or the boundary layer slows the process down.
- Over-extraction: This happens when too many compounds, including the less desirable bitter and astringent ones, are pulled from the coffee. The cup will taste harsh, bitter, and drying. Aggressive or excessive agitation can cause this by stripping the grounds too quickly.
The goal is to find the sweet spot. Proper agitation ensures all grounds contribute evenly to the final brew, a concept known as evenness of extraction. Without it, some grounds might be over-extracted while others are barely touched, leading to a confusing mix of sour and bitter notes. In the enclosed chamber of an AeroPress, agitation is your primary lever for controlling this balance within a short brew time.
Common agitation techniques for the AeroPress
There is no single “correct” way to agitate your AeroPress brew; different methods produce different results. The key is consistency. By understanding the intensity of each technique, you can start to build repeatable recipes.
1. The pour: Don’t underestimate the power of your pour. A fast, turbulent pour from a gooseneck kettle creates significant initial agitation, helping to saturate all the grounds quickly. A slow, gentle pour will result in a much lower level of initial agitation.
2. Stirring: This is the most common and controlled method. Using the AeroPress paddle, you can stir in various patterns (back and forth, circular, figure-eight). The intensity depends on two factors:
- Duration: A quick 5-second stir is very different from a 20-second stir.
- Vigor: Gentle, slow stirs are different from a rapid, turbulent stir. Most recipes call for 3 to 10 seconds of gentle stirring right after the water is added.
3. Swirling: Instead of introducing an object into the slurry, you can agitate by holding the brewer and giving it a gentle swirl, much like a wine connoisseur aerating a glass. This is a great, non-invasive way to ensure the coffee bed is level and fully saturated before the plunge.
4. The plunge: The final act of pressing the plunger is itself a form of agitation. A fast plunge forces water through the coffee bed aggressively, potentially increasing the extraction of fine particles and leading to bitterness. A slow, steady plunge of 20-30 seconds is a much more gentle and controlled form of final-stage extraction.
Adjusting agitation with other brew variables
Agitation does not exist in a vacuum. It is deeply interconnected with your other brewing variables, primarily grind size and brew time. To master your brew, you must consider how they work together. For instance, a finer grind size has more surface area and extracts much faster, thus requiring less agitation. A coarser grind needs more help, which can come from either a longer brew time or more vigorous agitation.
This table provides a starting point for how you can balance these variables to achieve a specific flavor profile.
| Desired outcome | Grind size | Brew time | Recommended agitation |
|---|---|---|---|
| Bright, acidic, tea-like body | Medium-Fine | 1:00 – 1:30 | Medium stir (5-10 back-and-forth stirs) |
| Sweet, balanced, full body | Medium | 1:30 – 2:00 | Gentle swirl or 3-5 stirs |
| Mellow, low acidity, heavy body | Medium-Coarse | 2:00 – 3:00 | Minimal (pour only, no stir) |
| Quick, strong espresso-style shot | Fine | 0:45 – 1:00 | Vigorous (continuous stirring for 10-15 seconds) |
Use this as a guide, not a rulebook. The most important lesson is to change only one variable at a time. If your coffee is sour, try increasing agitation (e.g., add a few more stirs) before changing your grind. If it’s bitter, reduce your agitation. This systematic approach will help you understand its direct impact.
In conclusion, agitation is far more than an afterthought in AeroPress brewing; it’s a fundamental scientific control. By physically disturbing the coffee slurry, you are directly influencing the rate of diffusion, breaking down the boundary layer that impedes extraction, and promoting an even, balanced cup. Understanding this allows you to move from following a recipe to creating one. Whether you choose a vigorous stir for a quick, bright cup or a gentle swirl for a mellow, full-bodied brew, the power is in your hands. The key takeaway is to be intentional and, above all, consistent. Start with a baseline, taste the result, and adjust your agitation accordingly. Mastering this single variable will unlock a new level of precision and help you brew the perfect cup of AeroPress coffee, every single time.

 No products in the cart.