Master your shot: A guide to diagnosing espresso with a bottomless portafilter
For any aspiring home barista, the journey to the perfect espresso shot is paved with trial and error. While taste is the ultimate judge, how do you know what went wrong during those crucial 30 seconds of extraction? Enter the bottomless portafilter. More than just a tool for capturing stunning, syrupy extraction videos, this piece of equipment is your single most powerful diagnostic window into the heart of your espresso puck. It strips away the mystery, exposing every flaw and triumph in real-time. This guide will teach you how to read the visual cues your bottomless portafilter provides, transforming you from a hopeful button-pusher into a confident barista who can diagnose and fix extraction issues with precision.
What is a bottomless portafilter and why use one?
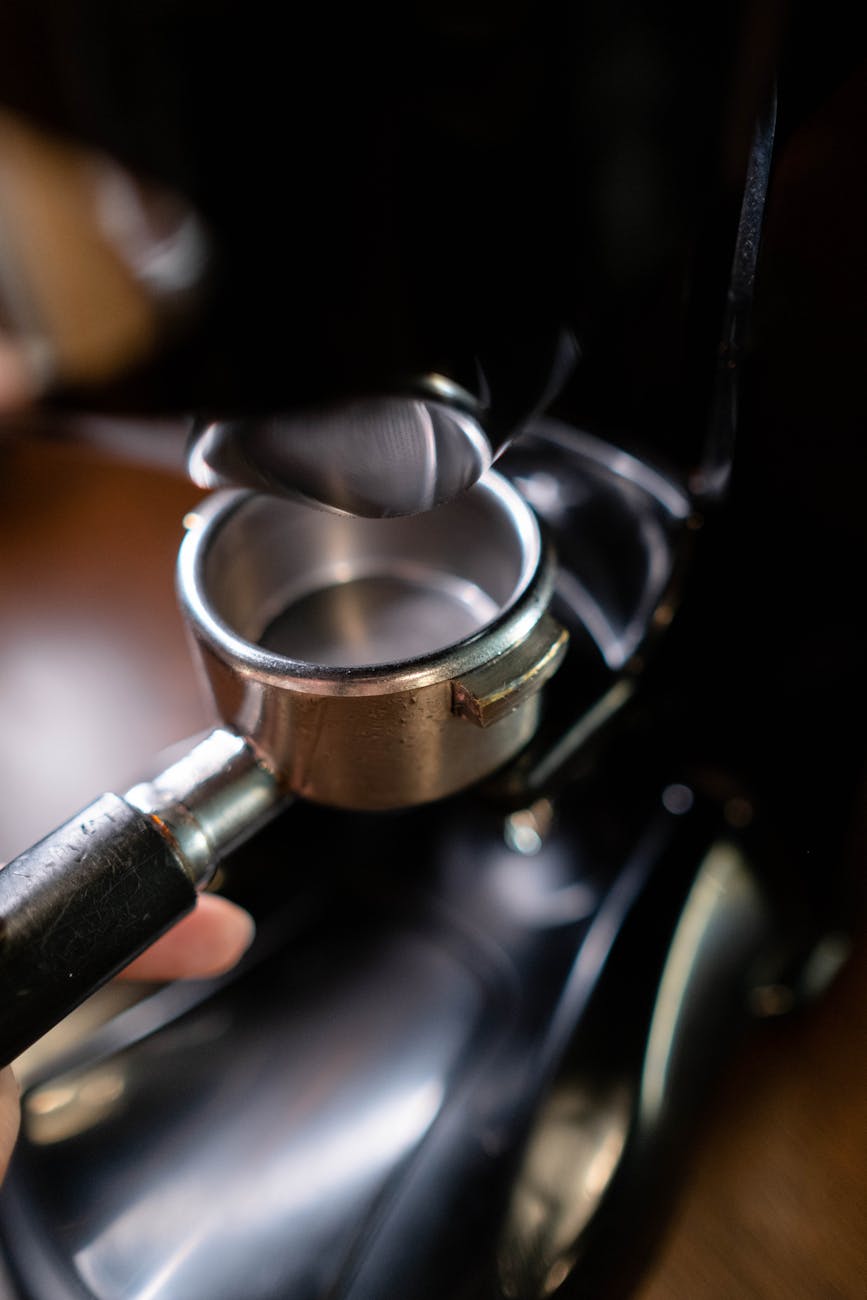
A bottomless portafilter, often called a “naked” portafilter, is exactly what it sounds like: a standard portafilter with the bottom metal and spouts removed. This modification exposes the entire bottom of the filter basket, giving you an unobstructed view of the espresso as it extracts. A traditional spouted portafilter funnels the espresso from two small holes, merging the streams and effectively hiding any imperfections in the flow. If one side of your puck is extracting faster than the other, the spouts will combine the liquid, and you’ll be none the wiser until you taste the imbalanced shot.
The primary benefit of going bottomless is direct feedback. It’s a mirror reflecting the quality of your puck preparation. Every mistake in your distribution and tamping technique will be laid bare. This might seem intimidating, but it is an invaluable learning tool. By watching the extraction unfold, you can identify specific problems and make targeted adjustments to your workflow, leading to a much faster improvement in your espresso quality and consistency. It forces you to perfect your technique, as there’s simply nowhere for flaws to hide.
The signs of a perfect extraction
Before diagnosing problems, you need to know what success looks like. A beautiful extraction is a symphony of visual cues that indicate your puck preparation was even and your grind size is on point. The process should look something like this:
- Pre-infusion and beading: In the first few seconds, you should see tiny droplets of dark espresso begin to “sweat” or bead across the entire surface of the basket simultaneously. This even saturation is the first sign of good distribution.
- First drops and cone formation: These individual beads will quickly coalesce. Ideally, they will merge in the center of the basket, forming a single, stable stream or cone of espresso. An off-center cone is an immediate sign of unevenness.
- Tiger striping: As the central stream flows, it should be viscous and dark, with beautiful mottling of lighter and darker browns. This effect, often called tiger striping, indicates a well-developed extraction of oils and solids, contributing to a rich crema and complex flavor.
- Consistent flow: The stream should be steady and without sputtering or gushing. It should flow like warm honey, not watery tea. The cone should remain centered and stable throughout the majority of the shot.
Watching these stages unfold perfectly is incredibly satisfying and is the visual confirmation that your grind, dose, distribution, and tamp are all working in harmony.
Common extraction problems revealed
When the extraction doesn’t look like the ideal scenario described above, your bottomless portafilter is telling you something is wrong. Here are the most common issues you’ll see and what they mean:
Channeling: This is the barista’s number one enemy. Channeling occurs when water finds a path of least resistance through the coffee puck instead of saturating it evenly. Visually, this appears as one or more aggressive, fast-flowing streams that are much lighter in color than the main flow. You may also see violent “spurts” of liquid shooting out from the basket. The resulting taste is disastrous: a combination of sourness from under-extracted parts of the puck and a harsh bitterness from the over-extracted channels.
Side channeling or uneven extraction: This is a less aggressive but still problematic issue where the extraction clearly starts on one side of the basket before moving to the others. The cone will form off-center and stay there. This indicates an uneven density in your puck, often caused by poor distribution of grounds before tamping or tamping at an angle. The final shot will lack balance and complexity.
Early blonding: Towards the end of any shot, the stream will naturally lighten in color from a dark brown to a more caramel, and finally, a pale blonde. This is normal. However, if your shot turns blonde very early—say, within the first 10-15 seconds—it’s a sign of severe under-extraction. This is often caused by a grind that is far too coarse, a dose that is too low for the basket, or significant channeling.
A systematic approach to fixing your shot
Seeing the problem is the first step; fixing it is the next. Diagnosing issues is about isolating variables. Your puck preparation—how you get the coffee from the grinder into the portafilter—is the most common source of problems revealed by a bottomless portafilter.
Your first focus should always be on creating an even, homogenous puck of coffee. This involves:
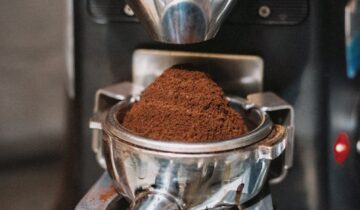
- Grind distribution: Clumps are a primary cause of channeling. Use a Weiss Distribution Technique (WDT) tool—a small tool with fine needles—to break up any clumps and evenly distribute the grounds in your basket.
- Tamping: Ensure you are tamping on a level surface. The goal is a level tamp, not a hard tamp. Apply firm, consistent pressure to compact the grounds evenly. An unleveled tamp creates uneven density, encouraging side channeling.
Once your puck prep is consistent, you can use the visual cues to “dial in” your grinder and dose. The table below offers a simple framework for troubleshooting.
| Visual problem | Likely cause(s) | Primary solution(s) |
|---|---|---|
| Spurting / Channeling | Clumps in grounds; uneven distribution; uneven tamp. | Use a WDT tool to break up clumps. Tamp evenly and levelly. |
| Off-center cone | Uneven ground distribution; tamping at an angle. | Focus on even distribution with WDT. Ensure your tamp is perfectly level. |
| Shot runs too fast and is blonde | Grind size is too coarse; dose is too low. | Adjust your grinder to a finer setting. Check that your dose weight is correct. |
| Shot chokes (drips very slowly) | Grind size is too fine; dose is too high. | Adjust your grinder to a coarser setting. Check that you haven’t overdosed the basket. |
Conclusion: Embrace the feedback loop
The bottomless portafilter is far more than an aesthetic upgrade for your espresso setup; it is the ultimate training tool. It demystifies the extraction process, providing a direct, unfiltered feedback loop that allows you to understand the impact of every action you take. By learning to identify the visual signs of channeling, uneven flow, and early blonding, you can move beyond guesswork. You can make precise, informed adjustments to your puck preparation and grind setting. While it can be frustrating to see your mistakes so clearly at first, embracing this feedback is the fastest way to improve. With practice, you will learn to translate those visual cues into delicious, balanced, and consistently great espresso shots every single time.

 No products in the cart.