Transitioning from steam to brew mode: How to cool down your gaggia quickly
There’s nothing quite like crafting the perfect latte or cappuccino at home. You’ve frothed your milk into a velvety microfoam, the Gaggia humming with the power of high-temperature steam. But now you face a common dilemma for owners of single-boiler machines: the unit is far too hot to pull a balanced espresso shot. Brewing at steam temperature will scorch your coffee, resulting in a bitter, unpleasant taste. This critical step, often overlooked by beginners, is managing the transition from steam back to brew temperature. This article will be your comprehensive guide to quickly and effectively cooling down your Gaggia, ensuring that your espresso shot is as perfect as your steamed milk, every single time.
Why temperature is king in espresso making
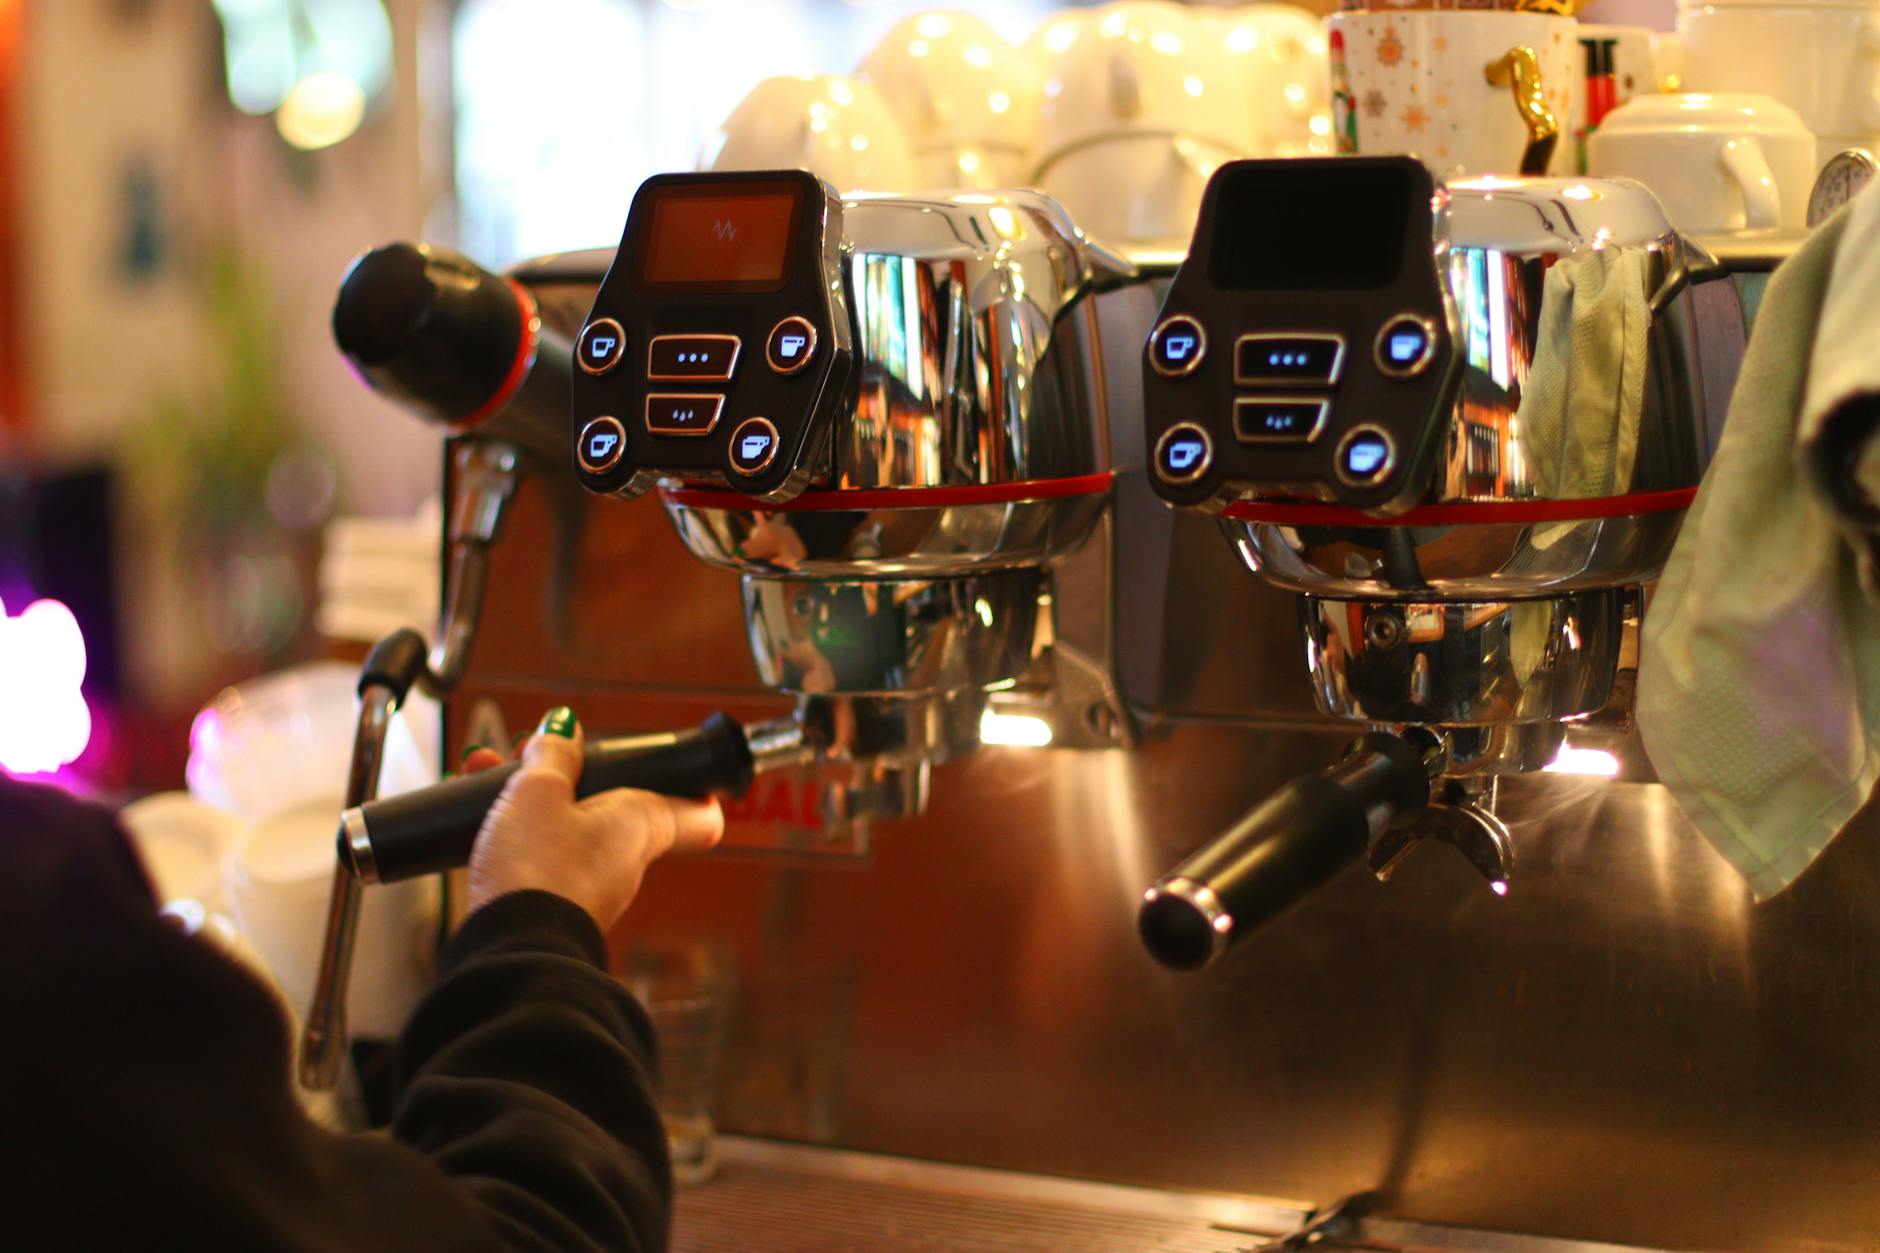
To understand why a rapid cool-down is necessary, you first need to understand how your Gaggia Classic or similar single-boiler, dual-use (SBDU) machine works. This brilliant piece of engineering uses a single heating element and boiler to perform two very different tasks: brewing espresso and steaming milk. Each task requires a drastically different temperature.
- Brewing temperature: The ideal range for extracting rich, balanced flavors from your coffee grounds is between 90-96°C (195-205°F). In this zone, the water properly dissolves the desired coffee solids and oils.
- Steaming temperature: To produce powerful, dry steam for frothing milk, the water in the boiler needs to reach a much higher temperature, typically around 140°C (285°F).
If you try to pull a shot immediately after steaming, you’re sending superheated water and steam through your coffee puck. This phenomenon, known as a “flash boil,” instantly vaporizes the water upon contact with the grounds, blasting channels through the puck and violently over-extracting the coffee. The result is a thin, acrid, and intensely bitter shot that no amount of perfectly steamed milk can save. Mastering the cool-down is not just a trick; it’s a fundamental skill for achieving café-quality results.
The cooling flush: Your primary technique
The most effective way to bring your boiler back down to brew temperature is by performing a “cooling flush.” This process involves purging the hot water and steam from the boiler and replacing it with cooler water from the reservoir. It sounds technical, but it’s a simple sequence that will quickly become second nature. While the “shot first, then steam” workflow is often recommended to avoid this process entirely, knowing how to cool down is essential if you prefer to steam first or need to pull a second shot after making a milk drink.
Here is the step-by-step method:
- Turn off the steam switch. This is the most important first step. It disengages the thermostat’s steam setting and stops the heating element from continuing to heat the boiler to steam temperatures.
- Position the steam wand. Place the steam wand over the drip tray or into a cup.
- Open the steam valve. Turn the steam knob to open the valve. This will release any residual steam pressure left in the boiler.
- Activate the brew switch. With the steam valve still open, turn on the main brew switch. This will activate the pump, which will begin to push cool water from the reservoir into the boiler, forcing the hotter water out through the steam wand.
- Watch the ready light. Run the water until the machine’s “ready” or temperature light turns on. This light indicates that the thermostat has detected the temperature drop and has re-engaged the heating element to bring the boiler back up to brewing temperature. This is your signal that the boiler is now in the correct range.
- Close the valve and stop the pump. Immediately close the steam valve and turn off the brew switch. Your machine is now at the perfect temperature to pull your shot.
Fine-tuning your workflow and technique
Once you’ve mastered the basic cooling flush, you can integrate it into a seamless workflow. The key is efficiency and consistency. Some baristas prefer a slightly different approach to the flush, choosing to purge water through the group head instead of the steam wand. This method has the added benefit of pre-heating your portafilter and cup, but it can be slightly slower at cooling the boiler since the steam wand outlet is positioned higher up, where the hottest water and steam naturally collect.
Ultimately, the best workflow for a single boiler machine to avoid the cool-down process altogether is to pull your espresso shot first. The sequence would be:
- Prepare your puck and pull your espresso shot into your cup.
- Immediately after the shot is finished, flip on the steam switch.
- While the machine heats up to steam temperature (usually 30-60 seconds), you can pour your milk into your pitcher.
- Steam your milk.
- Combine with your fresh espresso and serve.
This method ensures your espresso is at its peak freshness and eliminates any waiting time for the machine to cool down, making it the most efficient process for making a single milk-based drink.
Comparing cooldown methods
Active cooling is far superior to simply waiting for the machine to cool on its own. To put it in perspective, here is a comparison of the different approaches you can take after you finish steaming.
| Method | Approximate Time | Pros | Cons |
|---|---|---|---|
| Waiting (Passive) | 10-15 minutes | Requires no action. | Extremely slow; espresso quality degrades if left waiting. Impractical. |
| Cooling Flush (Steam Wand) | 20-30 seconds | Fastest method. Efficiently purges steam and hot water from the top of the boiler. | Requires refilling the water tank more often. |
| Cooling Flush (Group Head) | 30-45 seconds | Heats the portafilter and cup simultaneously. | Slightly slower than the steam wand method; can be messier. |
| “Shot First” Workflow | 0 seconds (No cooling needed) | Most efficient workflow. No downtime. Freshest espresso. | Requires a change in habit if you are used to steaming first. |
Conclusion
Managing the temperature of your Gaggia single-boiler machine is the key that unlocks its full potential. The significant temperature gap between steaming milk and brewing espresso makes a proper cool-down procedure absolutely essential. As we’ve explored, the cooling flush, performed by running cool water through the system via the steam wand, is a quick and highly effective technique that takes less than a minute. While adopting a “shot first, then steam” workflow is the most efficient method for single drinks, knowing how to perform a cooling flush is a non-negotiable skill for any home barista. By taking these extra 30 seconds to manage your machine’s temperature, you are ensuring your espresso is never a bitter, scorched afterthought, but rather the rich, balanced, and delicious heart of your homemade coffee creations.


 No products in the cart.