The allure of a perfect, café-quality espresso at home is a powerful motivator for any coffee lover. However, the reality of a groggy, time-crunched morning can quickly turn this delightful ritual into a source of stress. Fumbling for beans, waiting for the machine to heat up, and a messy countertop can make that store-bought coffee seem tempting again. This article is for anyone looking to reclaim their morning coffee moment. We will explore a series of practical, easy-to-implement strategies to optimize your home espresso workflow. By focusing on preparation, technique, and smart tool usage, you can transform your brewing process into a fast, consistent, and deeply satisfying part of your daily routine, ensuring a perfect shot without the morning rush.
The art of mise en place: Preparing the night before
In professional kitchens, chefs live by the principle of mise en place, which translates to “everything in its place.” This philosophy is the single most effective way to cut down your morning brew time. By dedicating just two minutes the night before, you eliminate morning decision-making and frantic searching. Start by filling your espresso machine’s water reservoir. Next, weigh out your whole beans for the next day’s coffee and place them in a small dosing cup or directly into your single-dose grinder’s bellows. Set your entire kit out on the counter: your portafilter, tamper, scale, WDT tool, and your favorite cup. Having every component ready and waiting transforms the process from a scattered assembly project into a smooth, linear sequence of actions.
Dialing in your gear for speed and consistency
Your equipment can either be a bottleneck or a catalyst for speed. The biggest time sink for most espresso machines is the warm-up period, which can take anywhere from 10 to 30 minutes. The solution is simple and affordable: a smart plug. For a small investment, you can schedule your machine to turn on automatically before your alarm goes off. This means you walk up to a machine that is fully heated, pressure-stable, and ready to brew instantly.
Beyond the machine, consider your grinder and accessories. If you use a single-dosing grinder, pre-weighing beans for several days at a time and storing them in small, airtight containers can be a game-changer. You just grab one and grind. Furthermore, small tools make a big difference in reducing mess and improving consistency, which saves you from re-pulling a bad shot.
- Dosing funnel: This simple ring sits on your portafilter and prevents coffee grounds from spilling over the sides, saving you precious coffee and cleanup time.
- Self-leveling tamper: A calibrated, self-leveling tamper ensures a perfectly flat and consistent tamp every time, removing a key variable and a point of potential error from your routine.
Streamlining the shot-pulling process
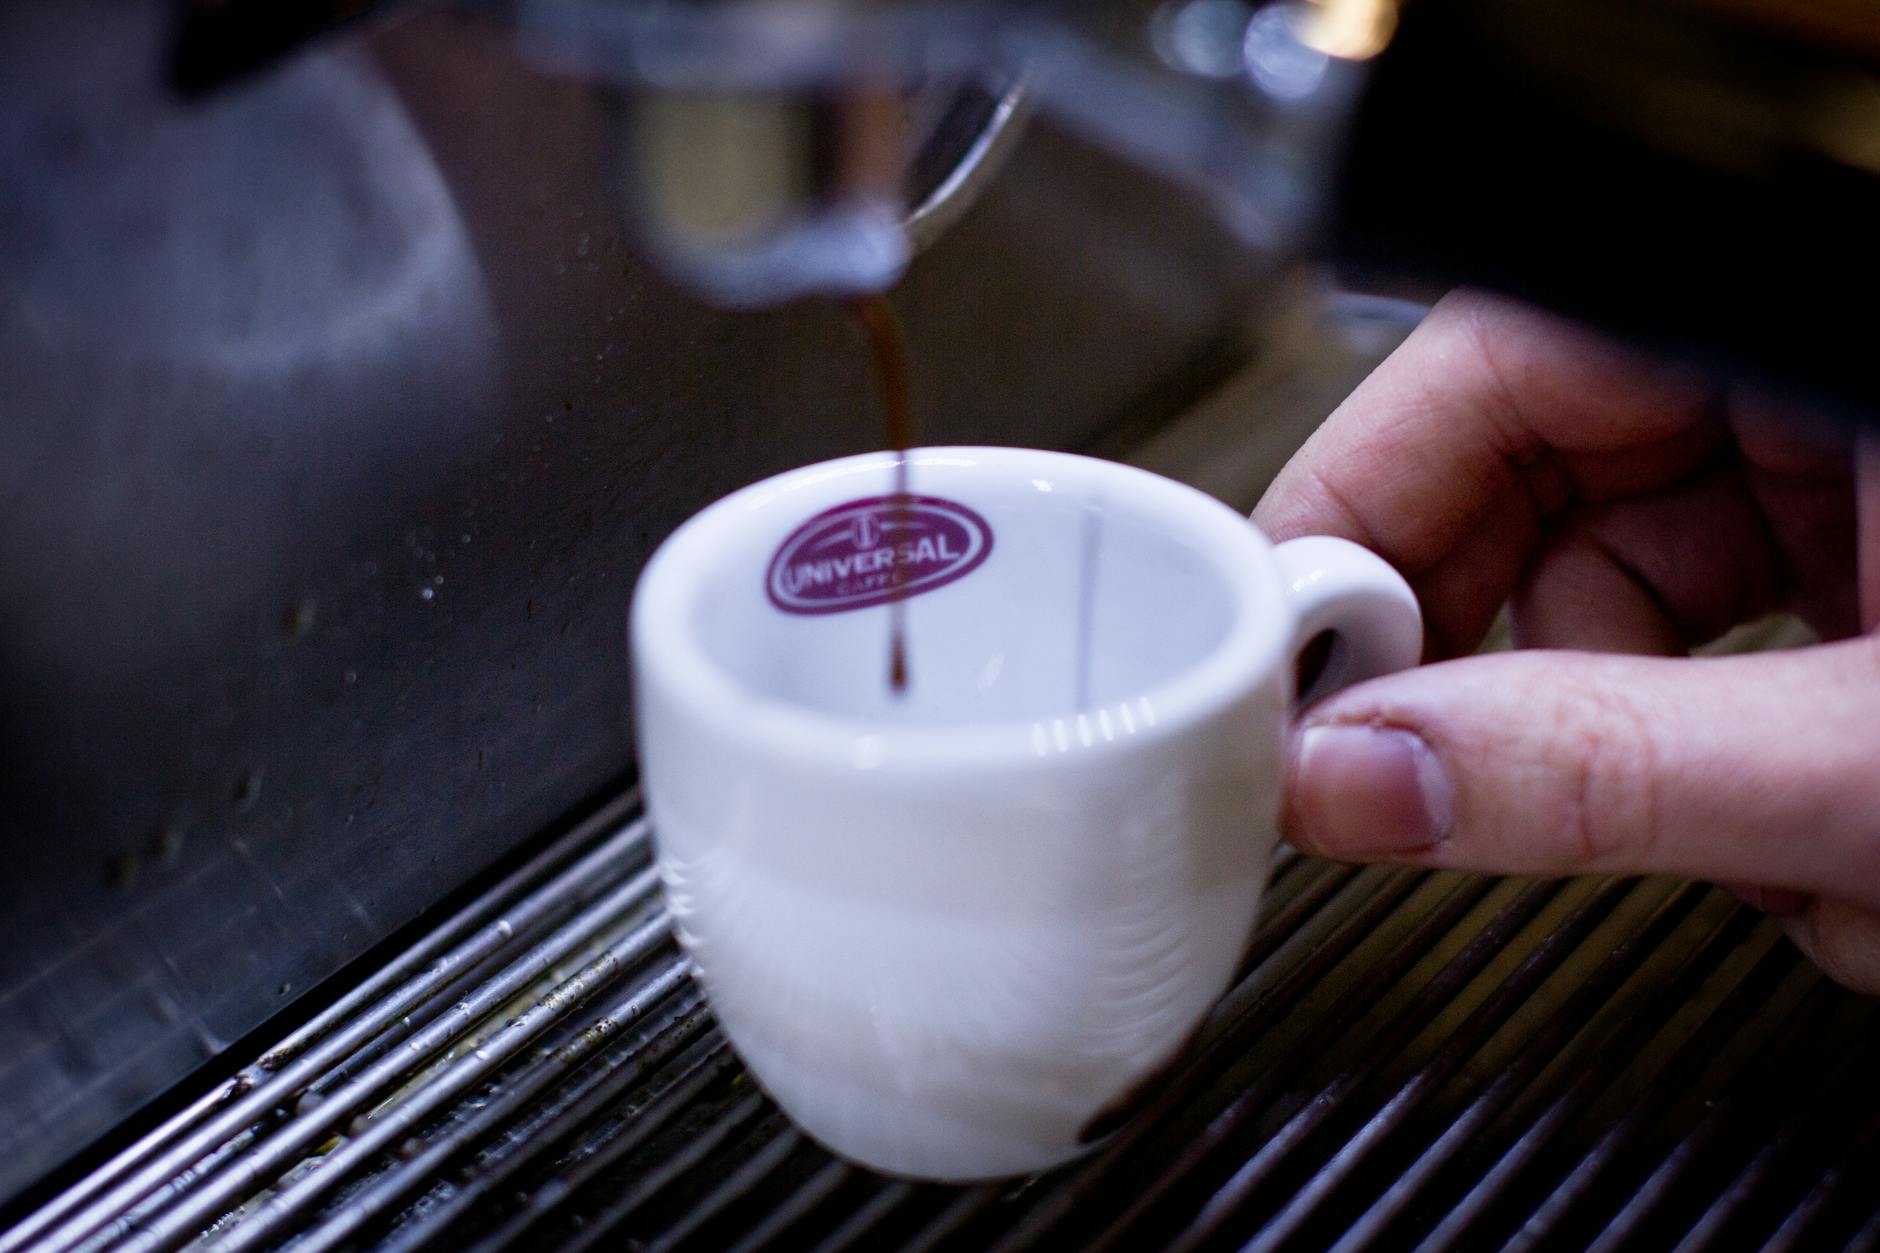
With your station prepared and your machine hot, the physical act of pulling the shot should be a fluid, uninterrupted dance. The goal is to eliminate wasted motion. As you approach your machine, begin by purging the group head with hot water; this clears out old grounds and stabilizes the temperature. While it purges, grab your portafilter. After grinding your pre-weighed beans into the portafilter (using your funnel), a quick distribution with a WDT tool ensures an even bed of coffee. Give the portafilter a single, firm tap on the counter to settle the grounds, then tamp.
Lock the portafilter into the group head, place your scale and cup underneath, and immediately start the shot. There should be no hesitation between steps. While the espresso is extracting—that magical 25 to 35 seconds—you have a perfect window to grab your milk from the fridge and a pitcher if you’re making a latte or cappuccino. It’s all about parallel processing instead of sequential, static steps.
Here’s how a small shift in workflow can impact your time:
| Chaotic workflow | Streamlined workflow |
|---|---|
| 1. Turn on machine (wait 15 min). | 1. Approach pre-heated machine. |
| 2. Find and weigh beans. | 2. Grind pre-weighed beans. |
| 3. Grind, spilling grounds on counter. | 3. WDT, tap, and tamp. |
| 4. Look for tamper. Tamp unevenly. | 4. Lock portafilter and start shot. |
| 5. Pull shot. Realize it’s bad. Repeat. | 5. Get milk while shot pulls. |
| Total time: 20-25 minutes | Total time: 3-5 minutes |
The clean-as-you-go philosophy
Nothing sours a great coffee experience like turning around to a messy station. The “clean-as-you-go” philosophy is your best defense against a dreaded cleanup session. This isn’t about a deep clean; it’s about integrating tiny, immediate actions into your brewing rhythm. The moment your espresso shot is finished, your work isn’t done. Immediately knock the used coffee puck into a knock box or compost bin. A wet puck is much easier to dislodge than a dry one. Use a dedicated cloth to wipe the portafilter basket clean. Then, lock the clean portafilter back into the group head to keep it warm for your next use. Finally, give the group head one last quick purge to flush away any remaining oils and grounds. These steps take less than 20 seconds combined but prevent the buildup of coffee residue that can impact flavor and require significant scrubbing later.
In summary, transforming your morning espresso routine from a chore into a joy is entirely achievable through conscious optimization. It begins the night before with a simple mise en place, ensuring everything is ready for you. Leveraging technology like a smart plug to pre-heat your machine eliminates the single biggest time delay. From there, it’s about creating a fluid, repeatable sequence of actions—grind, prep, pull—with minimal wasted movement. Finally, integrating a “clean-as-you-go” mentality keeps your space tidy and your equipment in top condition. By adopting these strategies, you’re not just making coffee faster; you are cultivating a mindful and rewarding ritual that produces consistently excellent espresso and sets a positive tone for the rest of your day.

 No products in the cart.