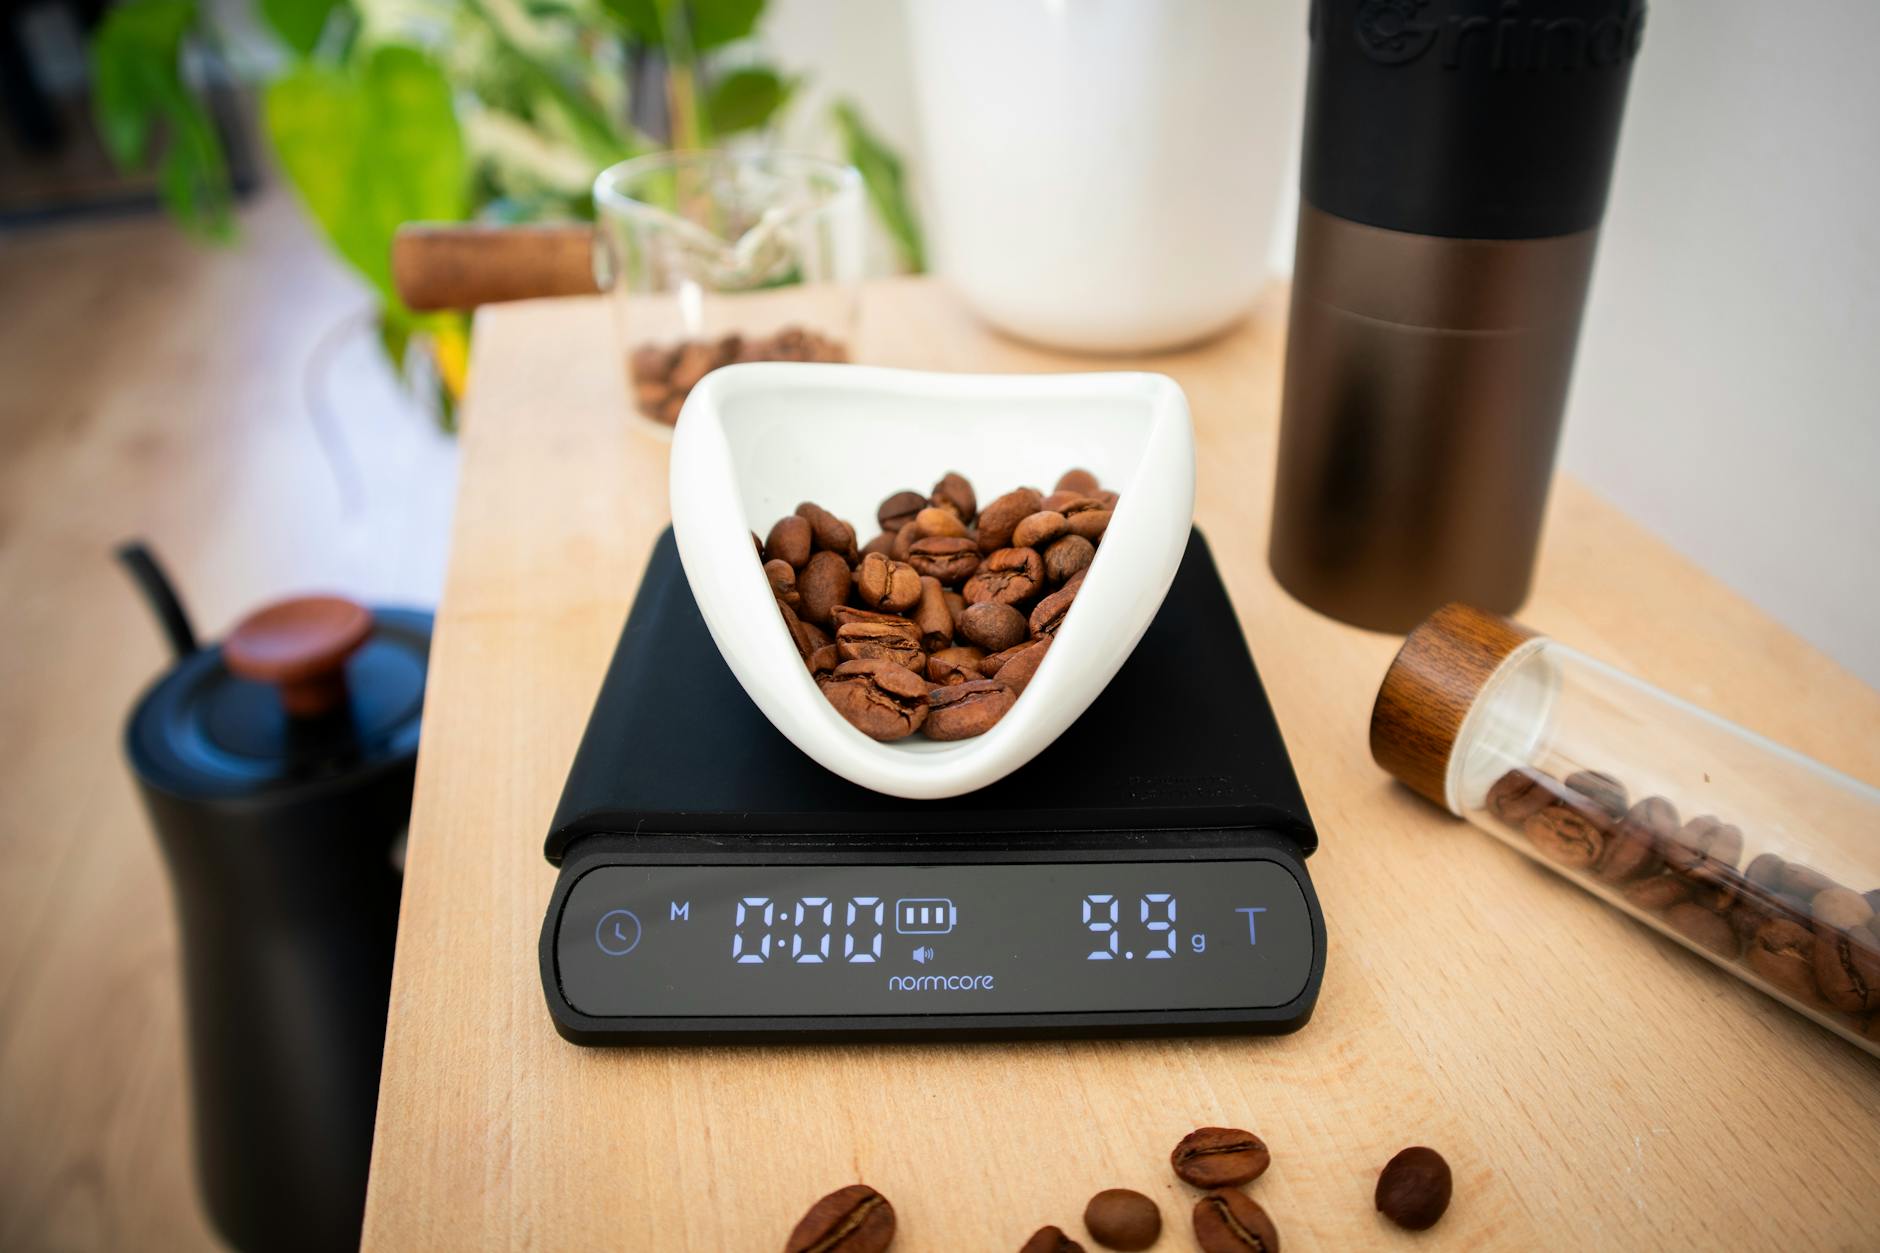
The ultimate guide to pre-heating your Flair brew chamber
The Flair Espresso Maker is a marvel of manual brewing, giving you direct control over every variable in the espresso-making process. From grind size to pressure profiling, you are the barista. However, there is one crucial variable that often gets overlooked by new users: temperature. The solid stainless steel brew chamber, while durable, is a significant heat sink. It can rob your brew water of precious degrees, leading to sour, under-extracted shots. This guide will explore why pre-heating your Flair brew chamber isn’t just a suggestion; it’s a non-negotiable step for unlocking the rich, sweet, and complex flavors your coffee beans have to offer. We’ll dive into the best methods, advanced techniques, and how to perfect your thermal workflow.
Why pre-heating is non-negotiable for great Flair espresso
To understand the importance of pre-heating, we need to talk about thermal mass. Your Flair’s brew chamber is a heavy piece of metal designed to withstand high pressure. This density means it requires a lot of thermal energy to heat up. When you pour boiling water into a cold chamber, a significant amount of heat is instantly transferred from the water to the metal, causing your brew temperature to plummet. For espresso, brew temperature is everything. It governs which flavor compounds are extracted from the coffee grounds and at what rate.
If your water is too cool, you’ll primarily extract the acids, resulting in a shot that tastes unpleasantly sour and thin. You miss out on the sugars and oils that provide sweetness, body, and balance. This is especially critical for light roast coffees, which are less soluble and require higher temperatures to properly extract their delicate floral and fruity notes. While darker roasts are more forgiving, they still benefit immensely from proper temperature management, yielding a richer crema and a smoother, less bitter cup. By pre-heating, you are essentially “priming” the brew chamber, ensuring that the water you pour in stays close to its initial temperature throughout the entire extraction process.
The most effective pre-heating methods
Getting your brew chamber hot is the goal, but how you get there can vary. Your choice of method may depend on your specific Flair model, your kitchen setup, and how much time you have. Here are the three most popular and effective methods, ranging from simple to most thorough.
- The steam method: This is a simple and widely used technique. Simply place the brew chamber on the spout of a steaming kettle as it comes to a boil. The escaping steam will efficiently heat the metal from the inside out. For best results, use a silicone cap or the dosing funnel on top of the chamber to trap the steam, allowing it to get even hotter. This method is quick, clean, and uses the same kettle you’re using for your brew water.
- The immersion method: For the most thorough and even pre-heat, nothing beats full immersion. Submerge the brew chamber (and the piston, for even better results) in a mug or small bowl and fill it with boiling water. Let it sit for at least a minute while you prepare your coffee puck. This ensures every part of the assembly is saturated with heat. The only downside is that you have to handle hot, wet components, so be sure to use a towel or the silicone grip to handle the chamber safely.
- The double-fill method: If you’re in a hurry, this method is better than nothing. Assemble the brew chamber and place it on your cup. Fill it with boiling water and let it sit for about 30 seconds. Discard this water, and then immediately fill it again with your measured brew water to pull your shot. While this technique won’t get the chamber as hot as the other two methods, it will take the cold edge off the steel and can be sufficient for medium to dark roasts.
Advanced techniques for temperature mastery
Once you’ve mastered the basic methods, you can start refining your workflow to achieve ultimate control and consistency. These advanced techniques are what separate a good shot of Flair espresso from a great one. The key is to think about the entire system, not just the brew chamber.
First, pre-heat the piston. The piston is another piece of metal that comes into contact with your brew water. If it’s cold, it will also suck heat away. If you are using the immersion method, always submerge the piston along with the chamber. If you are steam pre-heating, you can let the piston rest in a separate cup of hot water.
Second, get visual feedback. Attaching a simple, inexpensive thermo-adhesive strip to the outside of your brew chamber is a game-changer. These strips change color to indicate the temperature, giving you a tangible target to aim for. Most baristas aim for a chamber temperature of around 90-95°C (194-203°F) just before brewing. This eliminates the guesswork and helps you build a repeatable routine.
Finally, consider your starting water temperature. To compensate for the small amount of heat loss that will inevitably occur when you transfer water from the kettle to the Flair, always start with water that is hotter than your desired brew temperature. For light roasts, this almost always means using water directly off the boil (100°C / 212°F).
Impact of pre-heating on brew temperature
This table illustrates a simplified example of how different pre-heating levels can affect the final temperature of the water as it hits the coffee grounds.
| Pre-Heat Level | Chamber Temperature | Starting Water Temperature | Estimated Brew Temperature |
|---|---|---|---|
| None | 20°C / 68°F | 100°C / 212°F | ~80°C / 176°F (Sour) |
| Partial (Double-Fill) | 65°C / 149°F | 100°C / 212°F | ~88°C / 190°F (Better) |
| Thorough (Steam/Immersion) | 95°C / 203°F | 100°C / 212°F | ~94°C / 201°F (Ideal) |
Troubleshooting common pre-heating issues
Even with the best intentions, you might run into some roadblocks. If your shots are still tasting sour despite pre-heating, the answer is almost always to pre-heat hotter or longer. Don’t be afraid to leave the chamber on the steam spout for an extra minute or let it soak in boiling water while you grind and tamp. Also, double-check that you are pre-heating the piston. This small component makes a surprisingly big difference.
Another common concern is that the process feels like too much of a hassle. The key is to build it into your workflow. Start your kettle boiling first. While it heats up, you can weigh your beans, grind them, and do your puck prep. By the time you’re ready to brew, the kettle will be boiling, and your pre-heating step will only add about a minute to the total process. Think of it not as a chore, but as a small ritual that is essential for a delicious outcome. The few extra moments of preparation are a small price to pay for the massive improvement in the final taste of your espresso.
In conclusion, mastering temperature management is the final frontier for most Flair users. It is the key that unlocks the ability to pull consistently sweet, balanced, and complex shots of espresso that can rival those from machines costing thousands of dollars. We’ve established that pre-heating is not optional; it is a fundamental requirement to counteract the thermal mass of the stainless steel brew chamber. By choosing a method that works for you—whether it’s the convenience of steam, the thoroughness of immersion, or the speed of a double-fill—you take control of extraction. Incorporating advanced tips like pre-heating the piston and using a temperature strip will elevate your skills even further, turning guesswork into a precise and repeatable science. Embrace the process, and you’ll be rewarded with café-quality espresso in your own kitchen.

 No products in the cart.