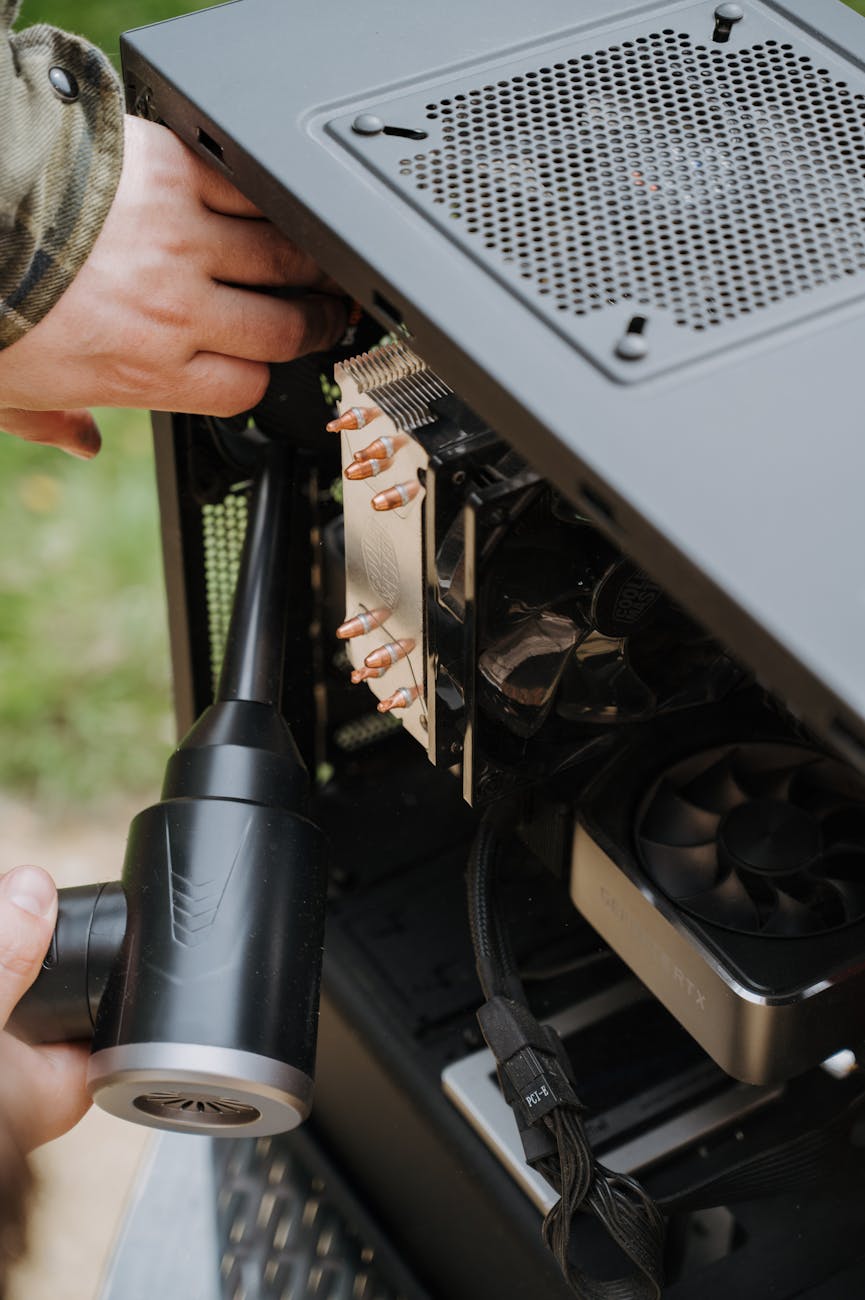
Cleaning and maintaining electronic components inside your machine
For the dedicated home barista, maintaining an espresso machine often focuses on the water path: descaling boilers, backflushing group heads, and cleaning portafilters. However, the electronic components that control temperature, pressure, and timing are just as critical to performance and longevity. Over time, internal exposure to moisture, steam, and fine coffee dust can lead to corrosion, short circuits, or sensor failure. Understanding how to safely inspect and clean these delicate parts is not just about preventative maintenance; it is about preserving the precision and reliability of your machine. This guide provides a technical framework for experienced users to confidently care for the electronic heart of their equipment.
Understanding the risks: moisture and electronics
The environment inside an espresso machine is inherently hostile to electronic components. The primary adversaries are moisture, heat, and coffee particulates. Even in a well-maintained machine, small, undetected leaks from fittings or seals can introduce water and steam into areas housing circuit boards, wiring harnesses, and sensors. When moisture combines with dust, it creates a conductive residue that can bridge connections on a circuit board, leading to a short circuit. More insidiously, prolonged exposure to dampness initiates galvanic corrosion, a process where electrical current flowing between two different metals in the presence of an electrolyte (like mineral-rich water) degrades contacts, solder joints, and traces on the printed circuit board (PCB).
Essential tools and safety precautions
Before beginning any work, safety is the absolute priority. Always disconnect the machine from the power source by unplugging it from the wall outlet. Simply turning it off is not sufficient, as power may still be present in some circuits. Allow the machine to cool completely to avoid the risk of burns and to ensure electronic components are at a stable temperature.
Your toolkit for this task should be simple and non-aggressive:
- Compressed air: For removing dry dust and coffee grounds from components without physical contact.
- Isopropyl alcohol (99%): An effective solvent for cleaning residue from PCBs and electrical contacts that evaporates quickly without leaving its own film.
- Soft-bristle brushes: Natural-hair or anti-static brushes are ideal for gently dislodging stubborn dust from tight spaces.
- Microfiber cloths: For wiping down surfaces and handling components without leaving lint.
Never use harsh chemical cleaners, abrasive materials, or excessive amounts of liquid. The goal is precision cleaning, not flooding the components.
A systematic approach to internal cleaning
Once the machine is unplugged and cool, remove the outer panels to access the internal components. Begin with a visual inspection, looking for obvious signs of trouble: white or green crystalline residue indicating mineral deposits from a leak, darkened areas on circuit boards suggesting heat damage, or frayed wire insulation. Use compressed air to blow out loose dust and coffee particles, directing the airflow away from sensitive sensors. For more persistent grime on a circuit board, apply a small amount of 99% isopropyl alcohol to a soft brush or cotton swab and gently clean the affected area. Work methodically and avoid applying pressure to delicate solder joints or components. Pay special attention to wiring connectors and terminals, ensuring they are clean and securely seated.
Preventative maintenance and inspection
Proactive care is more effective than reactive repair. A regular inspection schedule, perhaps every six months, can help you identify potential issues before they escalate. During these checks, focus on the integrity of water lines and fittings, especially those near electronic boards. A small, slow leak is a common culprit for electronic failure. Ensure the machine has adequate ventilation to allow internal heat and humidity to dissipate. Examine wiring for any signs of chafing against the chassis or brittleness from heat exposure. Proactively addressing a minor leak or securing a loose wire can prevent a costly and complex electronic repair down the line.
In conclusion, maintaining the electronic components of your espresso machine is a vital extension of routine coffee-focused cleaning. It demands a different, more delicate approach centered on safety and precision. By understanding the risks of moisture and heat, using the correct tools, and adopting a systematic cleaning and inspection routine, you can significantly enhance the reliability and lifespan of your equipment. A dry, clean internal environment is the key to consistent performance. This proactive mindset protects your investment and ensures the machine operates as intended. For baristas seeking to maintain their equipment, a range of specialized tools is available at papelespresso.com.


 No products in the cart.