Reverting your Gaggia Classic to stock: What you need to know
The Gaggia Classic is a legend in the home espresso community, celebrated for its robust build and, most importantly, its remarkable potential for modification. Many users spend years upgrading their machines with PID controllers, pressure gauges, and enhanced steam wands, chasing the perfect shot. However, there comes a time when reverting these modifications becomes necessary. Whether you are selling your machine, diagnosing a persistent issue, or simply returning to a simpler workflow, the process of restoring a Gaggia Classic to its original factory state requires careful attention to detail. This guide provides a technical walkthrough for experienced users on how to properly revert your machine, ensuring it functions as reliably as it did on day one.
Why revert a modified Gaggia Classic?
The decision to undo carefully installed modifications may seem counterintuitive, but there are several practical reasons for returning a Gaggia Classic to its stock configuration. The most common motivation is selling the machine. A stock machine is often more appealing to a broader market of buyers who may not be familiar with or desire specific aftermarket upgrades. A factory-standard machine presents a clean, predictable starting point for a new owner.
Another critical reason for reversion is troubleshooting. When a machine with multiple modifications begins to exhibit problems such as inconsistent temperature, pressure fluctuations, or electrical faults, the upgrades themselves can complicate diagnosis. By systematically removing modifications and testing the machine at each stage, you can isolate the source of the problem more effectively. This methodical process of elimination is a standard diagnostic procedure in many technical fields and is equally applicable to espresso hardware. Reverting to stock provides a baseline, making it easier to identify whether the issue lies with a modification or an original component.
The reversion process: Key areas to address
Reverting a Gaggia Classic primarily involves the removal of three popular modifications: the PID controller, the aftermarket OPV spring, and the upgraded steam wand. Each of these components requires a different approach. Before you begin, ensure the machine is unplugged and has cooled down completely. It is also wise to have the original parts you removed, as finding stock Gaggia components can sometimes be challenging.
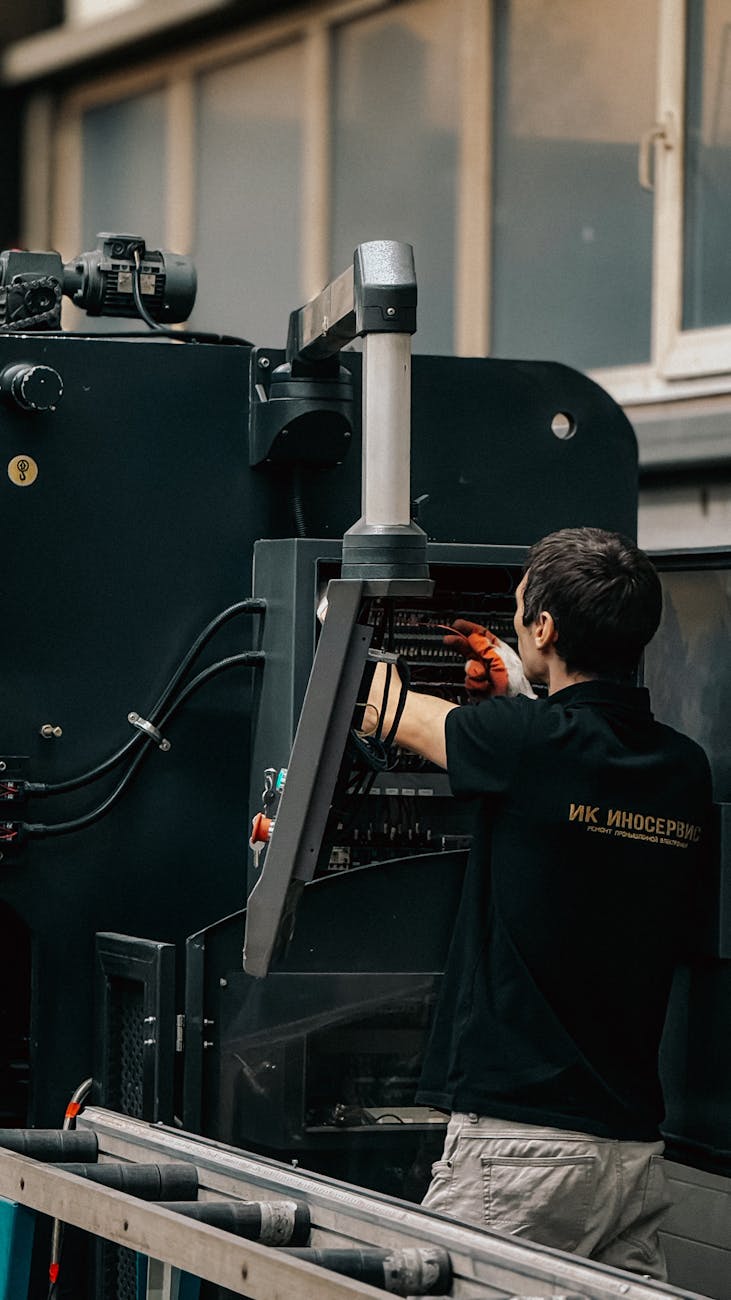
- PID controller removal: This is often the most complex part of the reversion. It involves carefully disconnecting the solid-state relay (SSR) and the PID unit from the machine’s wiring. You will need to reconnect the original brew and steam thermostats. It is crucial to follow the Gaggia Classic’s original wiring diagram to ensure all connections are restored correctly. Failure to do so can result in electrical damage or improper function.
- OPV spring replacement: Many users install a lower-pressure spring in the over-pressure valve (OPV) to achieve a brew pressure of around 9 bars. To revert this, you must simply swap the aftermarket spring with the original Gaggia spring. This is a straightforward mechanical change, but be sure to reassemble the OPV correctly to prevent leaks.
- Steam wand restoration: If you replaced the original steam wand with a more powerful alternative, such as a Rancilio Silvia wand, reverting involves uninstalling the aftermarket wand and reinstalling the Gaggia original. This typically requires accessing the steam valve assembly and ensuring a secure, leak-free fit.
Restoring the original wiring and plumbing
The integrity of your machine post-reversion depends on the correct restoration of its electrical and water pathways. When removing a PID, you are essentially re-engaging the factory thermostats that the PID bypassed. Trace the wiring from the brew and steam thermostats to their original connection points on the main power switch and heating element. Use a wiring diagram for your specific model of Gaggia Classic, as there have been variations over the years. Incorrect wiring is a safety hazard and can lead to component failure.
Similarly, when restoring the OPV and steam wand, pay close attention to the plumbing. Ensure all threaded connections are secure and that any O-rings or gaskets are in good condition. After reassembly, it is advisable to perform a preliminary test with the top cover of the machine removed. This allows you to visually inspect for any water leaks from the boiler, steam valve, or OPV assembly as the machine heats up and comes to pressure. Catching a small leak early can prevent more significant water damage to the machine’s internal components.
Final testing and calibration
Once you have reverted all modifications and confirmed there are no leaks or obvious electrical issues, the final step is to test the machine’s performance. With the stock thermostats back in control, the machine will exhibit a wider temperature swing during operation, which is normal for a non-PID Gaggia Classic. Run several brew cycles to confirm that the brew thermostat is engaging and disengaging correctly. Test the steam function to ensure the steam thermostat is also working as expected and that the original steam wand is producing steam.
It is also a good idea to measure the output of the OPV to confirm that the pressure is back to its factory setting, typically around 12-14 bars. While this is higher than the specialty coffee standard of 9 bars, it is the correct stock setting for the machine. This final series of tests will verify that the reversion was successful and that the machine is operating safely and reliably according to its original design parameters.
For those who need to ensure their espresso puck is prepared with consistency after altering their machine’s setup, a quality distribution tool can be invaluable. A well-designed tool helps to create a uniform density, which is crucial for even extraction, especially when dealing with the higher pressure of a stock machine. Using a device such as the papelespresso The Needle can help you achieve a more consistent puck preparation, leading to better shot quality.
Conclusion
Reverting a Gaggia Classic to its stock configuration is a process that demands precision and a clear understanding of the machine’s original design. Whether for resale, troubleshooting, or a return to a simpler workflow, the key lies in methodical work and careful attention to the electrical and plumbing systems. By restoring the original thermostats, OPV spring, and steam wand, you return the machine to its factory-calibrated state. This not only ensures reliable performance but also provides a known baseline for any future diagnostics or modifications. The process reinforces an appreciation for the Gaggia Classic’s straightforward engineering and its capacity for both complex customization and simple, robust operation. For those continuing their espresso journey, the right preparation tools, available from retailers like papelespresso.com, remain essential for achieving consistency shot after shot.

 No products in the cart.