The Gaggia Anima is a capable super-automatic machine, yet its performance is fundamentally tied to the condition of its ceramic grinding burrs. For the experienced home barista, understanding how to properly maintain these components is not merely a matter of routine cleaning; it is essential for achieving consistent espresso extraction and protecting the longevity of the machine. An improperly maintained grinder can lead to inconsistent particle size, channeling, and ultimately, a compromised cup. This guide provides a technically focused overview of the procedures for cleaning, calibrating, and troubleshooting the Anima’s ceramic burr set, ensuring that every shot pulled is based on a uniform and predictable grind, which is the foundation of quality espresso.
Understanding the Anima’s ceramic burr set
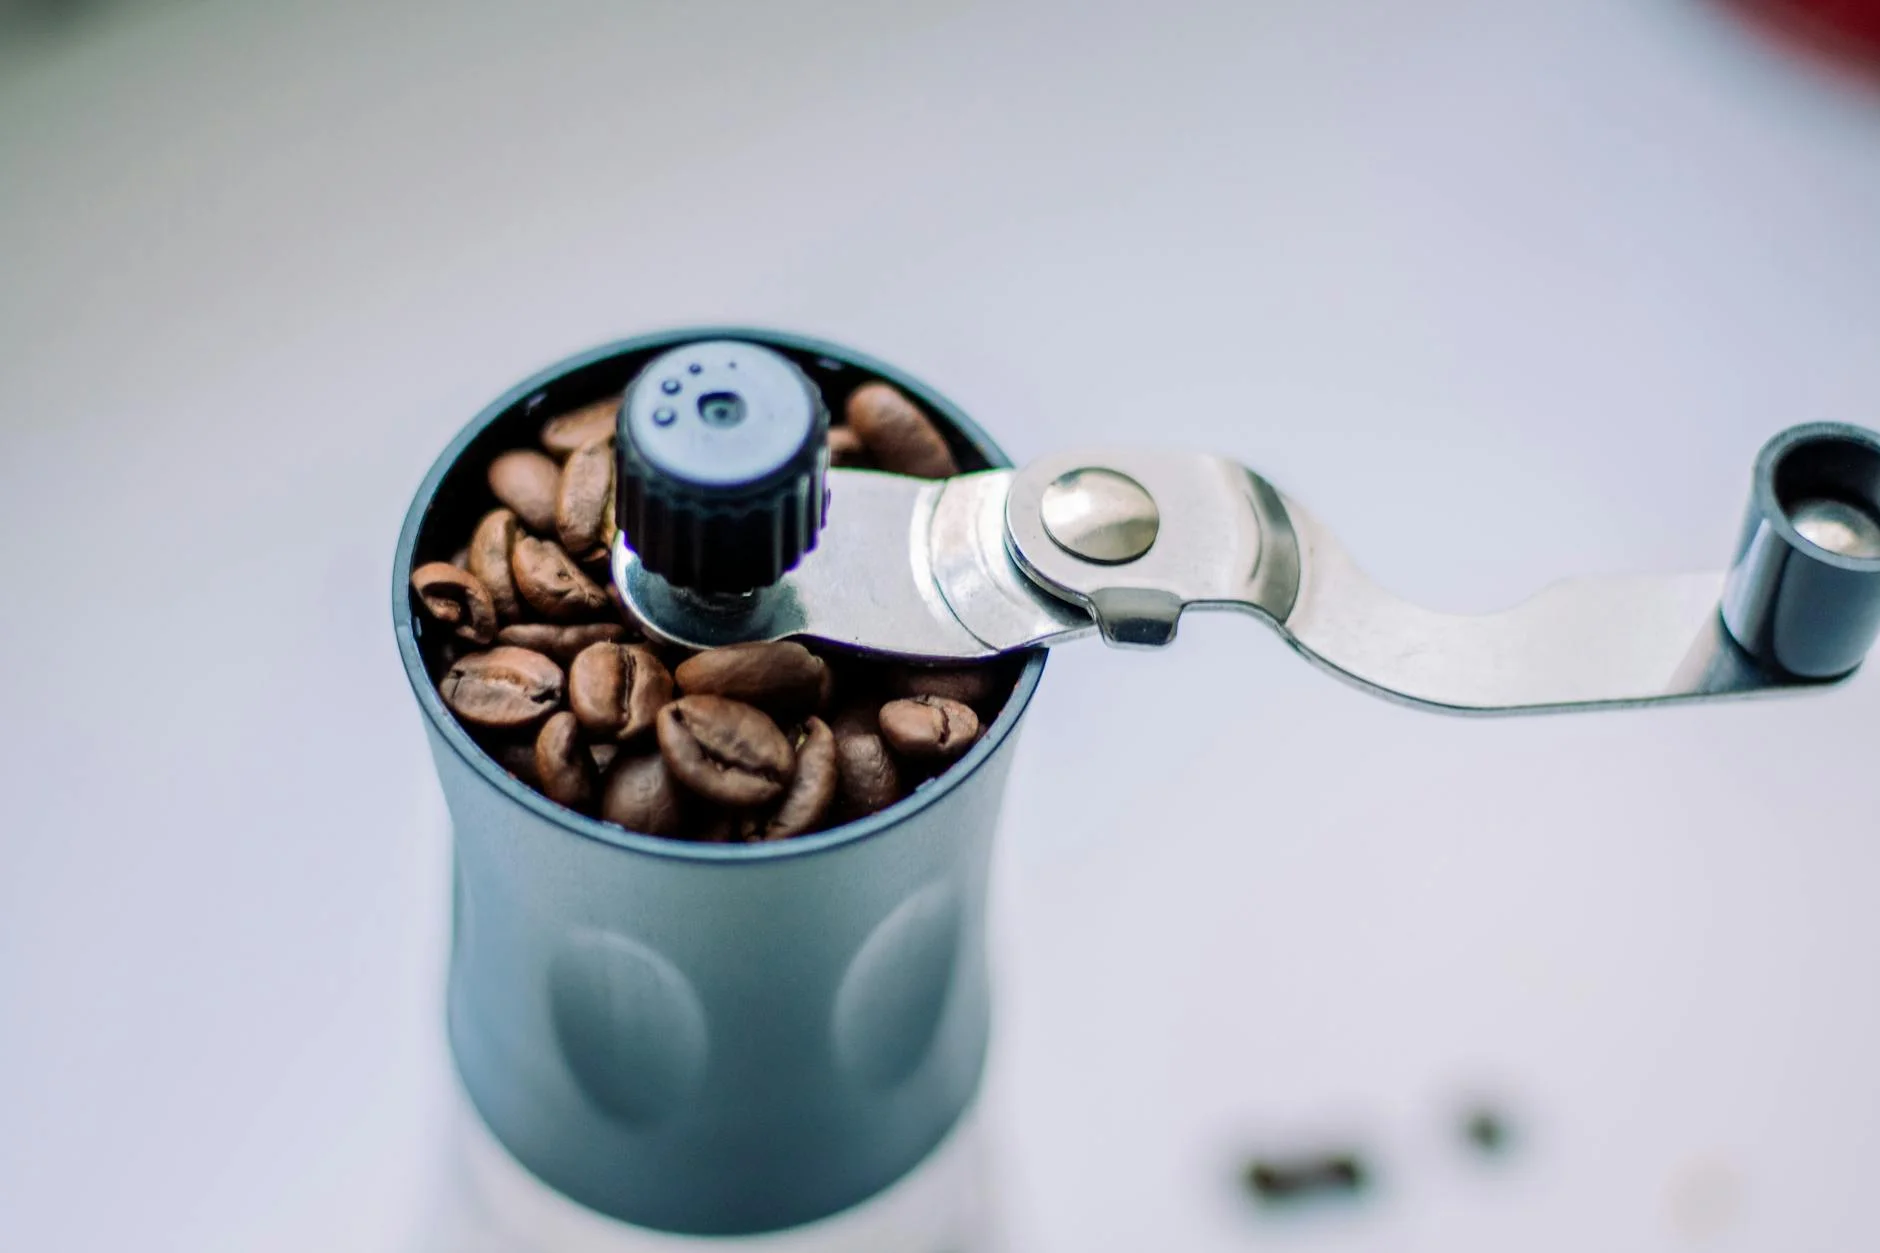
Unlike steel burrs, the ceramic burrs in the Gaggia Anima offer distinct advantages, including reduced heat transfer during grinding and exceptional hardness, which contributes to their longevity. Heat generated by grinding can negatively affect the volatile aromatic compounds in coffee beans, and ceramic’s lower thermal conductivity helps mitigate this risk. However, ceramic is also more brittle than steel. This characteristic demands a careful approach during maintenance, as dropping a burr or attempting to grind a foreign object like a small stone can cause it to fracture.
The Anima’s grinder assembly consists of a stationary lower burr and a rotating upper burr. The grind size is adjusted by changing the distance between these two surfaces. Over time, coffee oils and fine particles accumulate on the burr faces and in the surrounding chamber, which can lead to stale flavors and inconsistent grind particle distribution.
Routine cleaning for performance consistency
Regular cleaning is the most effective way to prevent the buildup of coffee residue. For routine maintenance, a full disassembly is not always necessary. The primary goal is to remove loose grounds and oils from the grinding chamber and chute.
- Purging old grounds: Before each session, it is good practice to grind a small amount of beans (1-2 grams) to purge any stale grounds left over from the previous use.
- Using grinder cleaning pellets: Periodically running grinder cleaning pellets through the machine can effectively absorb and remove coffee oils and residue. This should be done according to the manufacturer’s instructions, typically by grinding a small capful of the pellets, followed by grinding and discarding a dose of coffee beans to remove any pellet residue.
- Brushing the exit chute: The area where grounds exit into the brew group can become clogged. A small, stiff brush can be used to clear this pathway and ensure a consistent flow of fresh grounds for each cycle.
Deep cleaning and burr removal
A more thorough cleaning is required every few months, or more frequently depending on use and the type of coffee beans (oily beans require more frequent cleaning). This process involves removing the upper burr to gain direct access to the grinding chamber.
Step-by-step disassembly:
- Ensure the machine is unplugged and the bean hopper is empty. Use a vacuum to remove any remaining beans.
- Remove the screws securing the bean hopper and lift it out.
- The upper burr carrier is now visible. It is typically held in place by several screws. Carefully remove these screws while taking note of their placement.
- Gently lift the upper burr assembly straight up. It may be snug, so a careful, even pull is required. Avoid using tools to pry it out, as this can damage the plastic carrier or the burr itself.
- With the upper burr removed, the lower burr and grinding chamber are exposed. Use a vacuum and a stiff, non-metallic brush to thoroughly clean all coffee grounds and residue from both burrs and the surrounding area.
Pay close attention to the threads on the burr carrier and the adjustment mechanism, as clean threads are crucial for precise grind size control.
Reassembly and calibration
Proper reassembly and calibration are critical to restoring the grinder’s performance. An incorrectly seated burr will produce a highly inconsistent grind.
After ensuring all components are clean and dry, carefully place the upper burr back into its housing. It should sit flush and stable. Re-insert and tighten the screws, applying gentle, even pressure to avoid stripping the plastic housing. Once the bean hopper is re-secured, you must calibrate the grinder’s zero point. This is typically done by running the grinder and carefully adjusting the grind setting towards its finest point until you hear a faint “chirping” sound as the burrs touch. Immediately back it off one or two settings from that point. This becomes your new reference point for dialing in your grind.
Conclusion
Maintaining the ceramic burrs of the Gaggia Anima is a straightforward process that pays significant dividends in espresso quality and machine reliability. The key is a consistent routine of light cleaning combined with periodic deep cleaning to remove accumulated oils and fines. Understanding the material properties of ceramic burrs informs a more careful and precise maintenance approach. By integrating these steps into your workflow, you ensure the grinder performs at its peak, providing the consistent, uniform grounds that are foundational to excellent espresso extraction. For home baristas seeking to optimize their equipment, the necessary cleaning and maintenance tools are often available from specialized retailers like papelespresso.com.

 No products in the cart.