Why your La Peppina lever is sticking and how to fix it
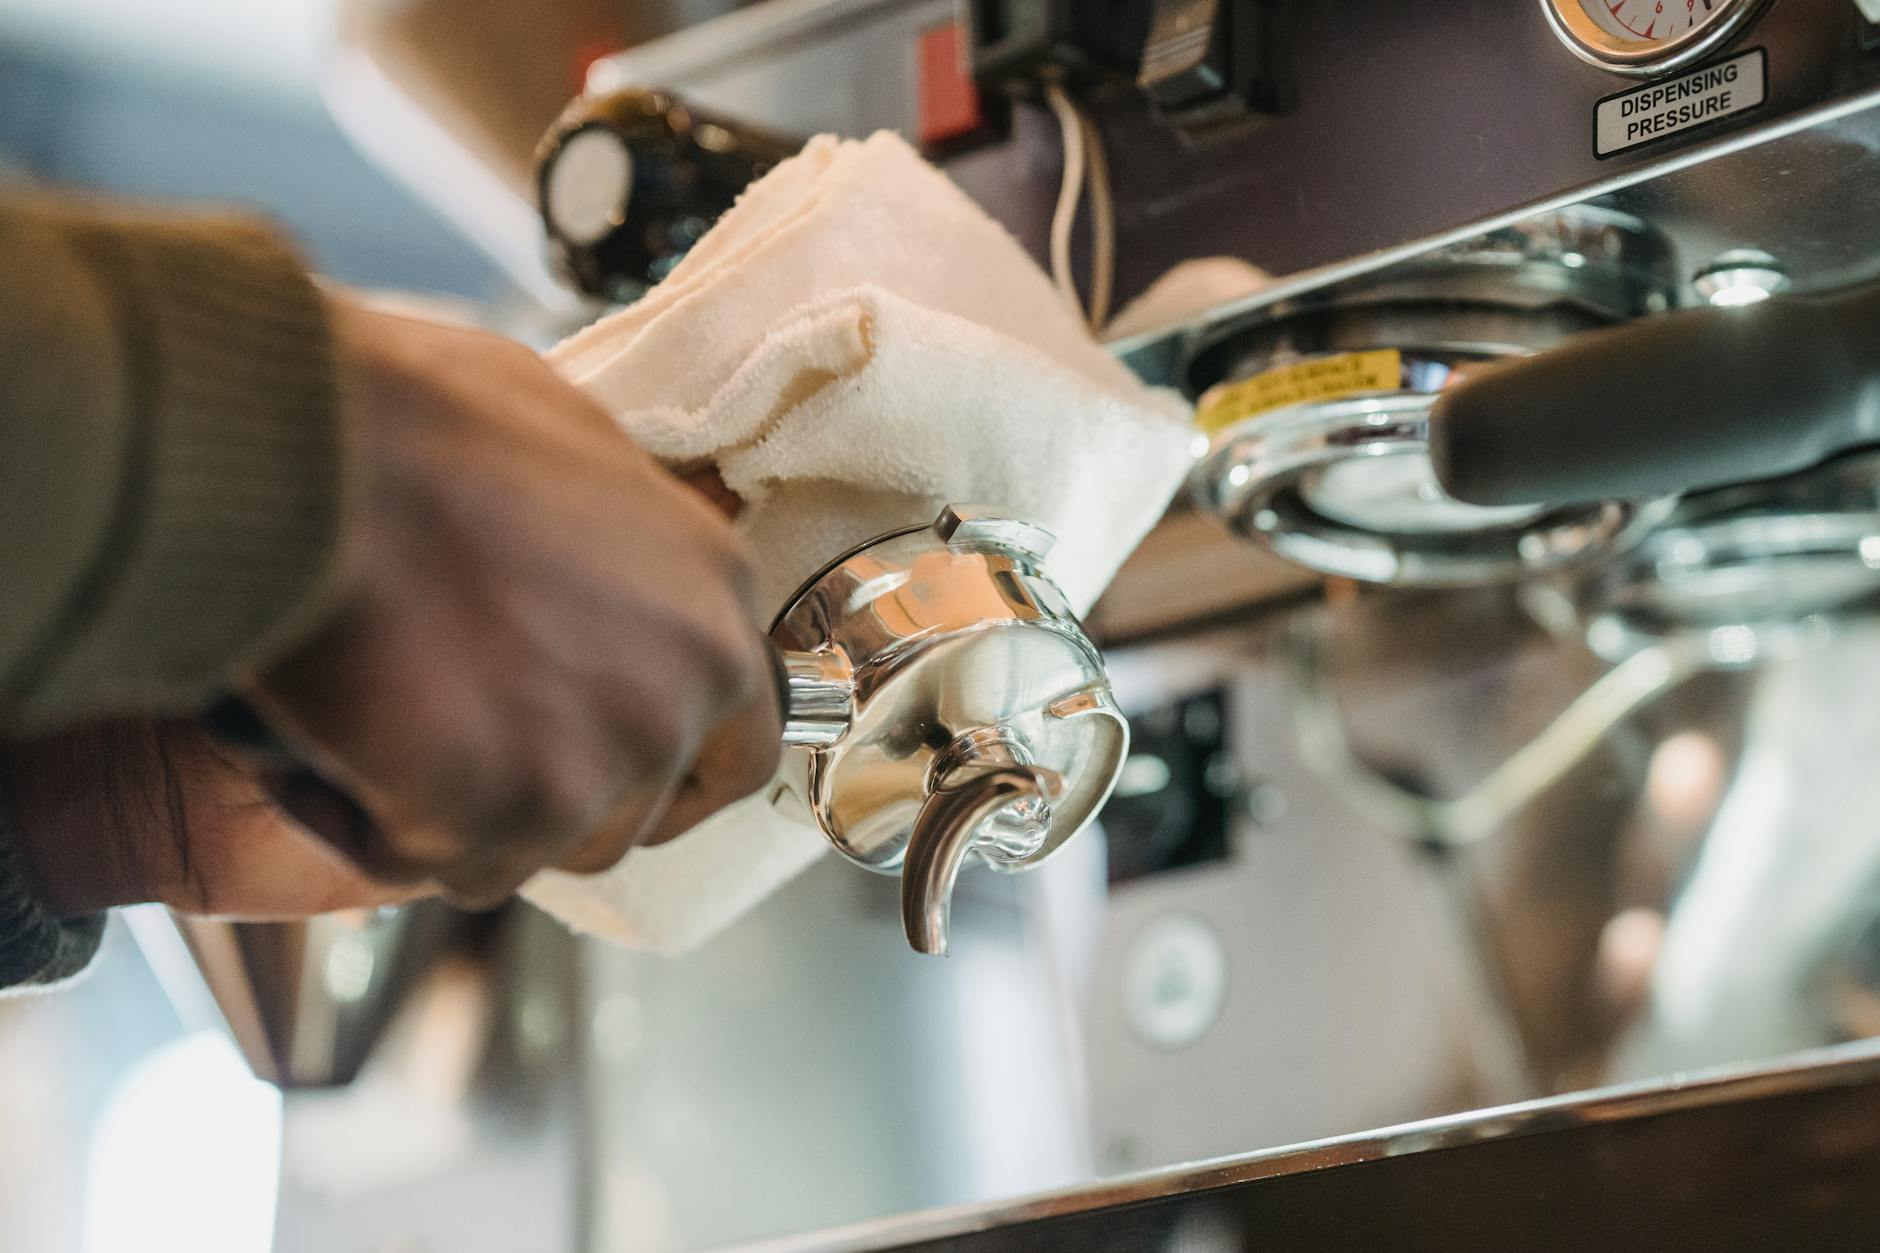
The La Peppina is a masterpiece of vintage espresso engineering, cherished for its simplicity and the tactile joy of pulling a perfect shot. There’s a certain ritual to using a manual lever machine, a direct connection between you and your coffee. That ritual can quickly turn to frustration, however, when the lever starts to fight back. A lever that feels gritty, stiff, or gets stuck entirely can ruin your morning and leave you worried about your classic machine. Fortunately, this is one of the most common issues La Peppina owners face, and it’s almost always fixable with some basic maintenance. This guide will walk you through diagnosing the cause of your sticking lever and provide a clear, step-by-step process to restore its smooth, satisfying action.
Understanding the simple genius of the lever group
Before we can fix the problem, it’s helpful to understand why the La Peppina’s design is both brilliant and prone to this specific issue. Unlike complex modern machines, the La Peppina operates on a very direct principle. When you lift the lever, you are manually raising a piston inside the group head cylinder. This action creates a vacuum that draws hot water from the kettle into the chamber above the coffee puck. When you press the lever down, you are forcing that piston down, pushing the hot water through the coffee grounds under pressure.
The key components in this dance are the piston, the piston gaskets (or seals), and the inner wall of the group head cylinder. The gaskets create a tight seal, ensuring water is forced through the coffee instead of escaping back up. The smooth operation you desire depends entirely on the interaction between these parts. The problem begins when friction enters the equation. A sticking lever is almost always a symptom of excessive friction between the gaskets and the cylinder wall.
The two main culprits: Dryness and dirt
In over 90% of cases, a sticking La Peppina lever can be traced back to one of two related issues: dried-out gaskets or a buildup of old coffee residue. These two problems often work together to create a stubborn, sticky mess inside your group head.
- Dried-out gaskets: The piston gaskets are typically made of rubber or silicone. Over time, and especially with infrequent use, these materials can lose their natural pliability and the lubrication applied at the factory or during the last service. A dry rubber or silicone gasket will drag and squeak against the metal cylinder wall, requiring much more force to move. It’s the primary cause of a lever that feels uniformly stiff throughout its entire travel.
- Coffee gunk buildup: Every time you pull a shot, microscopic coffee grounds and oils are present in the group head. Some of this residue can work its way past the shower screen and onto the cylinder walls. Over time, this oily grime gets baked onto the metal surfaces, creating a sticky, tar-like layer. This results in a lever that feels gritty, uneven, or “notchy” as the piston moves past the deposits.
These issues are not a sign of a broken machine; rather, they are an inevitable part of using it. Think of it like changing the oil in a car—it’s a routine maintenance task essential for long-term performance.
The definitive fix: A step-by-step clean and lube
Restoring that smooth lever action is a straightforward process of cleaning and lubrication. Set aside about 30 minutes for this task. You will need a food-safe silicone grease, an espresso machine cleaner like Cafiza, and a soft brush.
Step 1: Disassemble the group head
First, ensure the machine is cool. Unscrew the top cap or bolt that holds the lever assembly to the piston rod. Once the lever is free, you should be able to carefully pull the piston straight out from the bottom of the group head. It might be snug, but it should come out with a firm, steady pull.
Step 2: Clean everything thoroughly
Soak the piston and its gaskets in a solution of hot water and espresso machine cleaner for about 20 minutes. While it’s soaking, use a brush and the same cleaning solution to scrub the inside of the group head cylinder. This is a critical step many people miss. Pay close attention to the area where the piston travels, removing all dark, sticky residue. After soaking, scrub the piston and gaskets clean and rinse all parts with fresh water.
Step 3: Inspect and lubricate
Dry the parts completely. Now is the time to inspect your gaskets. Are they cracked, torn, or rock-hard? If so, they need to be replaced. If they are still in good condition, it’s time to lubricate. Take a very small amount of food-safe silicone grease on your finger and apply a thin, even film all around the sides of the gaskets. You don’t need to gob it on; a light, slippery coating is all that’s required.
Step 4: Reassemble and test
Carefully guide the lubricated piston back up into the group head cylinder. It should slide in much more easily now. Reattach the lever, and work it up and down a few times. The action should be immediately and dramatically smoother.
Troubleshooting and preventative care
What if you’ve cleaned and lubed everything, but the lever still doesn’t feel right? It’s rare, but there are a few other possibilities. The most common is scale buildup, which is a hard mineral deposit that can form on the cylinder walls, creating a rough surface. A proper descaling cycle might be necessary. It’s also possible that old, improperly sized aftermarket gaskets are causing the issue.
Here’s a simple table to help you diagnose persistent issues:
| Symptom | Likely Cause | Solution |
|---|---|---|
| Lever is consistently stiff and squeaks. | Dry or worn-out gaskets. | Lubricate with food-safe silicone grease or replace gaskets if damaged. |
| Lever feels gritty or catches in spots. | Baked-on coffee oil and residue. | Perform a deep clean of the piston and inner cylinder wall. |
| Lever is still rough after cleaning and lubing. | Scale buildup on cylinder wall or ill-fitting gaskets. | Descale the machine; verify you are using correct, high-quality gaskets. |
To prevent the problem from returning, get into the habit of flushing the group with hot water after your last shot of the day. This rinses away fresh coffee oils before they can bake on. Performing the clean and lube procedure every 6 to 12 months, depending on use, will keep your La Peppina operating as beautifully as the day it was made.
A sticking lever on your La Peppina is more of a routine maintenance reminder than a serious fault. The issue almost always stems from the simple mechanics of the group head: gaskets that have dried out or a cylinder wall coated in old coffee residue. By following a simple process of disassembly, deep cleaning, and proper lubrication with a food-safe silicone grease, you can completely restore the machine’s function. This isn’t a one-time fix but rather a small, satisfying task to be performed periodically. Embracing this simple maintenance ensures your vintage lever machine will not only continue to function but will do so with the smooth, fluid grace it was designed for, rewarding you with fantastic espresso for many more years to come.
 No products in the cart.