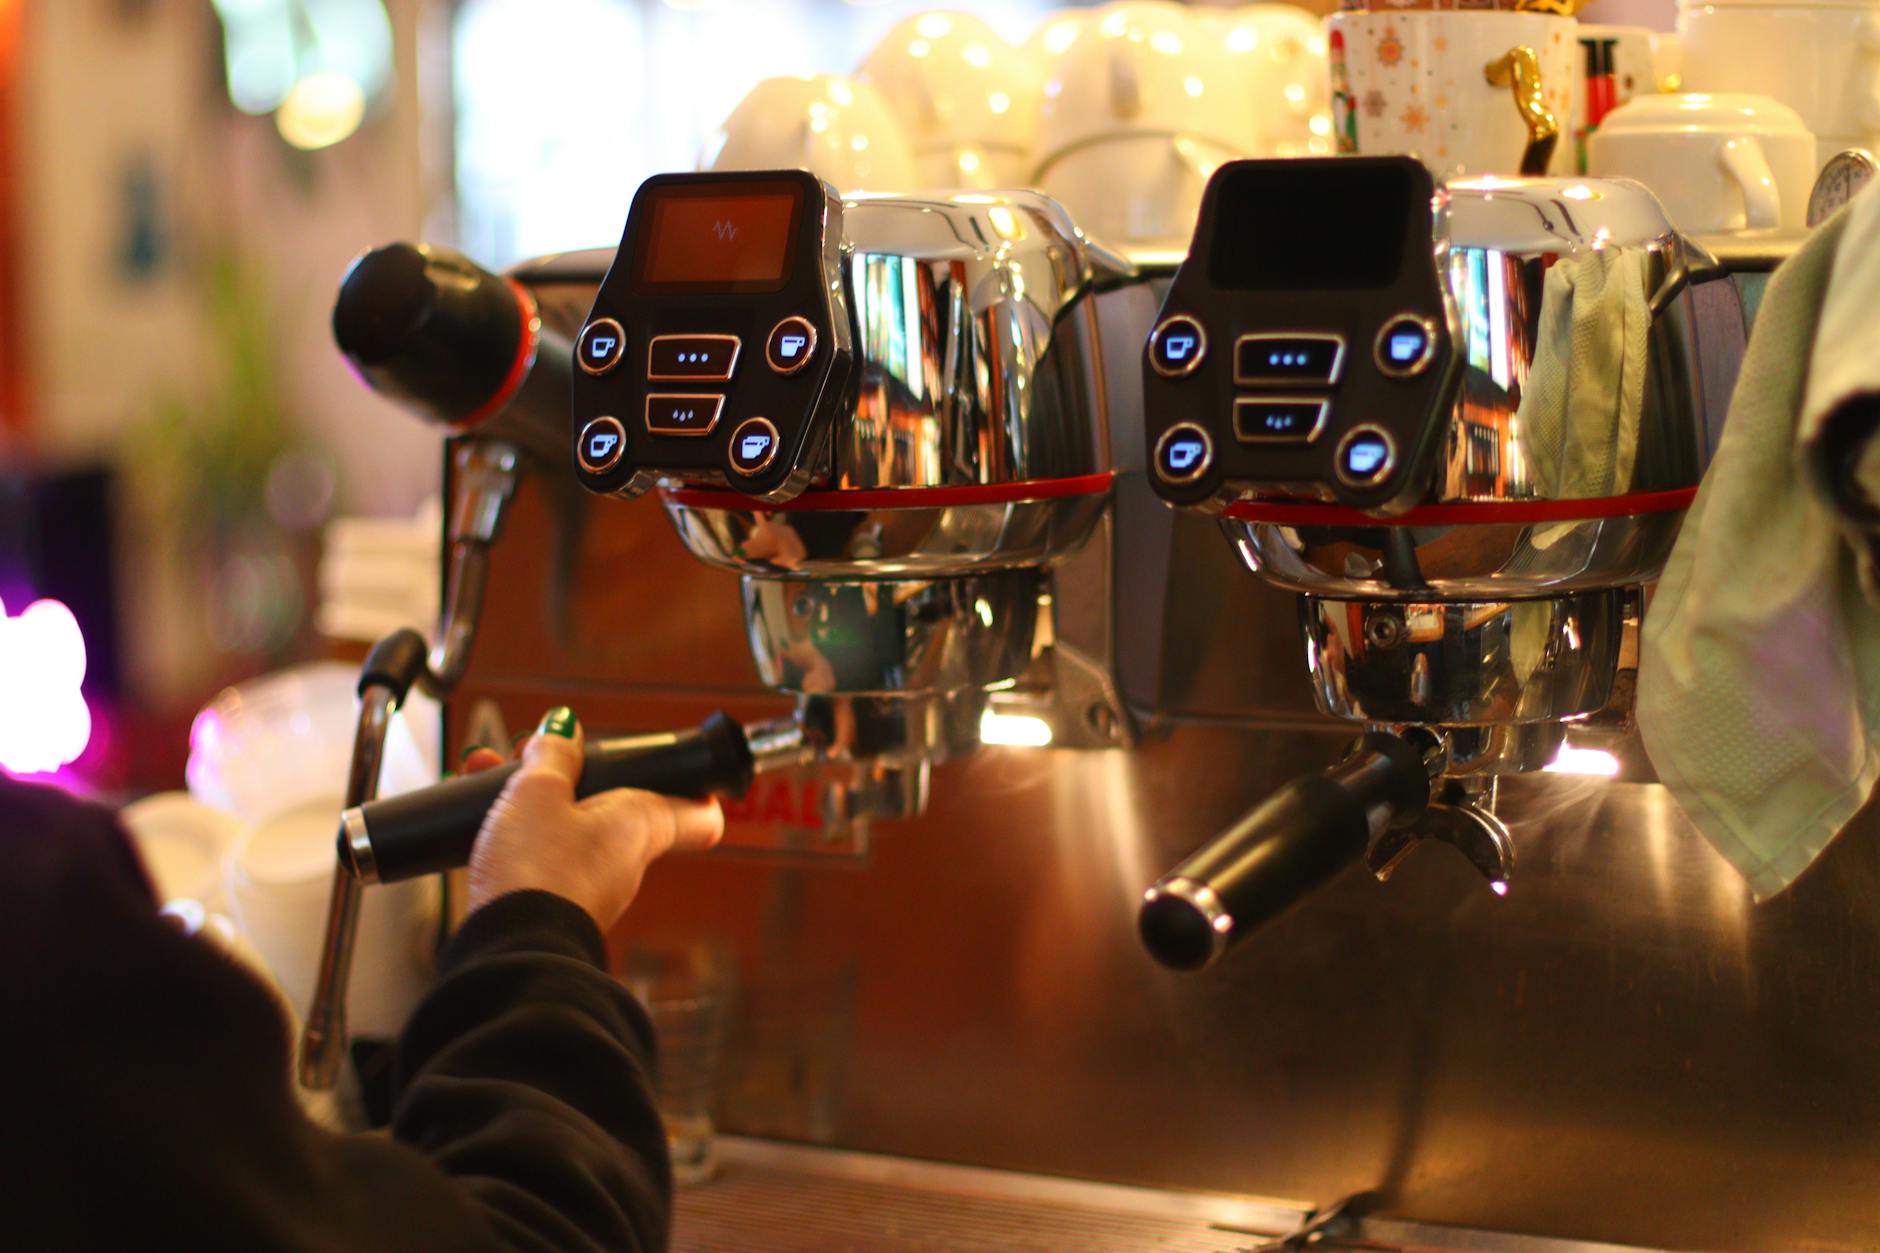
Why your Gaggia classic pro espresso tastes sour and how to fix it
There’s nothing more exciting than unboxing your new Gaggia Classic Pro. You envision yourself pulling rich, syrupy, café-quality espresso shots in your own kitchen. But then reality hits. You follow all the steps, the shot looks beautiful with plenty of crema, but the taste is aggressively sour, sharp, and reminiscent of lemons. It’s a common and frustrating experience for many new home baristas. This sourness is a tell-tale sign of a problem in your brewing process, not necessarily a flaw in your machine. The Gaggia Classic Pro is an incredibly capable machine, but it requires you to understand the fundamentals. This guide will walk you through why your espresso tastes sour and provide a clear, step-by-step process to fix it for good.
Understanding sour espresso: The science of under-extraction
Before we can fix the problem, we need to understand it. In the world of coffee, sour is the primary taste associated with under-extraction. Think of making coffee as a process of dissolving flavors from solid coffee grounds into water. This process doesn’t happen all at once; different flavor compounds dissolve at different rates.
The first things to extract are the fats and acids. These are what give coffee its bright, fruity notes, but on their own, they are overwhelmingly sour. Next to extract are the sugars, which bring sweetness and balance to the shot. Finally, the more bitter compounds extract, which add body and depth. A balanced shot has a perfect harmony of all three.
When your espresso tastes sour, it means you have stopped the extraction process too early. Your water has dissolved the acids, but it hasn’t had enough time or power to extract the sugars needed to balance that acidity. The result is a one-dimensional, aggressive, and unpleasant shot. The goal, therefore, is to extend and improve the extraction to bring those sweeter, more complex flavors into your cup.
The core factors causing under-extraction
Under-extraction on a Gaggia Classic Pro is almost always caused by water flowing through the coffee grounds too quickly. This “contact time” is critical. If the water rushes through, it simply doesn’t have a chance to dissolve the necessary flavor compounds. Several key variables contribute to this, and mastering them is the secret to great espresso. They are all interconnected, so a change in one will affect the others.
- Grind size: This is the most common culprit. If your coffee grounds are too coarse, there are large gaps between the particles. Water finds it very easy to blast through these gaps, leading to a very fast, under-extracted shot. You need a fine, consistent grind to provide the right amount of resistance.
- Dose and distribution: Your dose is the amount of dry coffee you put in the portafilter basket. An insufficient dose leaves too much empty space, and the water isn’t properly pressurized against the coffee. Furthermore, if the grounds are clumpy or unevenly distributed, water will exploit the weakest points, a phenomenon called channeling. This means some parts of the coffee are under-extracted while others might be over-extracted, resulting in a confusing mix of sour and bitter.
- Brew temperature: Coffee extracts more efficiently at higher temperatures. The Gaggia Classic Pro, in its stock form, has a wide temperature swing. If you try to pull a shot when the boiler is not hot enough, the water won’t have the thermal energy to properly extract the sugars, leaving you with a sour shot even if your grind size is correct.
A step-by-step guide to dialing in your shot
“Dialing in” is the process of adjusting these variables to achieve a balanced extraction. The key is to be methodical and only change one variable at a time. Otherwise, you’ll never know what fixed the problem.
1. Establish a consistent recipe: Start with a standard recipe as your baseline. A great starting point is a 1:2 brew ratio. For the stock Gaggia double basket, this means:
- Dose: 17 grams of finely ground coffee.
- Yield: 34 grams of liquid espresso in the cup.
- Time: Aim for a total shot time of 25-30 seconds from the moment you press the brew button.
2. Focus on grind size first: Use a scale to weigh your dose and your yield. Ignore the time for your first shot. Just pull a shot and see how long it takes to reach 34 grams. If it takes only 15 seconds, your grind is far too coarse. Adjust your grinder to a finer setting. If it takes 50 seconds, your grind is too fine. Make small, incremental adjustments until you hit that 25-30 second window for your 34-gram yield.
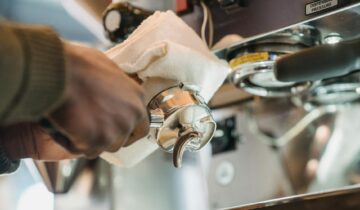
3. Improve your puck preparation: While dialing in your grind, ensure your puck prep is consistent. After grinding into the portafilter, use a distribution tool (or even a paperclip) to break up clumps. Settle the grounds with a gentle tap on the counter. Finally, use a calibrated tamper to apply firm, level pressure. This creates a dense and even coffee puck, which is crucial for preventing channeling.
4. Master the temperature: To combat the Gaggia’s temperature swings, you can “temperature surf.” A simple method is to turn on the machine and wait for the brew-ready light to turn on. Then, flush some water through the group head for a few seconds until the light turns off. Once the light comes back on, wait about 10 seconds and then start your shot. This ensures the boiler is at the hotter end of its cycle, providing a more optimal brew temperature.
Troubleshooting chart and next-level upgrades
Even with a good process, you might run into issues. This table provides a quick reference for common problems. If you’ve mastered the basics and want more consistency, a few popular modifications can transform your Gaggia Classic Pro.
| Problem | Likely Cause | Solution |
|---|---|---|
| Sour, watery shot pulled in under 20 seconds. | Grind is too coarse. | Adjust your grinder to a finer setting. |
| Shot starts okay but spurts blond streams from the portafilter. | Channeling. | Improve puck prep: Distribute grounds evenly, break up clumps, and ensure a level tamp. |
| Shots are inconsistent; some are sour, some are okay. | Brew temperature instability. | Implement a consistent temperature surfing routine. |
| Bitter and sour at the same time. | Severe channeling or a very light roast. | Focus on puck prep. If using a light roast, you may need to increase the brew ratio (e.g., 1:2.5) and grind finer. |
For those looking to upgrade, two mods are game-changers:
- OPV spring mod: The stock Gaggia brews at a very high pressure (12-15 bars). Installing a 9-bar Over-Pressure Valve (OPV) spring brings it down to the industry standard, making the machine much more forgiving and reducing channeling.
- PID controller: A PID (Proportional-Integral-Derivative) controller is a digital thermostat that gives you precise control over the brew temperature, eliminating the need for temperature surfing and providing ultimate consistency.
Conclusion
Pulling a sour shot on your Gaggia Classic Pro can be disheartening, but it’s a solvable problem that every home barista faces. Remember, sourness is simply a sign of under-extraction. The solution lies not in a new machine, but in mastering your technique. By adopting a methodical approach to dialing in, you can systematically eliminate the causes. Start with a consistent recipe, focus primarily on adjusting your grind size, and ensure your puck preparation is flawless. Managing the machine’s temperature will add another layer of consistency to your routine. The Gaggia Classic Pro is a fantastic tool, and with a bit of patience and practice, you will move past the frustration of sour shots and begin to consistently produce the balanced, sweet, and delicious espresso you’ve been aiming for.
 No products in the cart.