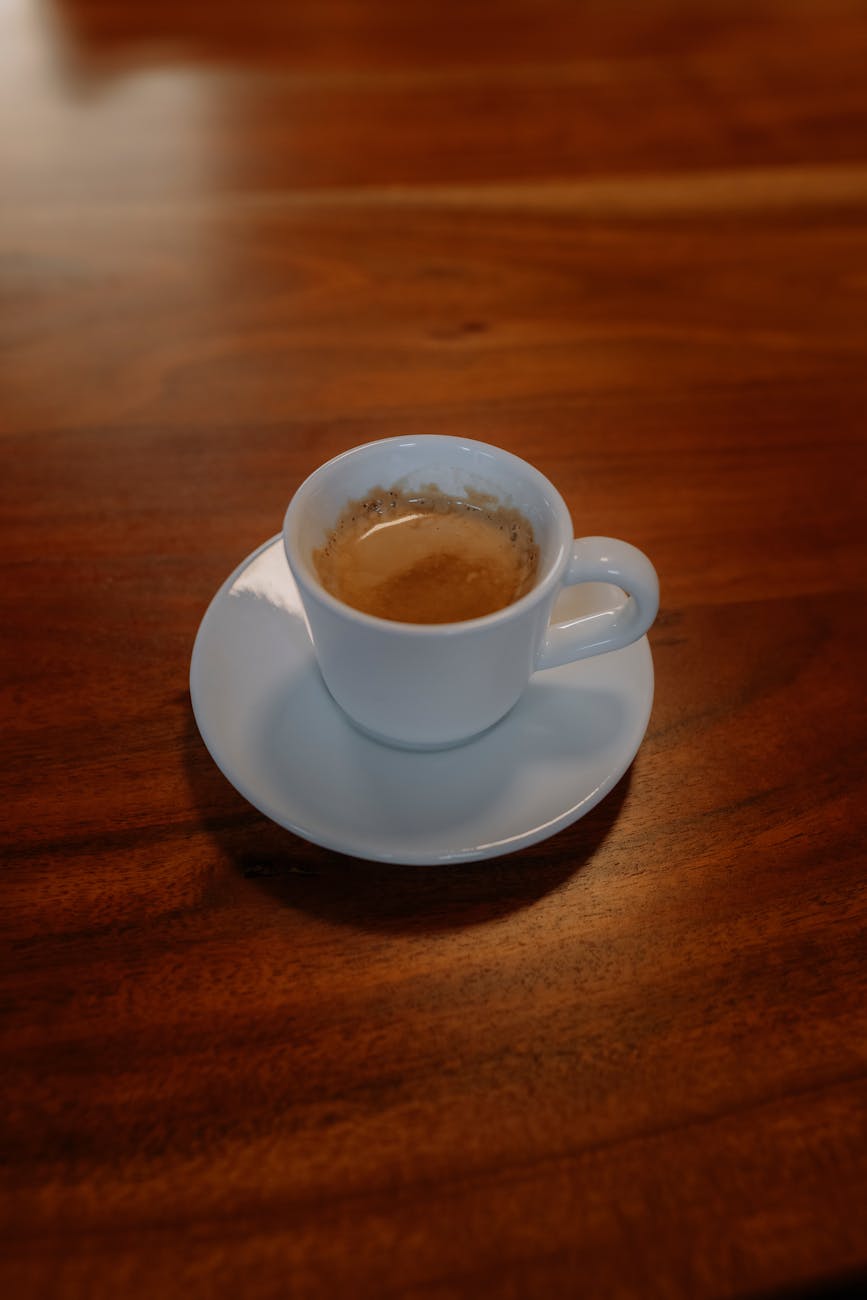
The Gaggia Classic is a legendary machine, a gateway for countless coffee lovers into the world of authentic home espresso. You unbox it, set it up, and pull your first shot, anticipating that rich, syrupy sweetness you get at your favorite café. Instead, you’re met with a sharp, wince-inducing sourness that puckers your lips. It’s a frustratingly common experience. This sour taste is a tell-tale sign that something is off with your brew, but what? While several factors can contribute, the culprit is almost always under-extraction. In this guide, we’ll dive deep into why your Gaggia Classic espresso tastes sour, focusing on the critical role of extraction time and how to master it for a balanced, delicious shot.
Understanding sourness and the science of extraction
Before we can fix the problem, we need to understand why it’s happening. Making espresso is a delicate chemical process. When hot, pressurized water hits your coffee grounds, it begins to dissolve various flavor compounds. Think of it as a race against time. The very first compounds to be extracted are acids. These are responsible for the bright, fruity, and vibrant notes in coffee. If you were to stop the extraction after just a few seconds, your coffee would be overwhelmingly acidic and sour.
As the extraction continues, sugars are dissolved, introducing sweetness that balances those initial acids. Finally, the more complex, bitter compounds are extracted. A perfect shot is a harmonious balance of all three: the brightness of the acids, the sweetness of the sugars, and a pleasant hint of bitterness for depth.
A sour shot is a clear symptom of under-extraction. This simply means the water flowed through the coffee grounds too quickly, grabbing the acids but not sticking around long enough to extract the necessary sugars to create a balanced flavor profile. Your Gaggia Classic is powerful enough to produce the pressure needed for great extraction, but it’s up to you, the barista, to create the right conditions for it to happen.
The golden rule: Targeting extraction time and brew ratio
To control extraction, we need measurable targets. In the world of espresso, the most important metrics are brew ratio and extraction time. Extraction time is the total duration the water is in contact with the coffee, from the moment you flip the brew switch to the moment you turn it off.
A widely accepted starting point for a classic espresso is the “golden rule”: a 1:2 brew ratio achieved in approximately 25-30 seconds.
- Brew Ratio: This is the ratio of the dry coffee grounds (dose) to the liquid espresso in your cup (yield). A 1:2 ratio means for every 1 gram of coffee, you want 2 grams of espresso. For example, if you use 18 grams of coffee grounds, you’re aiming for 36 grams of liquid espresso.
- Extraction Time: The target time to achieve that yield is about 25-30 seconds.
If your 18g dose produces a 36g yield in only 17 seconds, the water has rushed through the puck. It didn’t have time to dissolve the sugars. The result? A sour, under-extracted shot. Using a small coffee scale to weigh your dose and yield, and a timer to track the shot, are non-negotiable tools for troubleshooting and achieving consistency.
How to slow your shot down: The key variables
If your shots are running fast and tasting sour, your goal is to slow the water down. You do this by creating more resistance in the portafilter puck. There are three main variables you can adjust to achieve this, in order of importance.
1. Grind size
This is your primary tool for controlling extraction time. The finer you grind the coffee, the more compact the particles will be, creating more resistance and slowing down the flow of water. If your shot runs in 15 seconds, you need to adjust your grinder to a finer setting. This process, known as “dialing in,” requires small, incremental adjustments. Change the setting, pull another shot, and see how the time changes. Don’t be afraid to waste a few shots to find that sweet spot.
2. Dose
The dose is the amount of dry coffee grounds you put in your portafilter. Increasing the dose (e.g., from 17g to 18g) physically puts more coffee in the basket, which also increases resistance and slows down the shot. While effective, it’s best to find a dose that suits your basket and stick with it, using grind size for the main adjustments. Consistency in your dose is crucial for reliable results.
3. Puck preparation and tamping
Even with the perfect grind and dose, poor preparation can ruin a shot. If the grounds are clumpy or unevenly distributed, water will find the path of least resistance and rush through those areas, causing channeling. This leads to an uneven extraction—some parts get over-extracted (bitter) while others are under-extracted (sour), resulting in a confusing, unpleasant taste. Use a distribution tool (like a WDT tool or even a paperclip) to break up clumps. When tamping, focus on being level and consistent rather than on extreme force. A firm, even tamp ensures the water flows through the entire puck uniformly.
A practical troubleshooting workflow
Bringing it all together, here is a simple, step-by-step process to diagnose and fix your sour Gaggia Classic shots. The key is to only change one variable at a time.
- Establish a recipe: Start with a 1:2 ratio (e.g., 18g of coffee to 36g of espresso).
- Pull a test shot: Use a scale and timer. Weigh your dose, place your cup on the scale, tare it to zero, and start the timer and the shot simultaneously. Stop when you reach your target yield (36g).
- Analyze the result: How long did it take? How did it taste?
- Adjust: Based on the outcome, make one single adjustment. If the shot was sour and ran in 18 seconds, your next step is to make your grind finer. Keep the dose and your prep technique the same.
- Repeat: Pull another shot and analyze again. Is the time closer to your 25-30 second target? Does it taste more balanced? Continue this process until you achieve a delicious result.
This table can serve as a quick reference guide:
| Problem | Likely Cause | Primary Solution |
|---|---|---|
| Sour, thin, watery taste | Under-extraction (shot is too fast, e.g., <22 seconds) | Make your grind size finer. |
| Bitter, harsh, burnt taste | Over-extraction (shot is too slow, e.g., >35 seconds) | Make your grind size coarser. |
| Both sour and bitter notes | Channeling (uneven extraction) | Improve puck preparation (distribute grounds, ensure a level tamp). |
Tackling a sour espresso shot from your Gaggia Classic can feel daunting, but it’s a solvable problem rooted in the principles of extraction. Remember that a sour taste is the coffee’s way of telling you it was under-extracted because the water passed through it too quickly. By taking control of your extraction time, you can fix this. The journey to a perfect shot is one of methodical adjustment. Focus on hitting a 1:2 brew ratio in the 25-30 second window. Use your grinder as the primary tool to speed up or slow down your shot, and ensure your puck preparation is consistent every time. Don’t be discouraged by a few bad shots; each one is a learning opportunity that gets you closer to that sweet, balanced, and truly rewarding espresso experience.
 No products in the cart.