Master your espresso: Using a bottomless portafilter to perfect your puck prep
The quest for the perfect espresso shot is a journey filled with variables: bean freshness, grind size, water temperature, and pressure. For many home baristas, the most challenging part of this process is what happens before you even lock in the portafilter. We’re talking about puck preparation—the art of distributing and tamping your coffee grounds. An uneven coffee bed can lead to channeling, resulting in a sour, bitter, and disappointing shot. This is where the bottomless portafilter, also known as a naked portafilter, transforms from a mere coffee accessory into an indispensable diagnostic tool. It provides a raw, unfiltered view of your extraction, exposing every flaw and guiding you toward a consistently delicious cup. This article will show you how.
What is a bottomless portafilter?
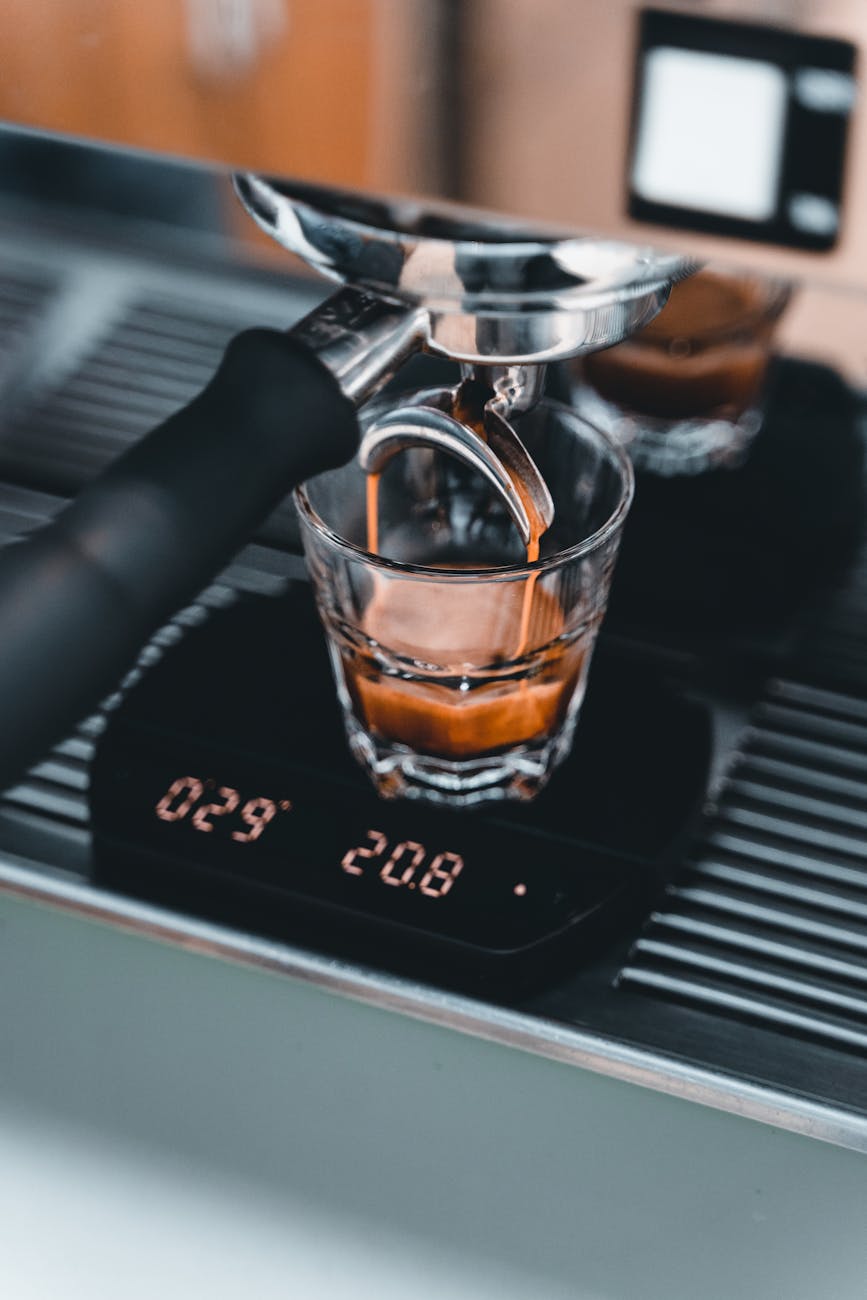
At its core, a bottomless portafilter is exactly what it sounds like: a standard portafilter that has had its bottom and spouts machined off. This simple modification exposes the underside of the filter basket completely. While a traditional spouted portafilter funnels the extracted coffee into one or two streams, hiding the initial process, the bottomless version leaves nothing to the imagination. You see the espresso form as tiny droplets on the basket, coalesce, and merge into a single, unified stream—if your technique is correct.
This direct visual feedback is its primary purpose. It’s not just about the mesmerizing, “Instagram-worthy” shot. It’s about education. The spouts on a standard portafilter can mask a multitude of sins. An extraction that looks acceptable from a spouted portafilter might actually be riddled with channeling. The bottomless portafilter strips away this illusion, forcing you to confront the reality of your puck preparation. It is the ultimate truth-teller for any barista serious about improving their craft.
Reading the signs: Diagnosing your extraction
The beauty of the bottomless portafilter is that it provides instant, actionable feedback. By learning to read the visual cues of the extraction, you can pinpoint exactly what’s wrong with your distribution or tamping. A perfect shot should begin with small droplets forming evenly across the entire surface of the basket. These droplets will then merge into small streams before coming together in a single, syrupy, and stable cone of coffee in the center. You should see rich, dark colors with “tiger striping” of reddish-brown and caramel crema.
Deviations from this ideal tell a story:
- Spurting or jets: If you see aggressive jets of watery, light-colored coffee shooting out from the basket, you are witnessing channeling. This means water has found a path of least resistance (a channel) and is gushing through it, over-extracting that section while under-extracting the rest of the puck.
- One-sided extraction: Does the espresso start flowing heavily from one side of the basket before the other? This is a clear indicator of an uneven tamp. You’ve applied more pressure to one side, forcing the water to flow through the less-compacted side first.
- Donut extraction: If the coffee extracts from the outer edges of the basket first, leaving a dry spot in the middle, it suggests the center of your puck is too dense compared to the sides. This can be caused by certain distribution techniques or tamping styles.
- Bald spots: Areas on the basket that remain dry throughout the extraction are “dead spots.” These are sections so compacted that water cannot penetrate them at all, leading to significant under-extraction.
Fixing the flow: Distribution techniques
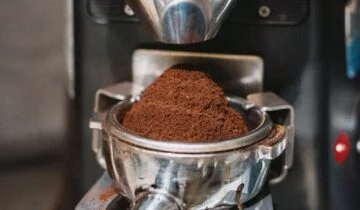
After diagnosing the problem with your bottomless portafilter, the next step is to fix it. More often than not, the root cause of channeling and uneven extraction is poor coffee distribution. The goal of distribution is to create a homogenous bed of coffee grounds with no clumps or areas of varying density. Simply grinding into your portafilter and tamping is rarely enough.
The most effective method for achieving this is the Weiss Distribution Technique (WDT). This involves using a tool with very fine needles (like acupuncture needles) to stir the grounds in the portafilter. This action breaks up any clumps from the grinder and evenly distributes the particles, eliminating potential channels before they can form. After using a WDT tool, a gentle vertical tap on the counter will settle the grounds into a flat bed, ready for tamping.
Other tools, such as spinning distributors that you place on top of the grounds, can help level the surface. However, be aware that many of these tools only groom the top layer and may not fix density issues deeper in the puck. Your bottomless portafilter will be the final judge of which technique works best for you and your setup.
The final touch: Tamping consistently
Once you have a perfectly distributed bed of coffee, the final step is tamping. The age-old advice of tamping with “30 pounds of pressure” is largely a myth. What matters far more than the exact force is consistency and ensuring your tamp is perfectly level. An unlevel tamp is a guaranteed cause of one-sided extraction, as we diagnosed earlier.
To ensure a level tamp, focus on your form. Keep your wrist straight and your elbow directly above the portafilter, applying pressure straight down. Visually inspect the puck from the side to ensure the surface is parallel with the rim of the basket. For those who struggle with this, tools like self-leveling or calibrated tampers can be a great investment. They are designed to ensure you apply even pressure across the entire surface of the coffee every single time.
The table below summarizes the connection between the visual cue, its cause, and the solution.
| Visual Cue | Probable Cause | Solution |
|---|---|---|
| Aggressive spurting/jets | Channeling from clumps or uneven density | Implement the Weiss Distribution Technique (WDT) to break up clumps. |
| Extraction starts on one side | Unlevel tamp | Focus on form to ensure a perfectly level tamp; consider a self-leveling tamper. |
| Donut extraction (center is dry) | Center of the puck is too dense | Ensure your distribution technique spreads grounds evenly from the center to the edge. |
| Fast, very blonde shot | Widespread channeling or grind is too coarse | Refine distribution and tamping; if it persists, grind finer. |
Ultimately, your bottomless portafilter will confirm your success. When you see that beautiful, even extraction form and coalesce into a single, stable stream, you’ll know your tamping and distribution techniques are finally in sync.
Conclusion: Your window into better espresso
The bottomless portafilter is far more than an aesthetic tool for capturing beautiful videos. It is a window into the heart of your espresso extraction, providing unfiltered, honest feedback on your puck preparation. By learning to diagnose the signs of a poor extraction—from spurting jets to one-sided flows—you can directly address the root causes in your distribution and tamping. It forces you to move beyond guesswork and apply purposeful techniques like WDT and level tamping to build a uniform coffee puck. While the initial results can be messy and even frustrating, embracing the feedback is the fastest way to improve. Mastering these fundamentals is the key to pulling consistently delicious, balanced, and repeatable shots of espresso every single day.

 No products in the cart.